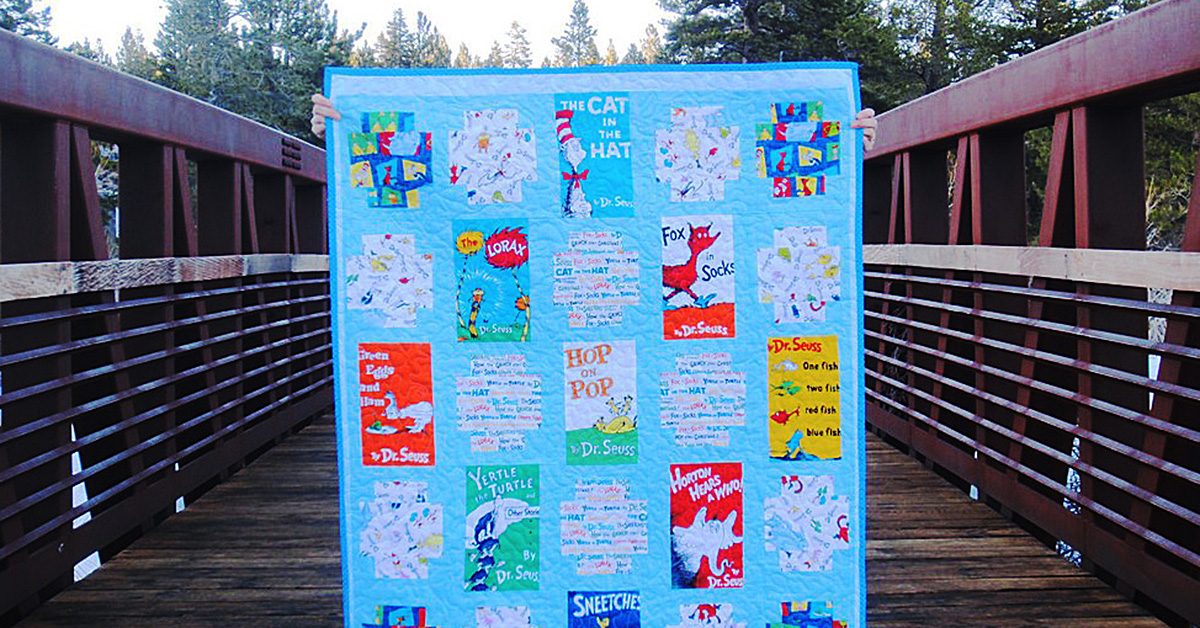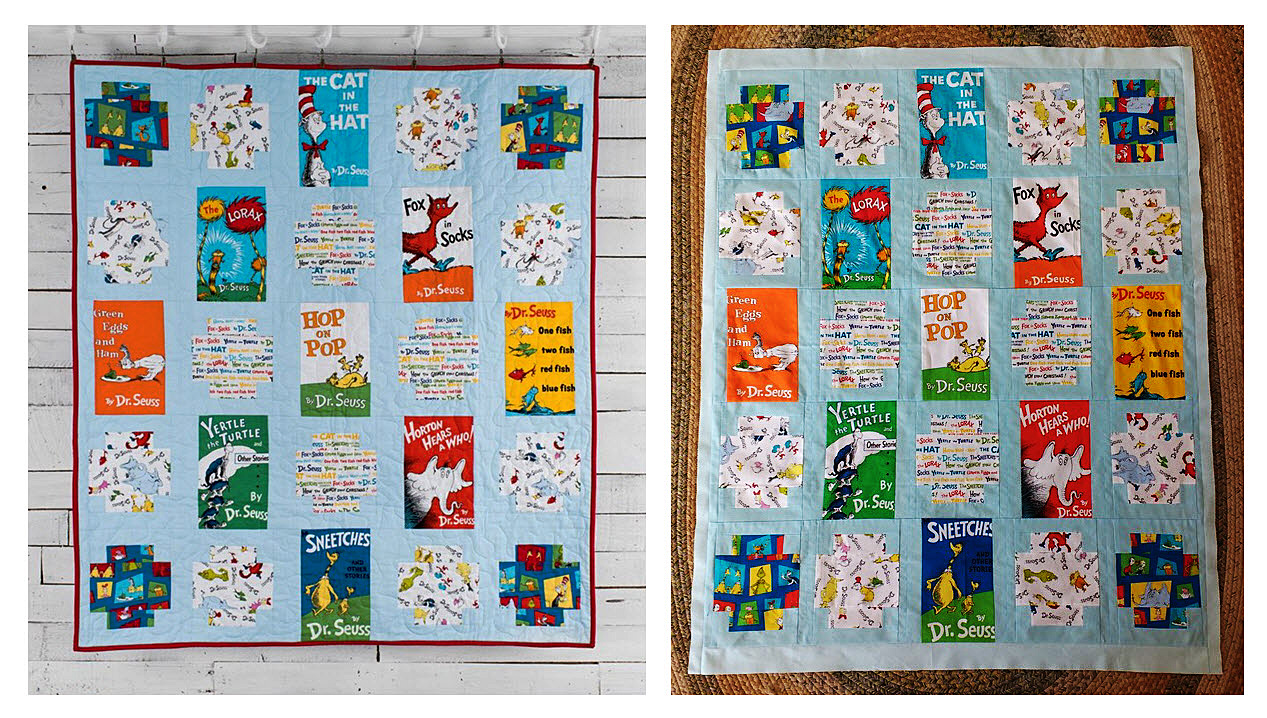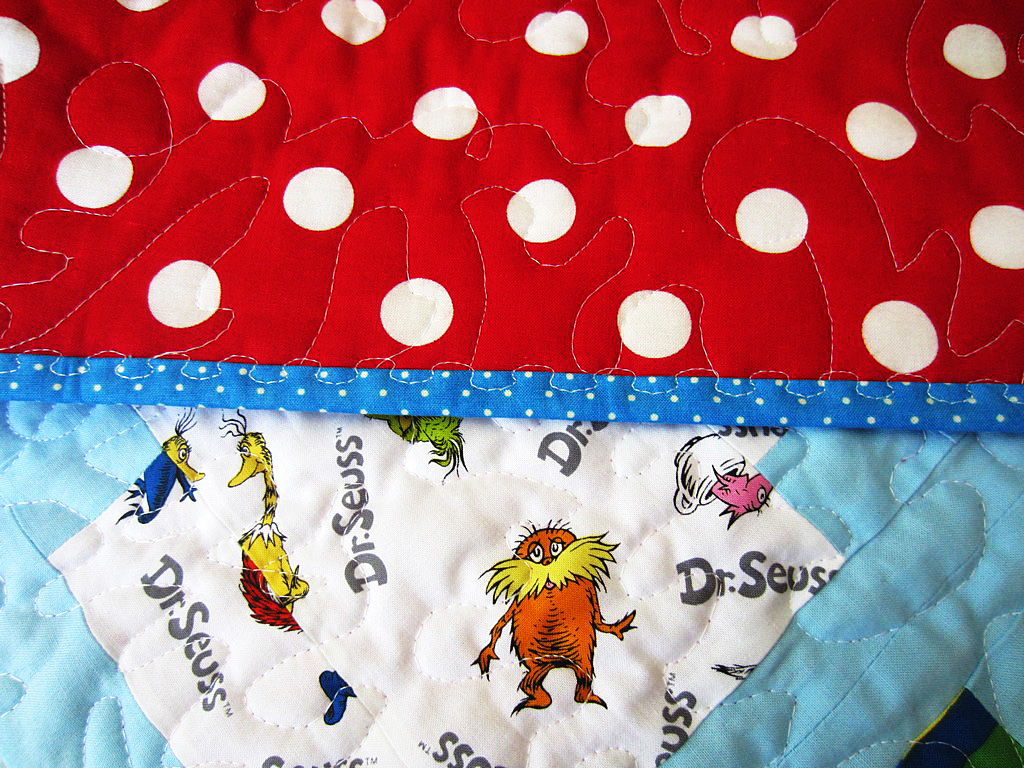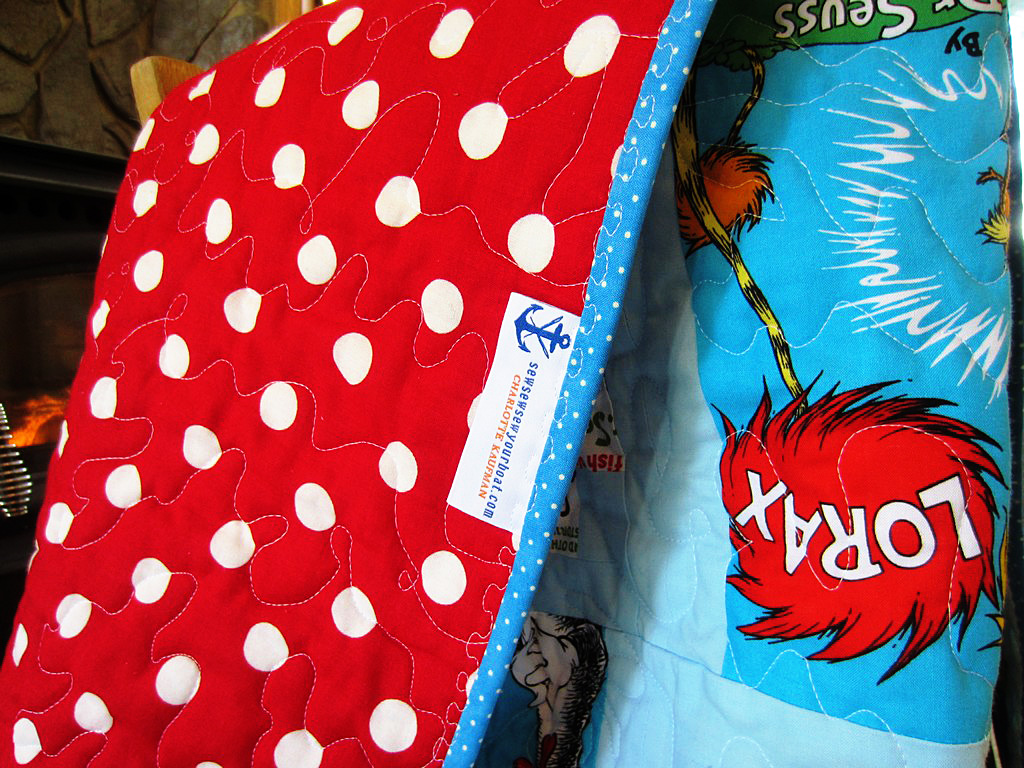
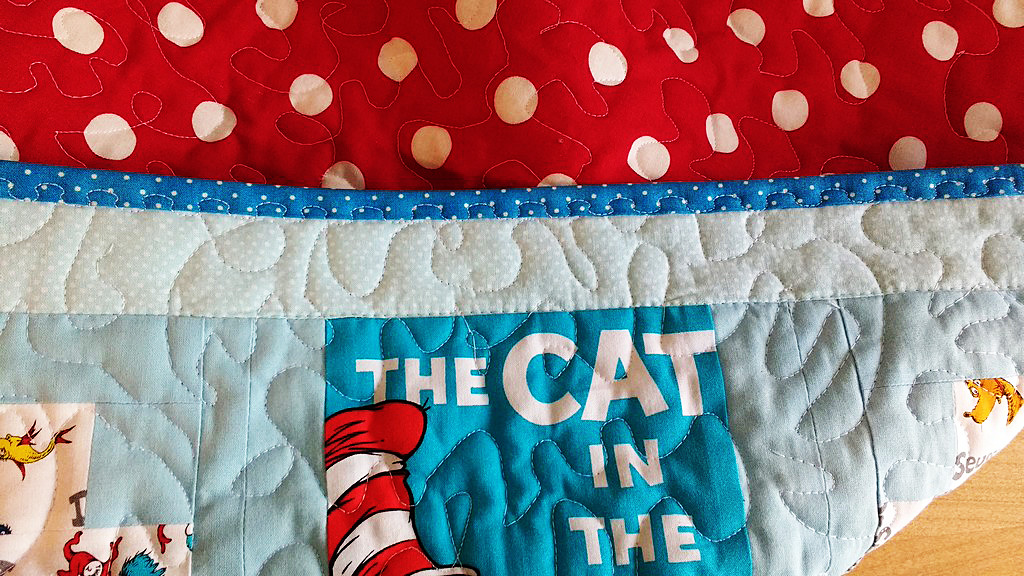
I recently wrote about this Dr. Seuss Quilt I made to donate to our local elementary school’s annual gala. Most of my donations have been made online so I hadn’t thought in advance about hanging or displaying the quilt at an event.

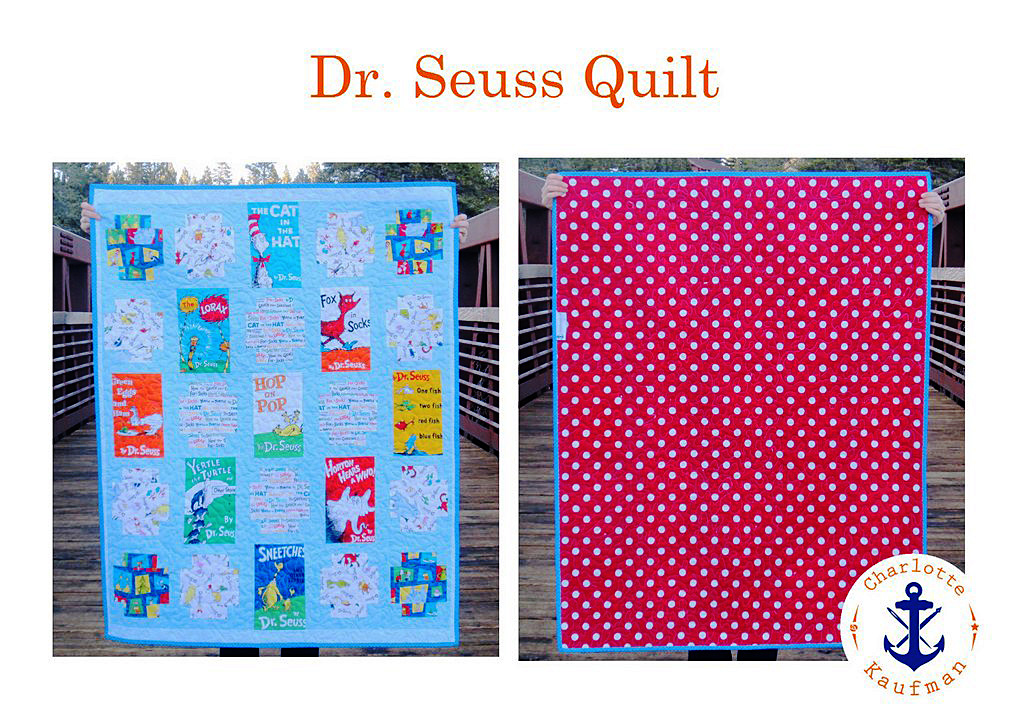
Dr. Seuss Quilt
I poked around the internet and looked at the best way to consider hanging a quilt after it had been made. Many showed how to sew triangle pouches or hanging sheaths during the process of adding on the back of the quilt but not many talked about what to do after the fact. Here is what I decided on.
Let’s get started
There were still a few strips of my binding fabric on hand because I always tend to make too much.
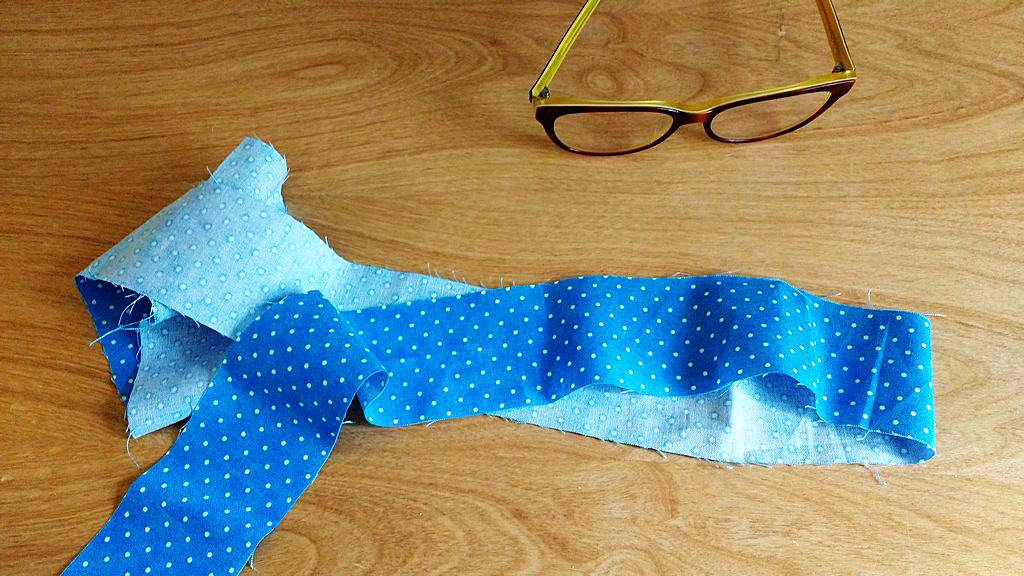
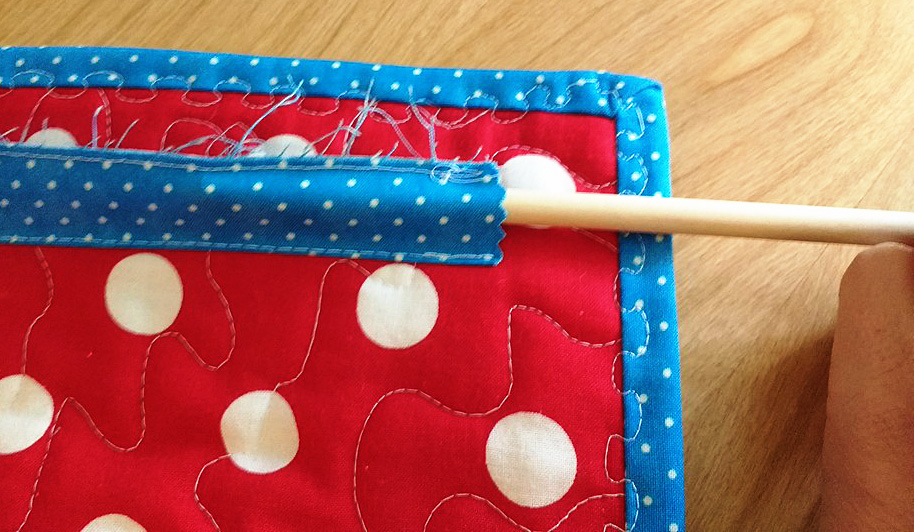
I headed to our local hardware store and bought a small dowel. I was pretty sure that if I doubled over the binding strip, the dowel would slip in perfectly to the tube I created.
I sewed the top of the tube in advance of sewing it onto the quilt.
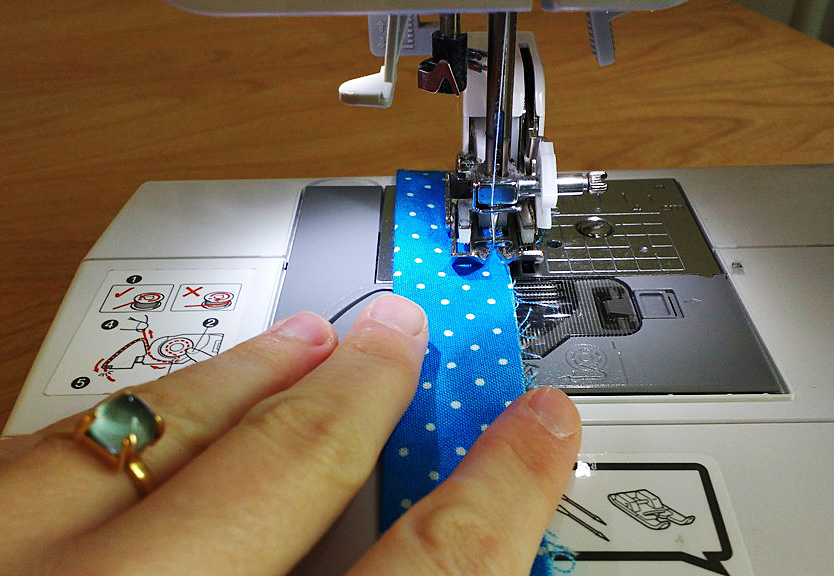
OK, easy part is over…
This part was the trickiest. I really didn’t want a super visible stitch on the quilt’s front so I measured front and back to align the fabric tube as perfectly as I could with a main seam on the front.
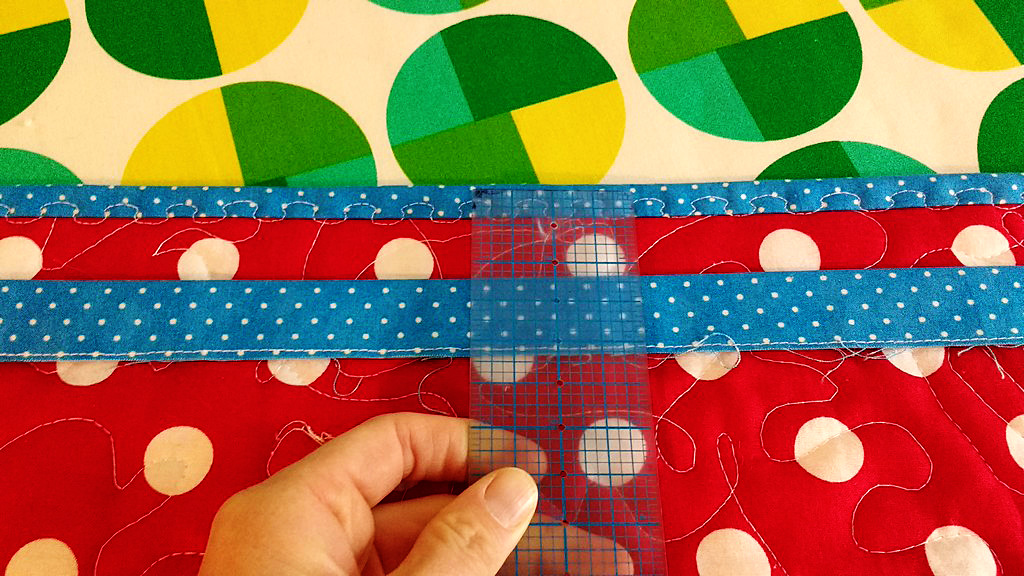
This part was the trickiest.
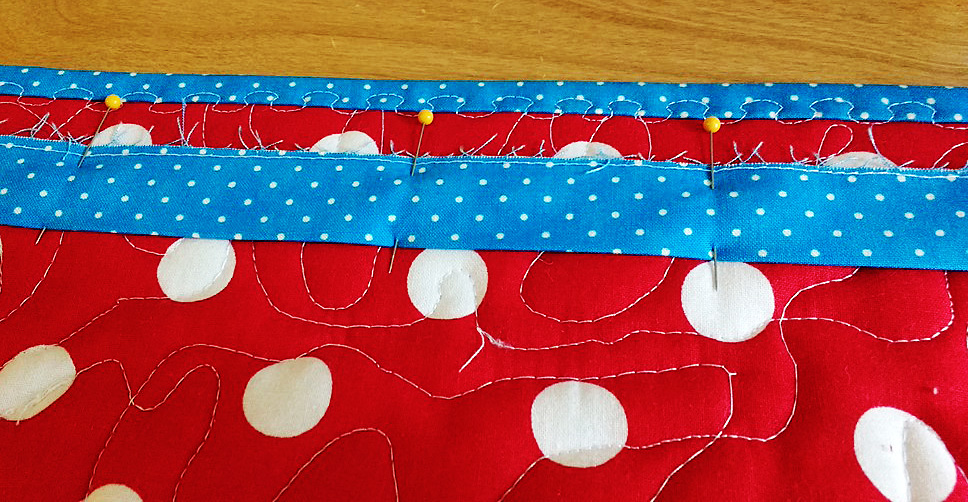
I pinned it and double checked on the front to see if I had gotten it right.
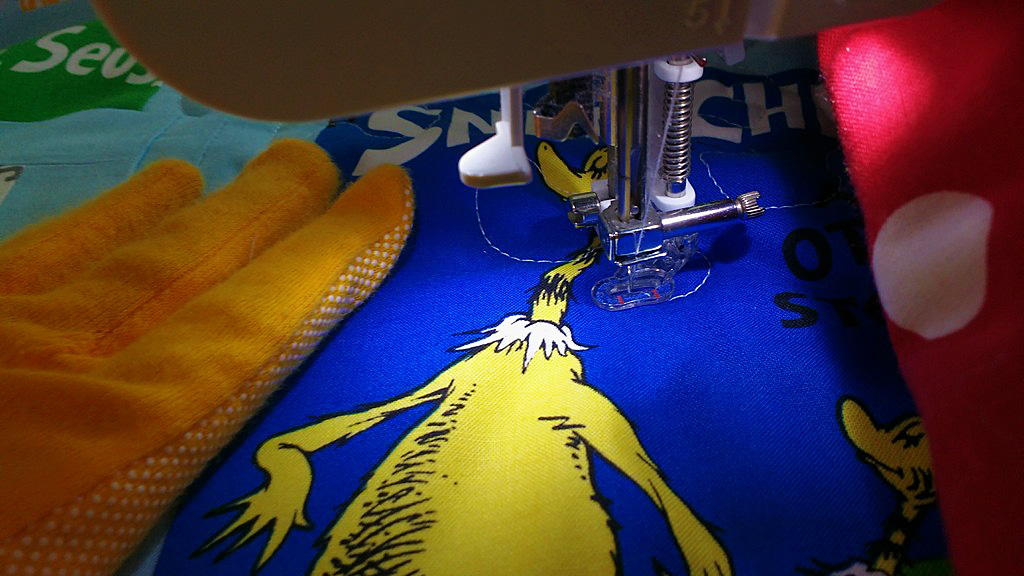
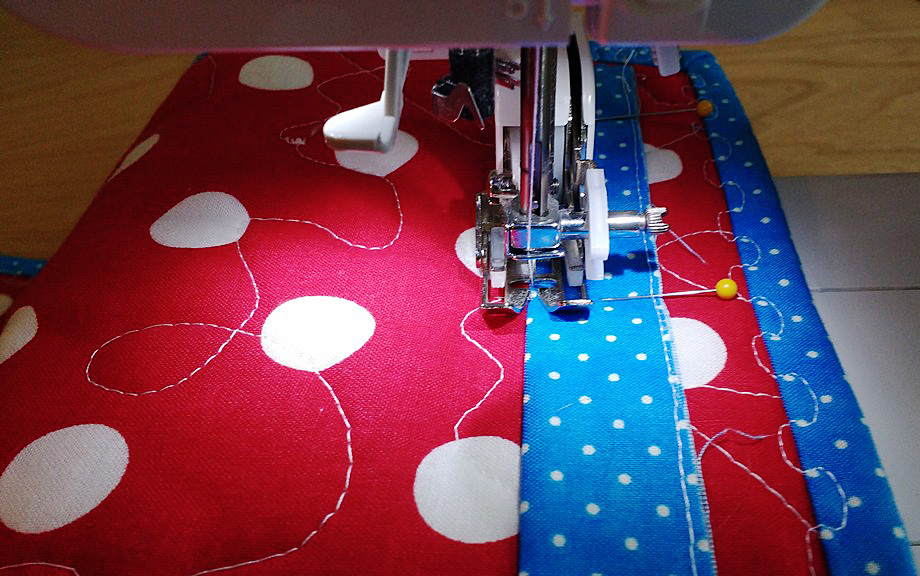
Then I used a basting stitch and sewed the bottom of the tube to the back of the quilt.
Nicely done
Moment of truth! And I nailed it almost perfectly. The seam is pretty invisible on the front.
The seam is pretty invisible on the front.
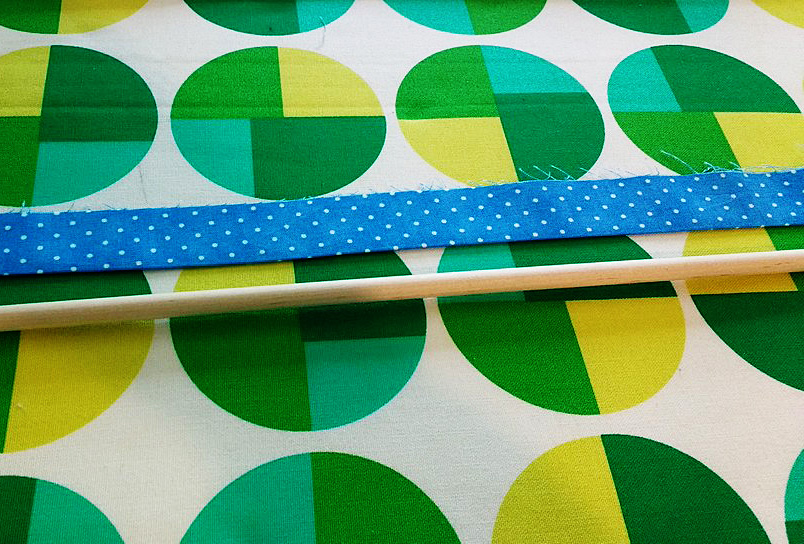
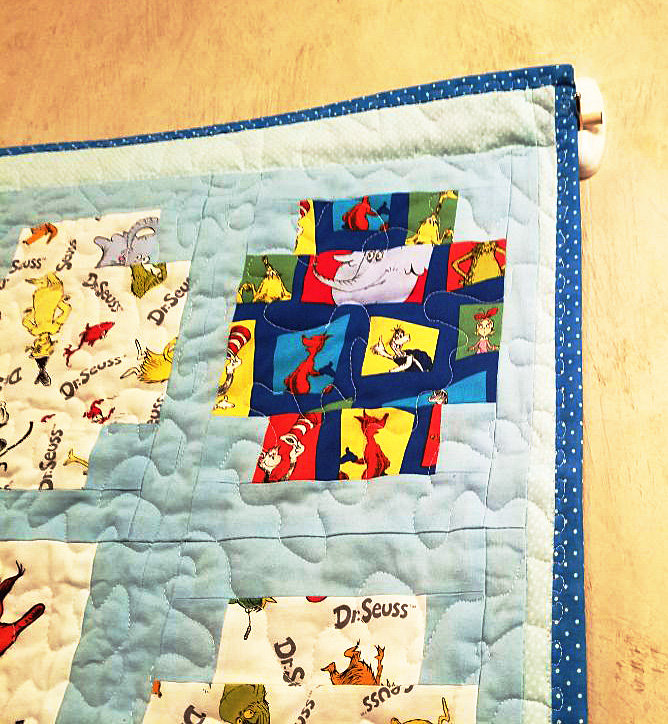
Next up I slid the dowel into the fabric tube and voilà, it fit in just right.
Here’s how it looked from the front.
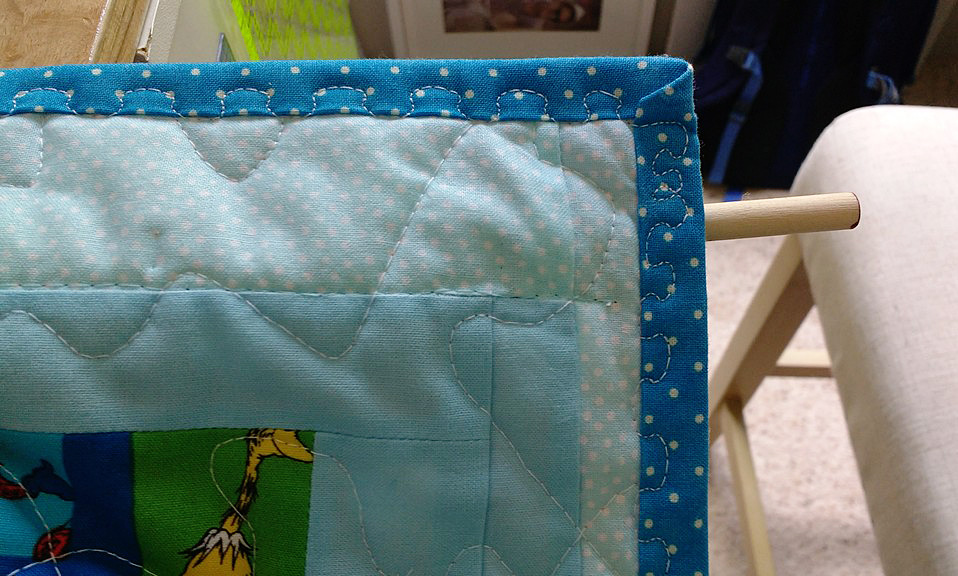
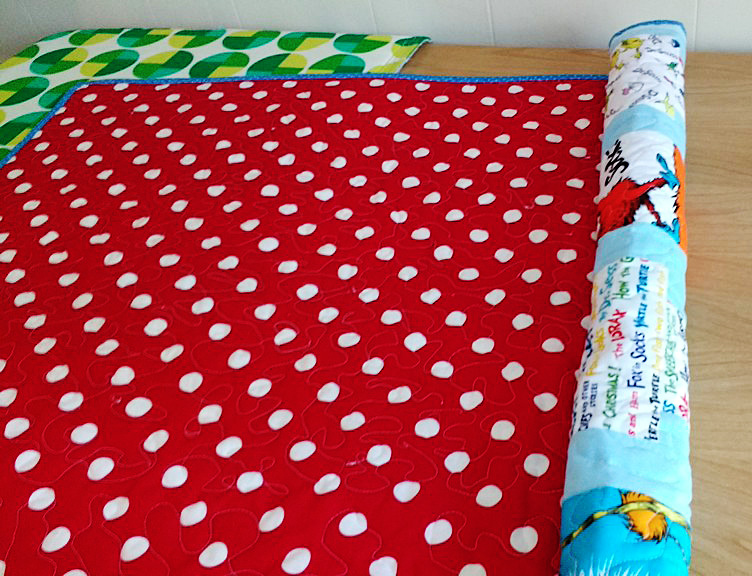
With the dowel in place, I could roll the quilt for easy transportation.
Showtime
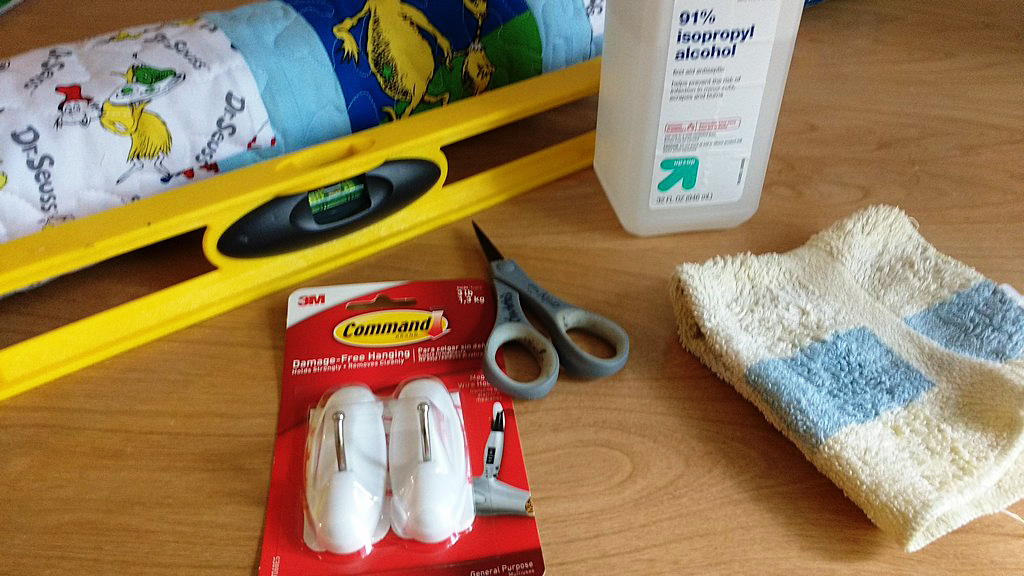
I contacted the hotel where the event would be happening and went in advance to see where exactly I could hang the quilt. The management let me know I could use Command Hooks on the wall so I brought the hooks, some rubbing alcohol and a cloth wipe (to clean where I’d be placing the hooks), a level to make sure I hung them evenly, the quilt, and some scissors to trim any stray threads.
The hooks needed an hour after being hung to attain their full strength so I brought the quilt back home until the actual event.
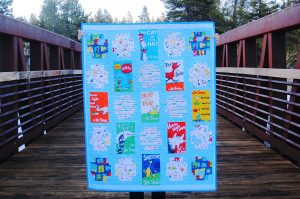
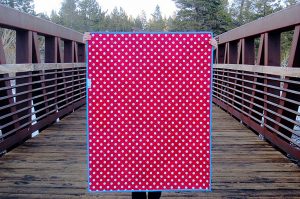
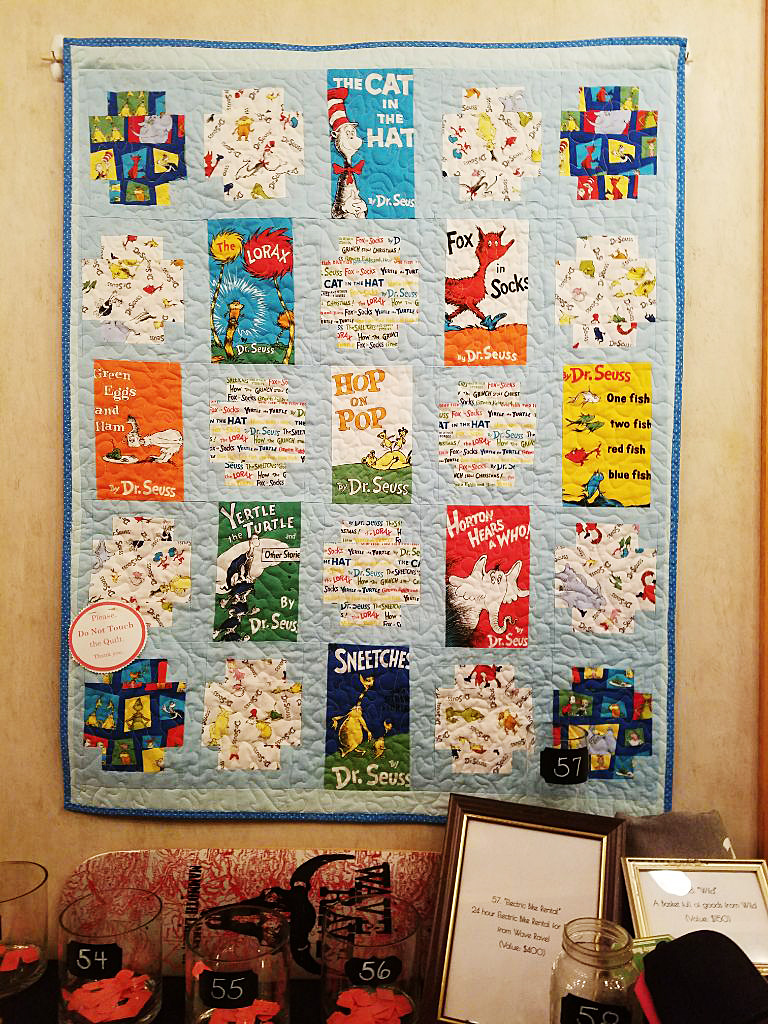
And here is the finished product hanging at the gala that night. Lovely, no?
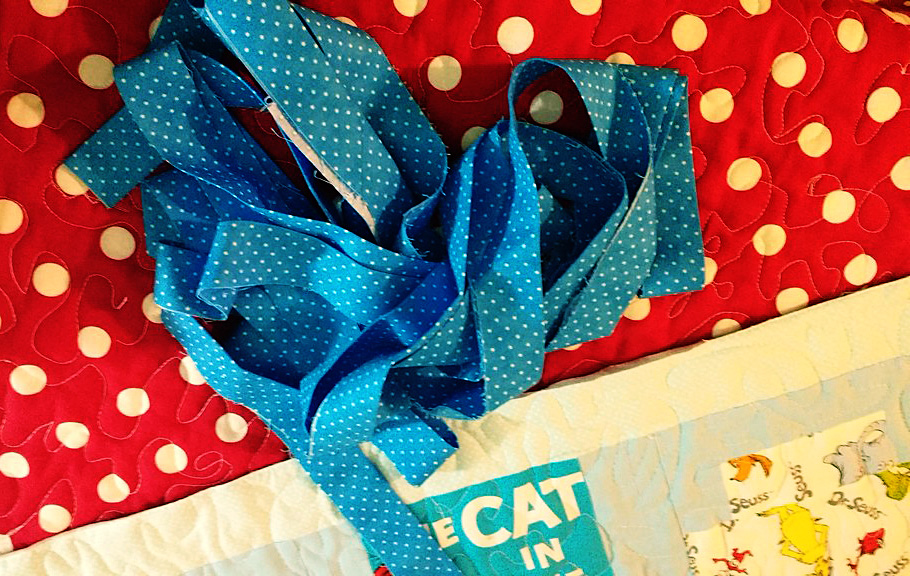
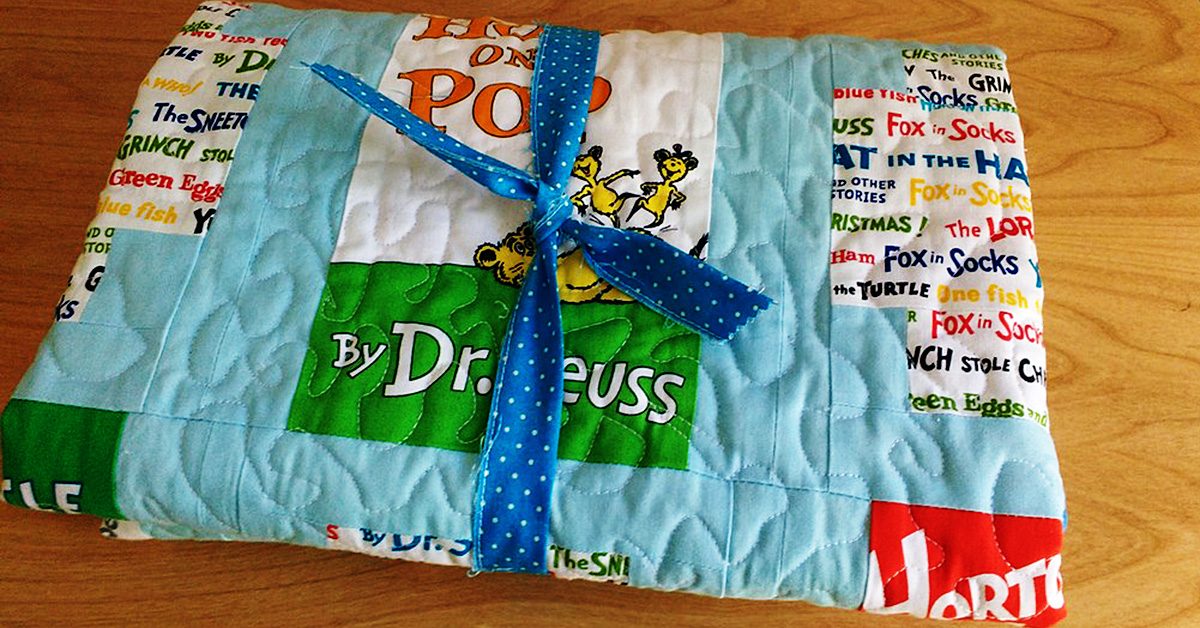
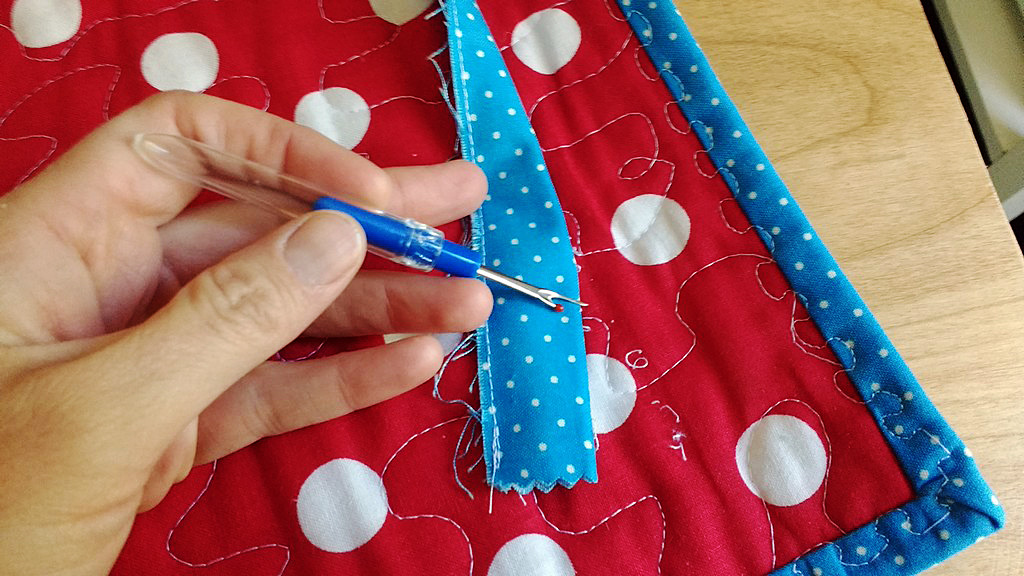
After the gala I brought the quilt back home to remove the fabric tube on the back. The basting stitch I had used made it quick work to take off.
I then recycled the tube of fabric and used to wrap up the quilt for gifting.