I would need a place to serve the hot lasagnas we had ordered.
This weekend I hosted 17 women at my home for a women’s writing workshop with bestselling author, Amy Ferris. We had lunch each day and we ate outside on my lower deck. Lunch was catered and I knew I would need a place to serve the hot lasagnas we had ordered.
Enter my daughter’s art table: I thought it would be perfect for staging food on the deck but it’s covered in marks and squiggles and I didn’t want hot food to hurt its surface. I’ve been on a role using up my Sunbrella stash (you can read about the outdoor Sunbrella pillows I recently made here and here.) So I dug into my Sunbrella stash again.
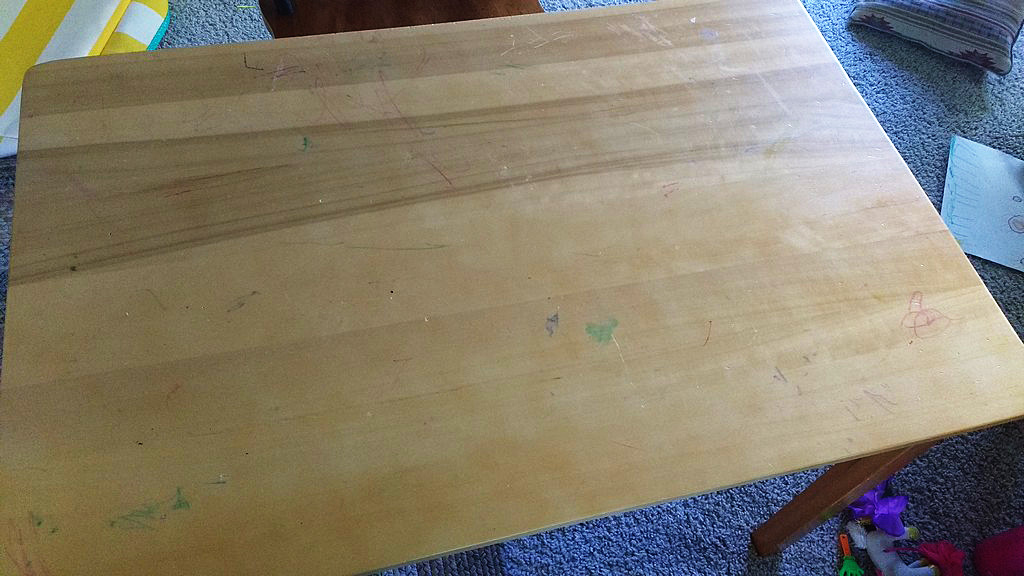
Enter my daughter’s art table.
This wide striped yellow Sunbrella fabric was a perfect choice. Sunbrella is water resistant and stain resistant. I also had some Insul-Brite batting in my stash too. Insul-Brite is amazing and is what home sewers use to make DIY pot holders and ironing boards.
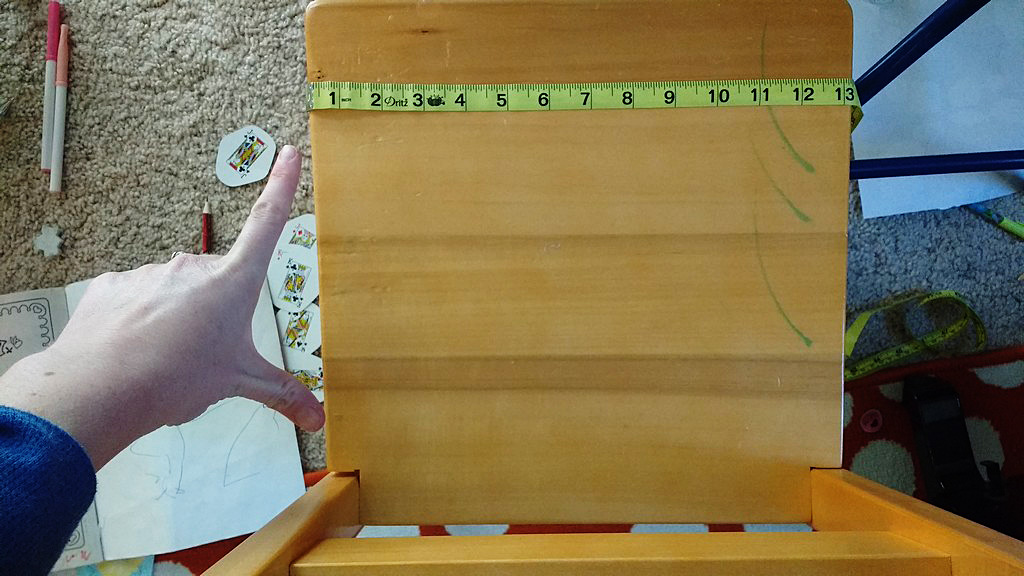
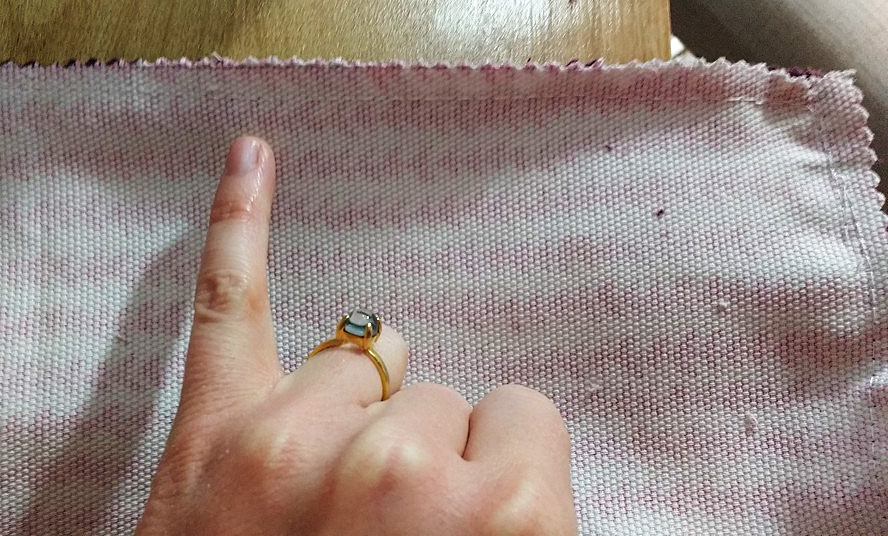
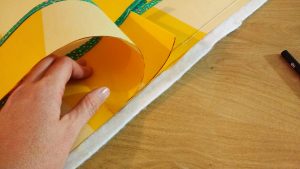
To get started, I turned the table over and used it to make a pattern on the fabric.
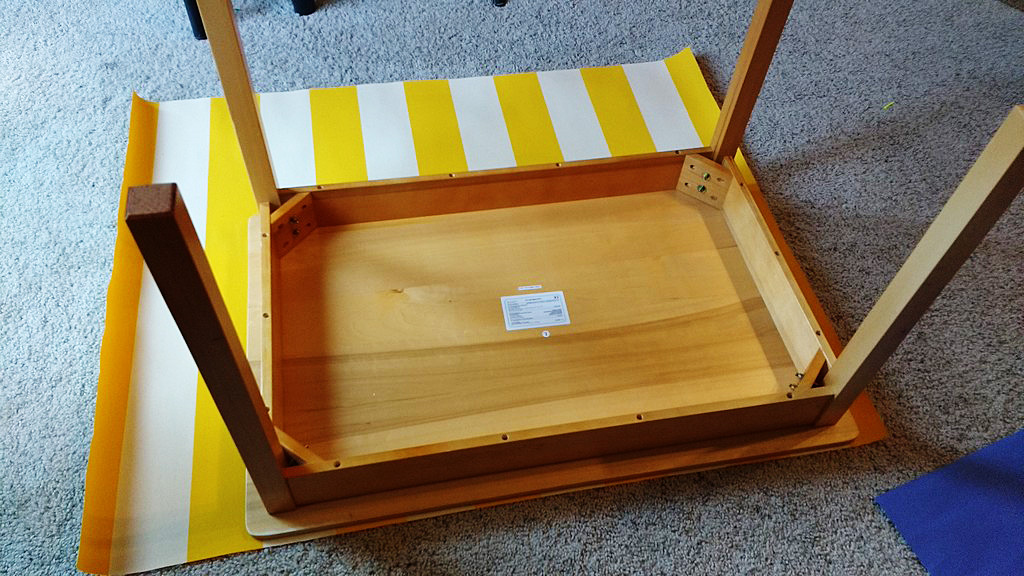
This wide striped yellow Sunbrella fabric was a perfect choice.
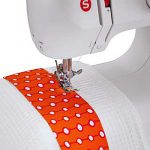
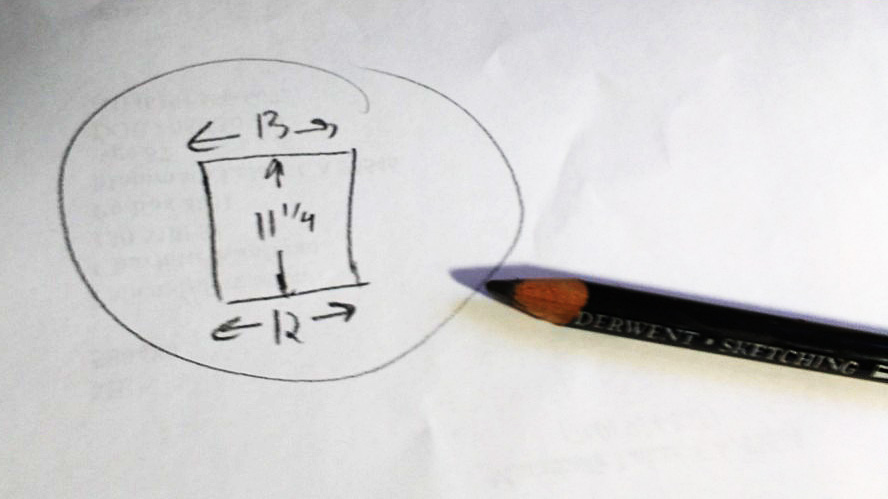
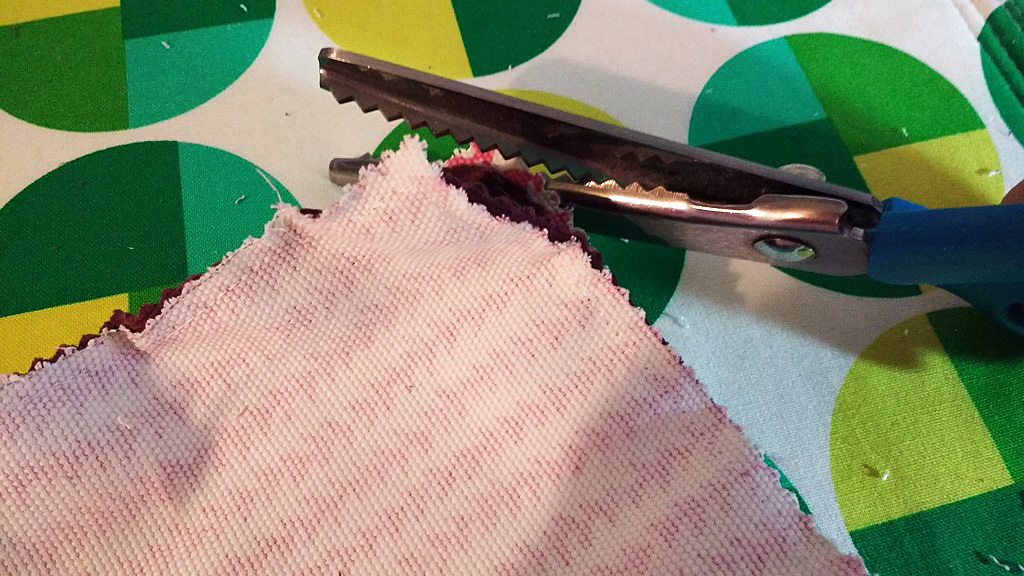
I used a ½” seam around the pattern. I also only had one yard of the fabric so on the remaining portion I had to do some math to make sure I had enough left to make strips for the sides of the table cloth. I figured out that I could do three strips at 4.25” each. I cut out the tablecloth top and the strips with a hot knife.
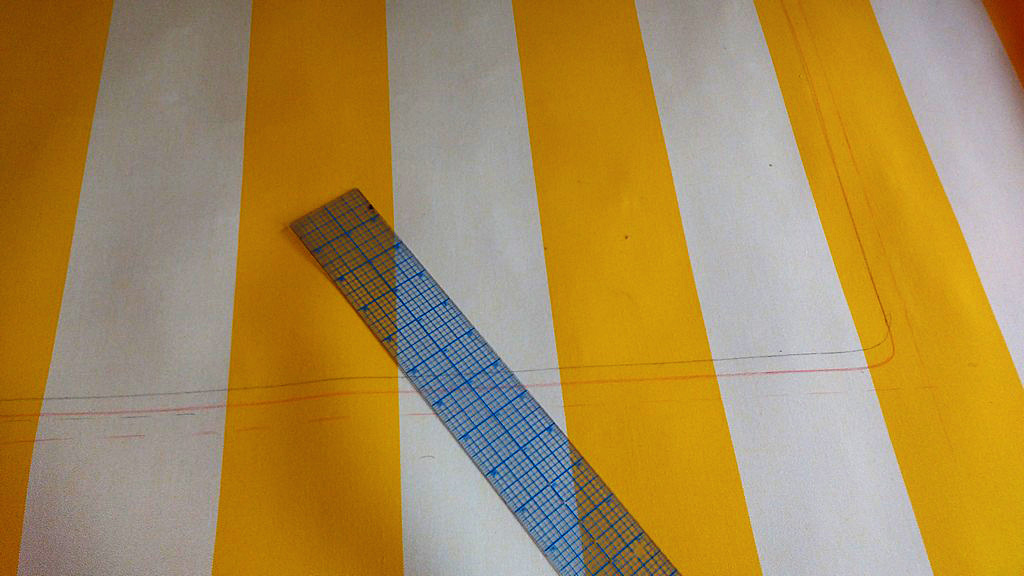
I used a ½” seam around the pattern.
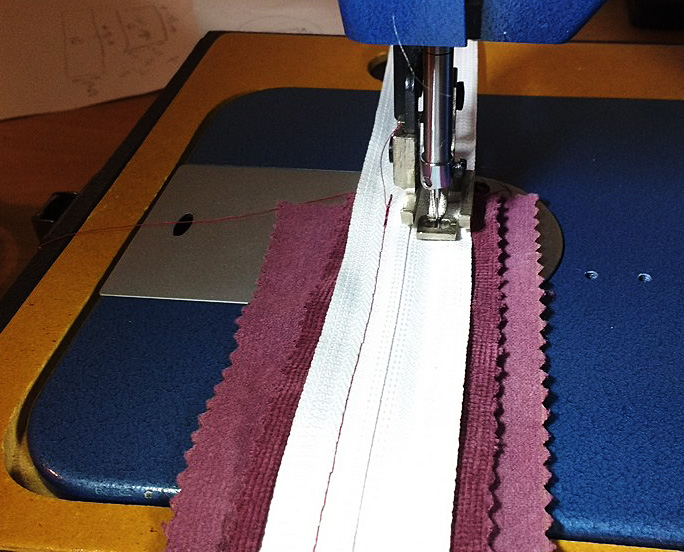
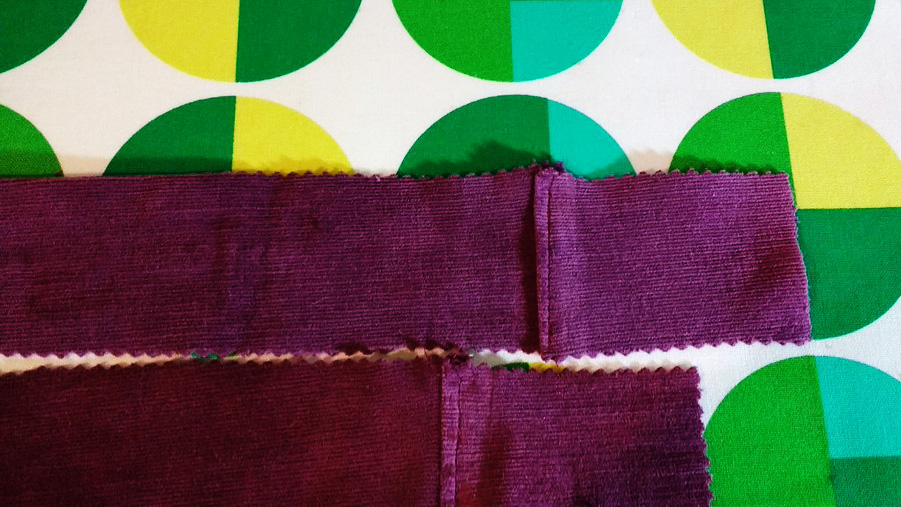
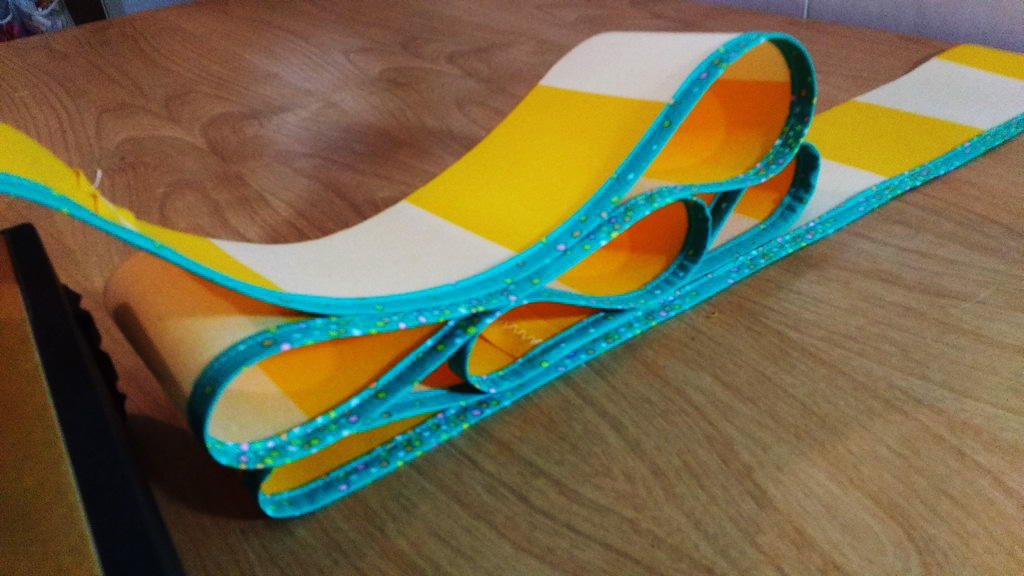
Next I joined the three strips together, opening the seams and finishing them with a zig zag stitch to help keep the joins as flat as possible.
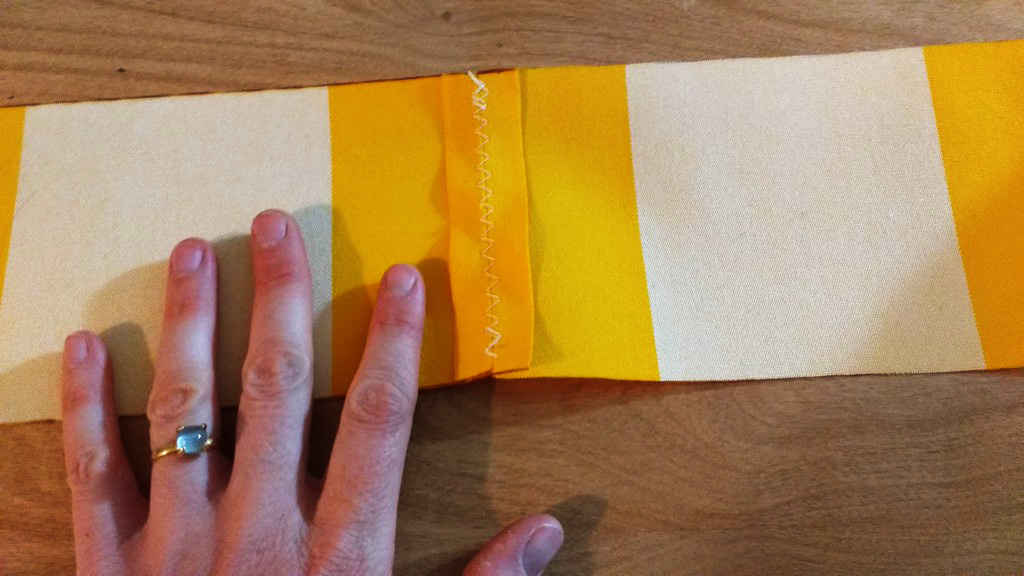
Next I joined the three strips together.
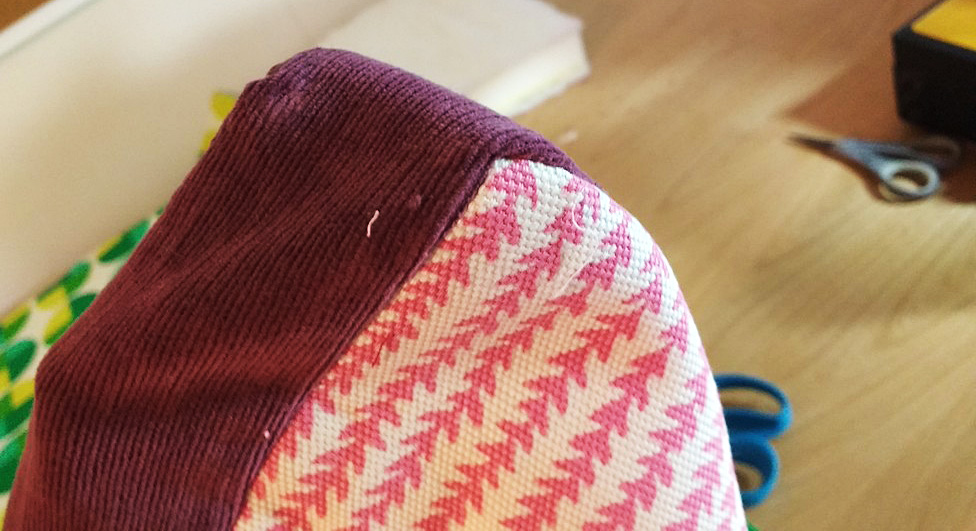
I really wanted to add pom pom trim but I didn’t have enough to go around the table cloth so I used some of this handmade trim I had from a quilt I made earlier.
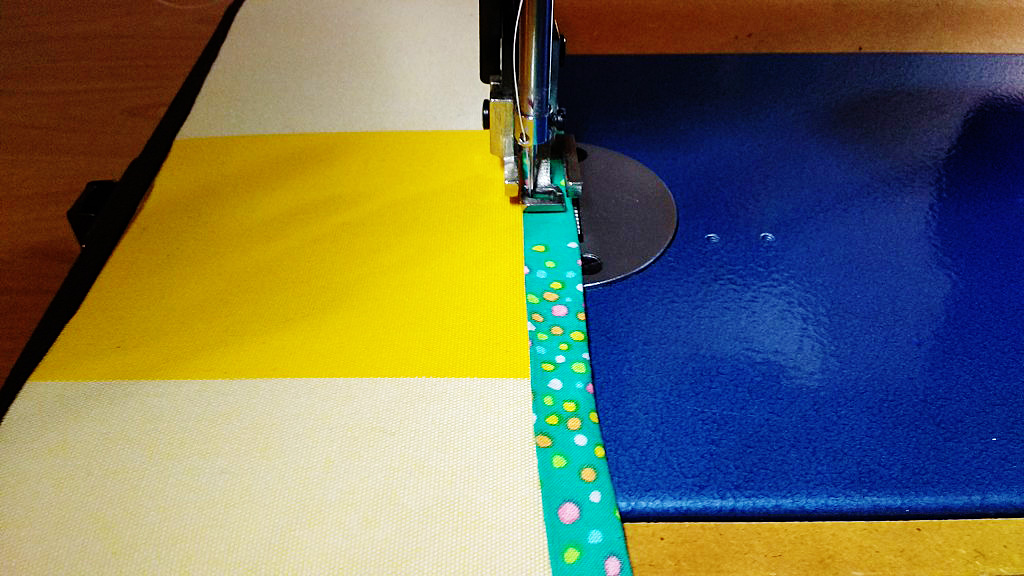
I used some of this handmade trim I had from a quilt I made earlier.
How beautiful is that?
How beautiful is that?
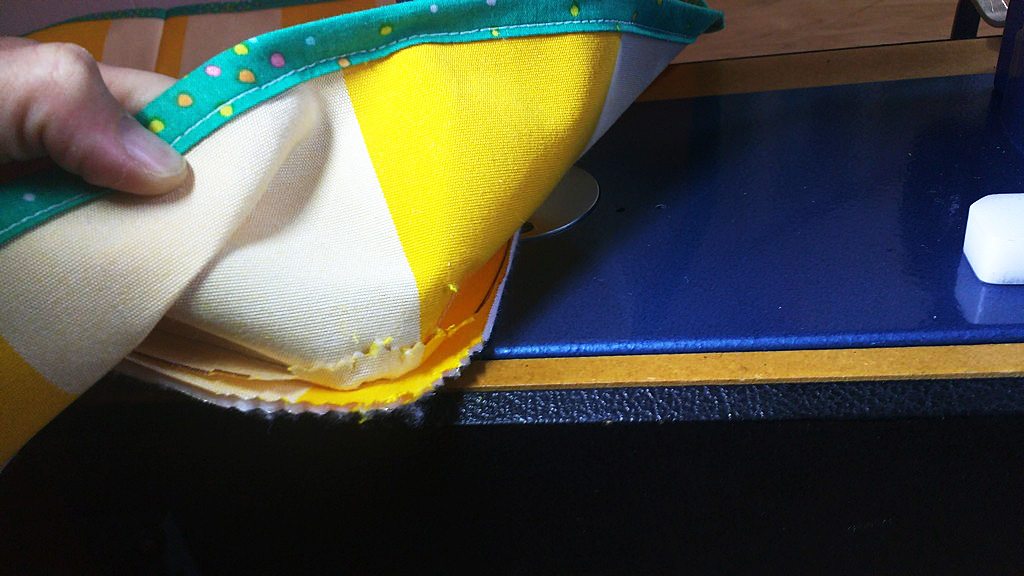
Now that the side fabric had the trim attached, I busted out the Insul-Brite. You want to put the shinier side of the fabric toward the heat source. I cut out a piece that was slightly larger on all sides of the top of the tablecloth.
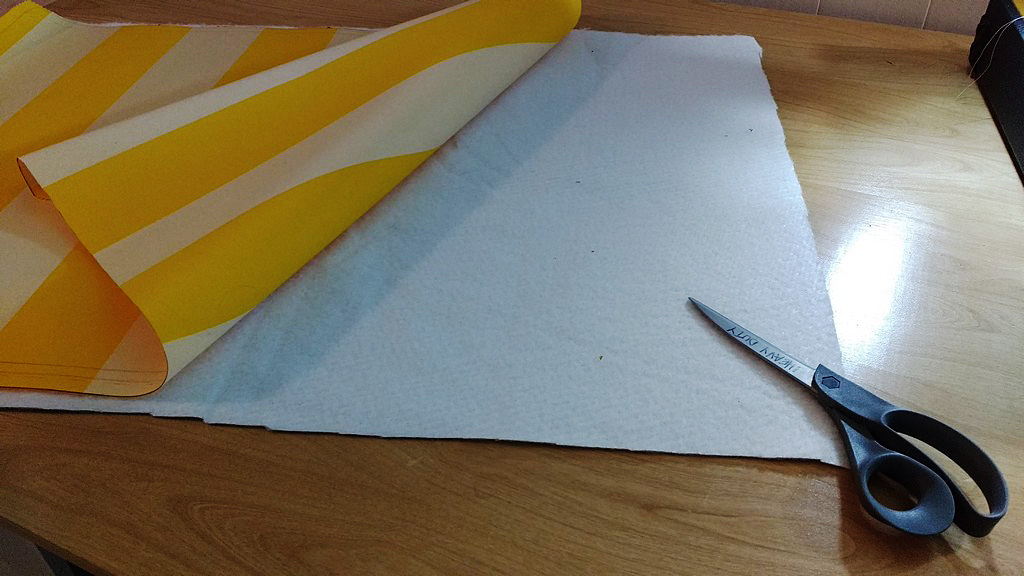
I cut out a piece that was slightly larger on all sides of the top of the tablecloth.
To attach the side piece to the top I made a sandwich of first the Insul-Brite, and then the Sunbrella top. The side piece went on top of the table cloth top, right sides together. Before I started I drew a ½” seam on the side piece so I knew I was sewing correctly to the pattern I’d created for the tablecloth top.
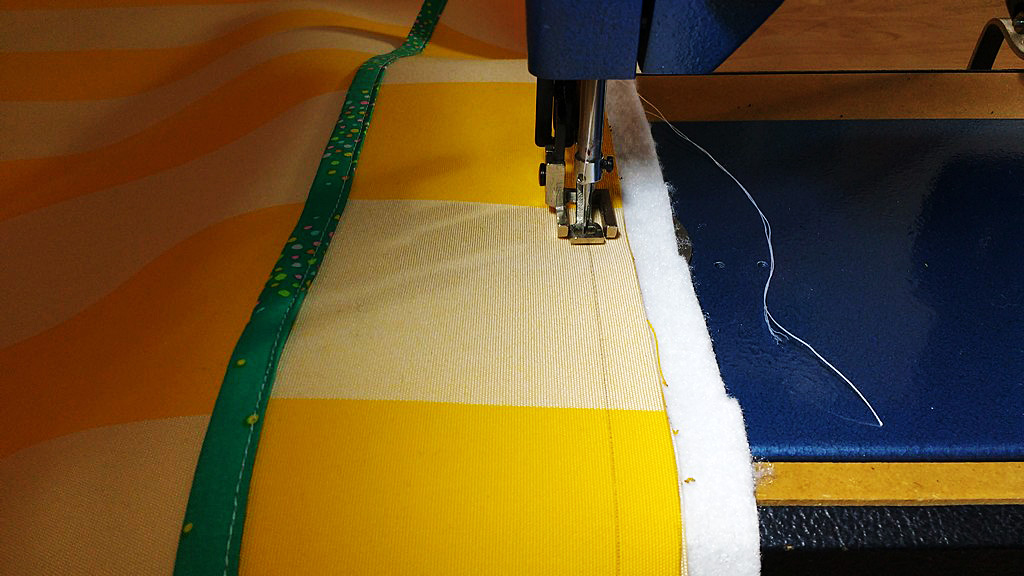
Before I started I drew a ½” seam on the side piece so I knew I was sewing correctly to the pattern I’d created for the tablecloth top.
Cut snips into the fabric as you go around the corners.
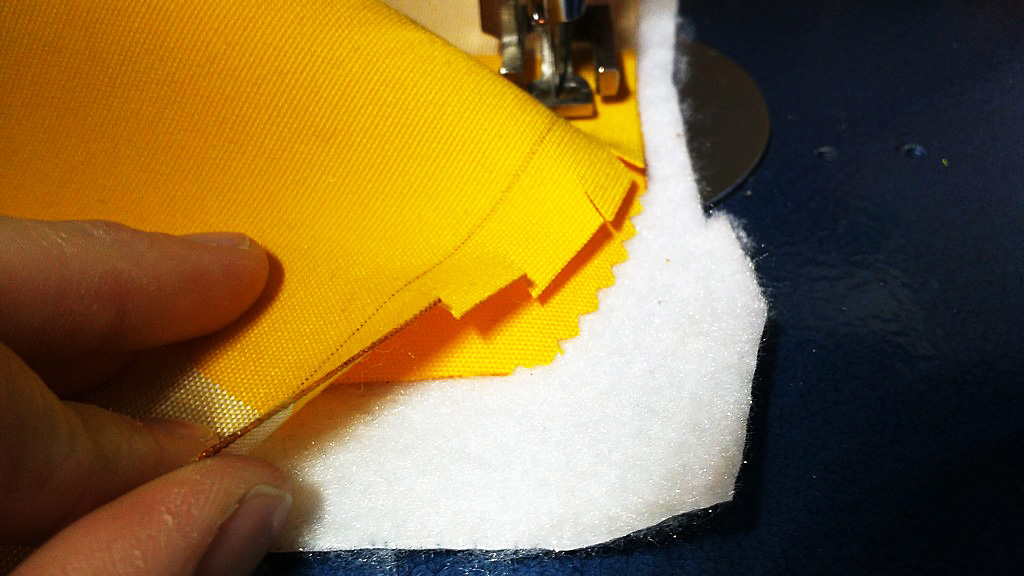
Cut snips into the fabric as you go around the corners.
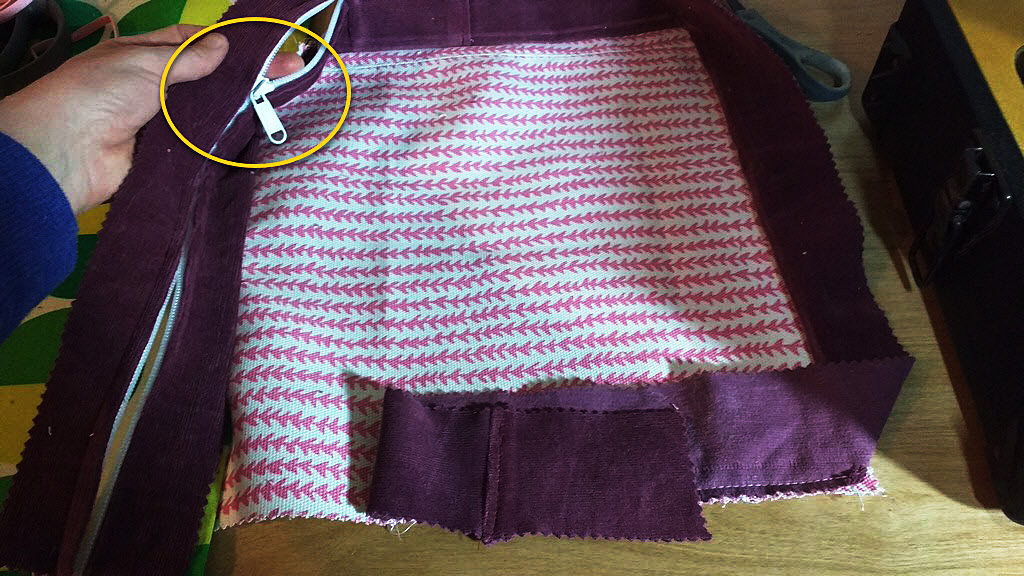
When you get close to the other end of the trim, pull it off of the machine, join the two pieces and fold them back and forth, marking where they should be sewn together.

When you have those marks, bring the top over to your machine and sew the join on the side piece.
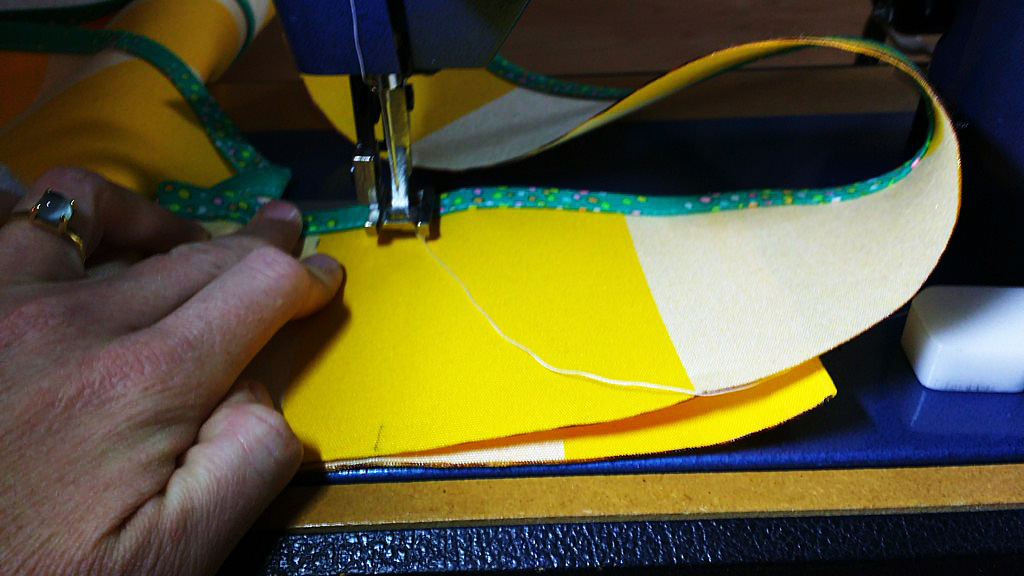
When you have those marks, bring the top over to your machine & sew the join on the side piece.
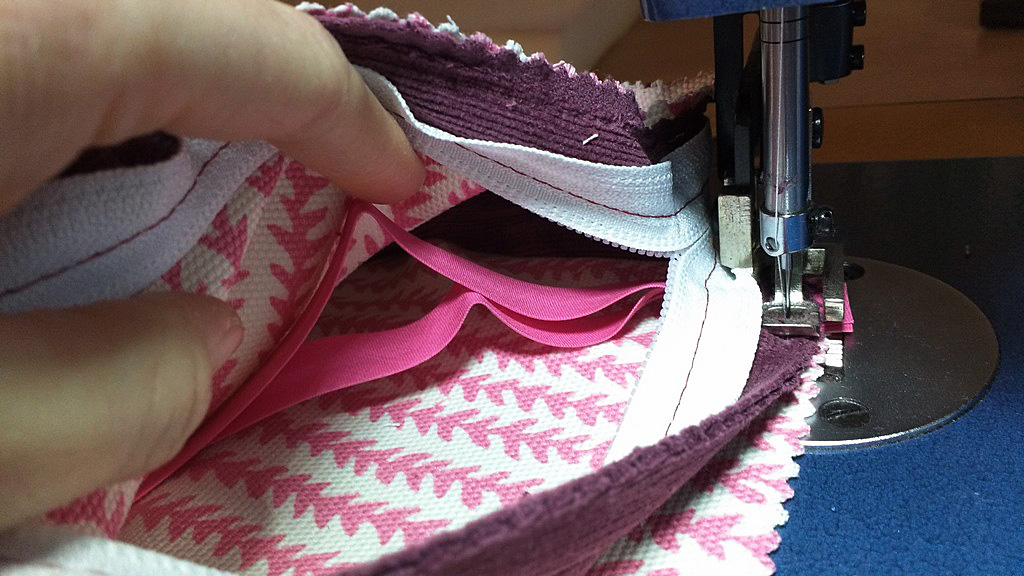
Use your hot knife to trim the join. Then sew the rest of the side piece down to the tablecloth.
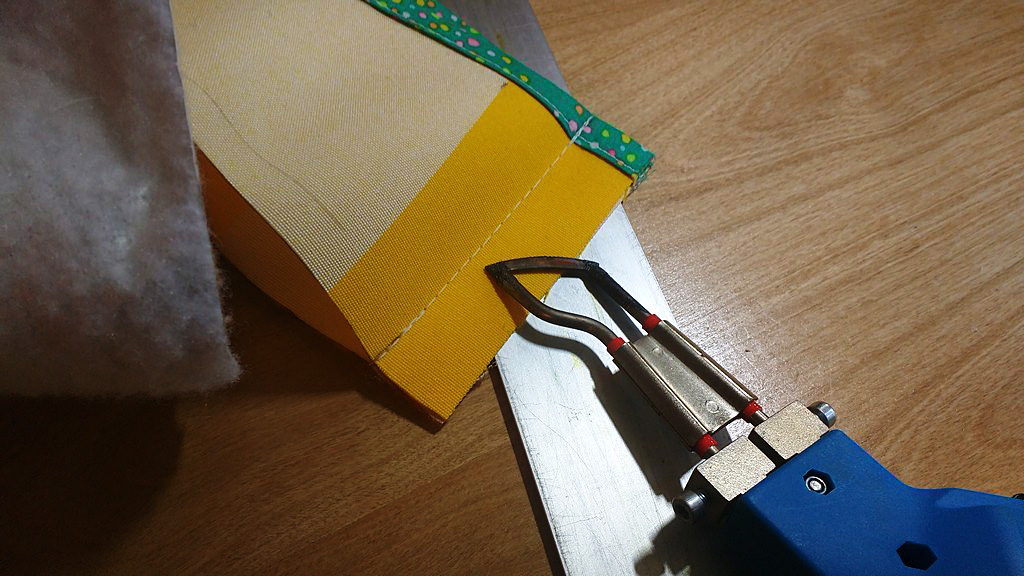
Use your hot knife to trim the join.
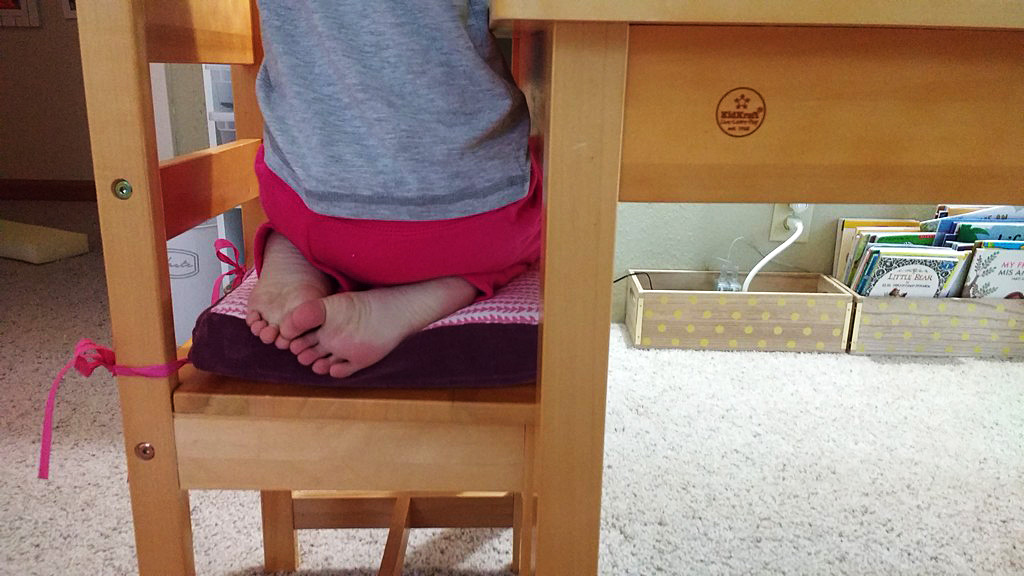
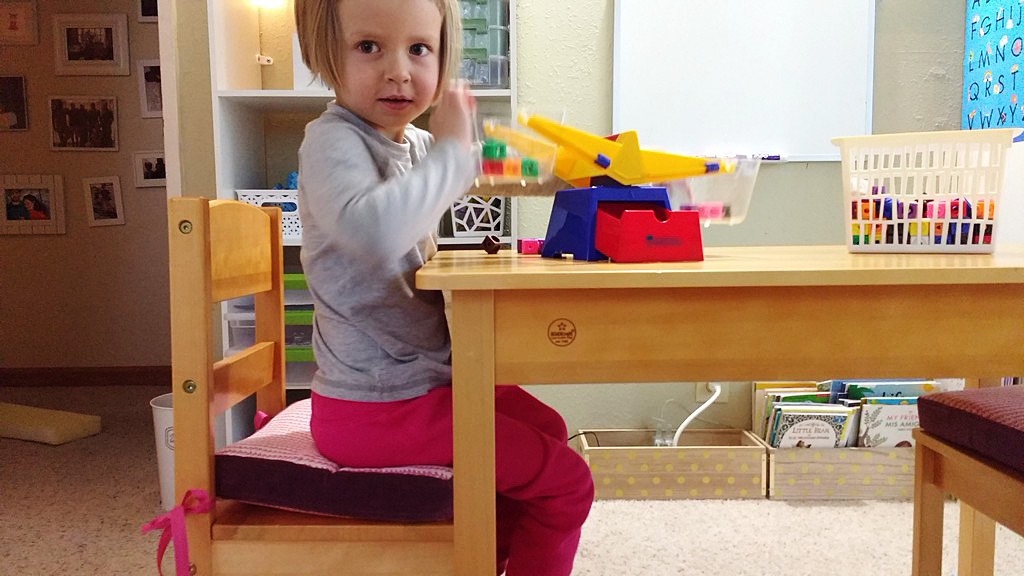
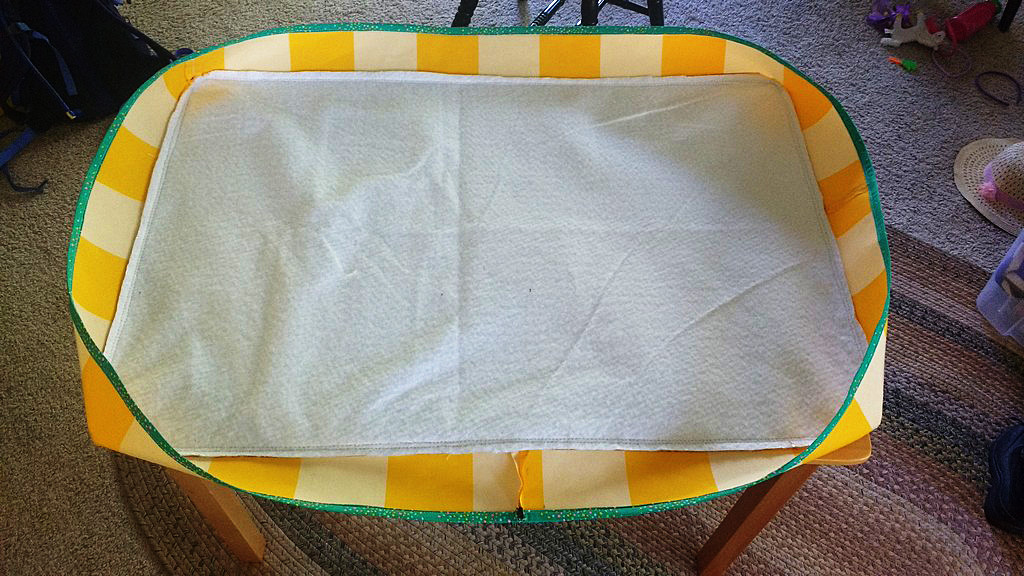
Next I tried it on the table to make sure I had it correctly sized. I had not yet trimmed any excess Insul-Brite. Here you can see both my darling daughter and that the tablecloth fits. What it is missing is topstitching. Topstitching is magical, not just for the finishing touch it gives but because it helps give support and structure.
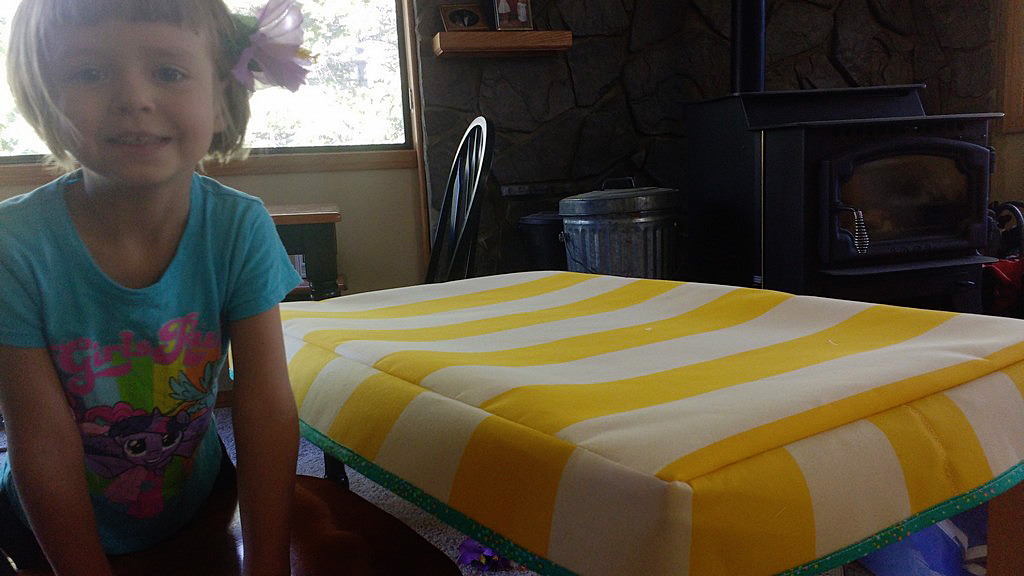
Here you can see both my darling daughter & that the tablecloth fits.
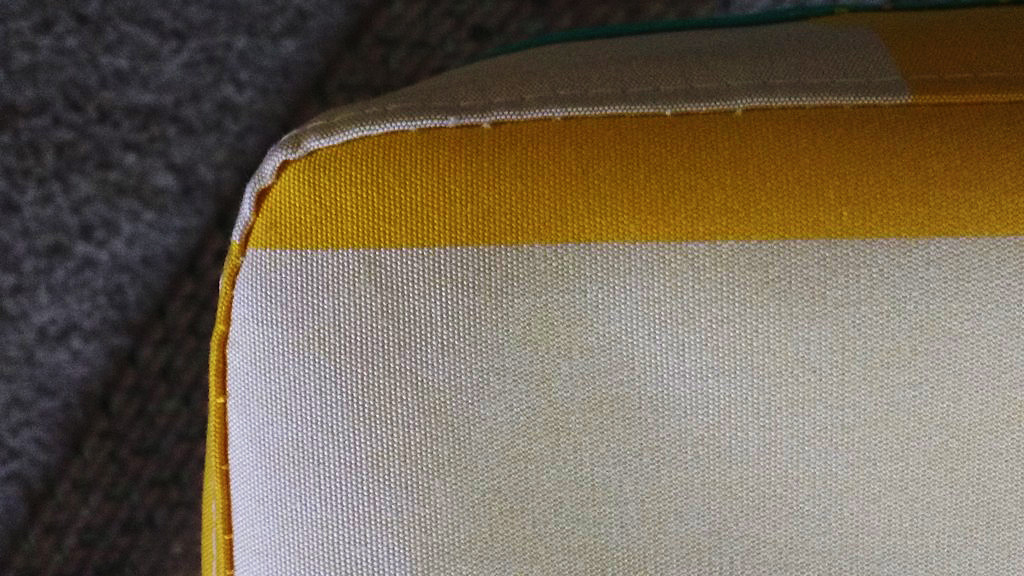
I chose to topstitch on the side piece versus the top and fold the Insul-Brite down toward the sides.
I chose to topstitch on the side piece versus the top & fold the Insul-Brite down toward the sides.
That nice, clean line is exactly what will take this project to the next level.
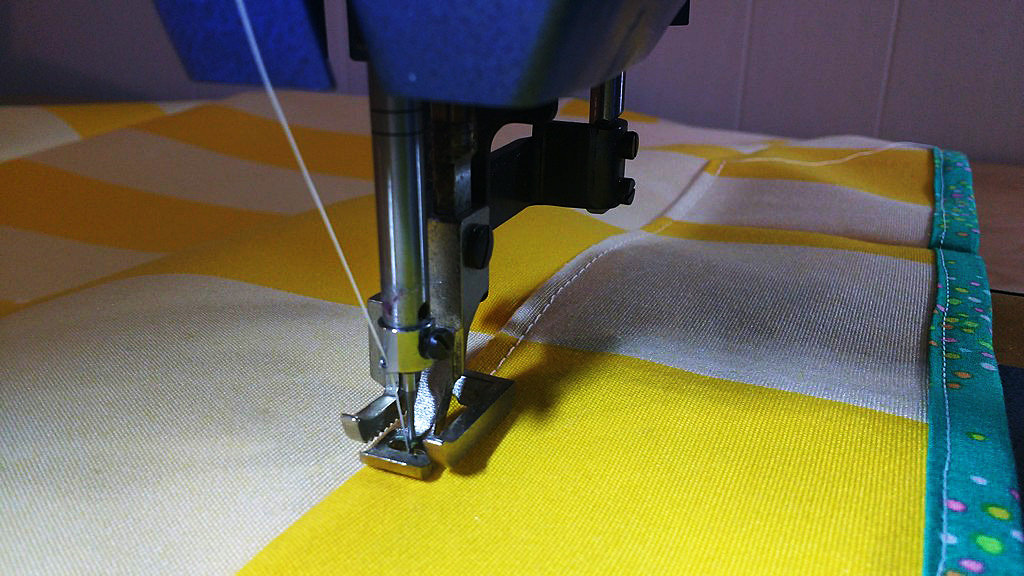
That nice, clean line is exactly what will take this project to the next level.
Finally, I trimmed the Insul-Brite to match up with the seams and then used pinking shears on the corners where I had made snips to help prevent fraying.
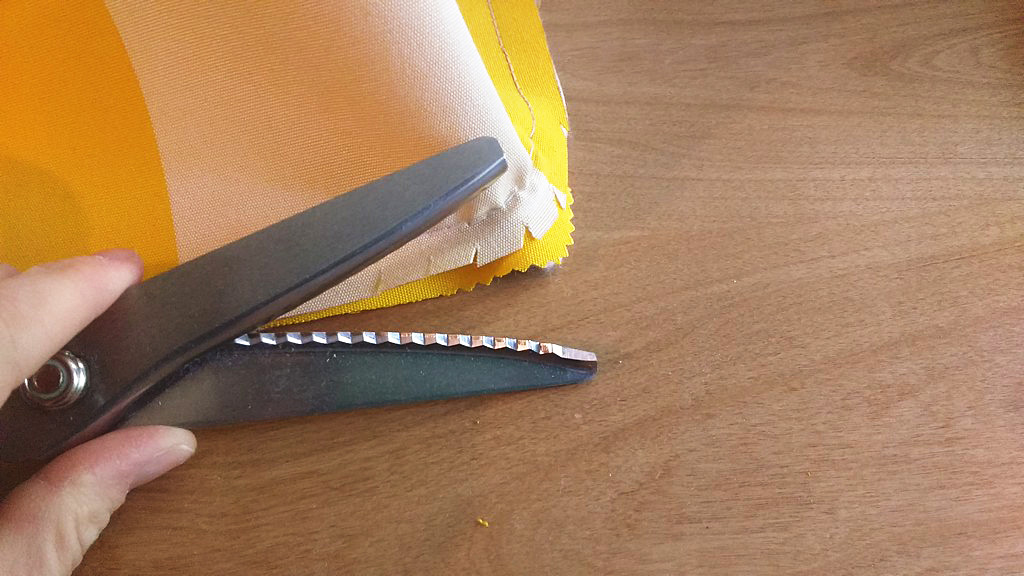
I trimmed the Insul-Brite to match up with the seams & then used pinking shears on the corners where I had made snips to help prevent fraying.
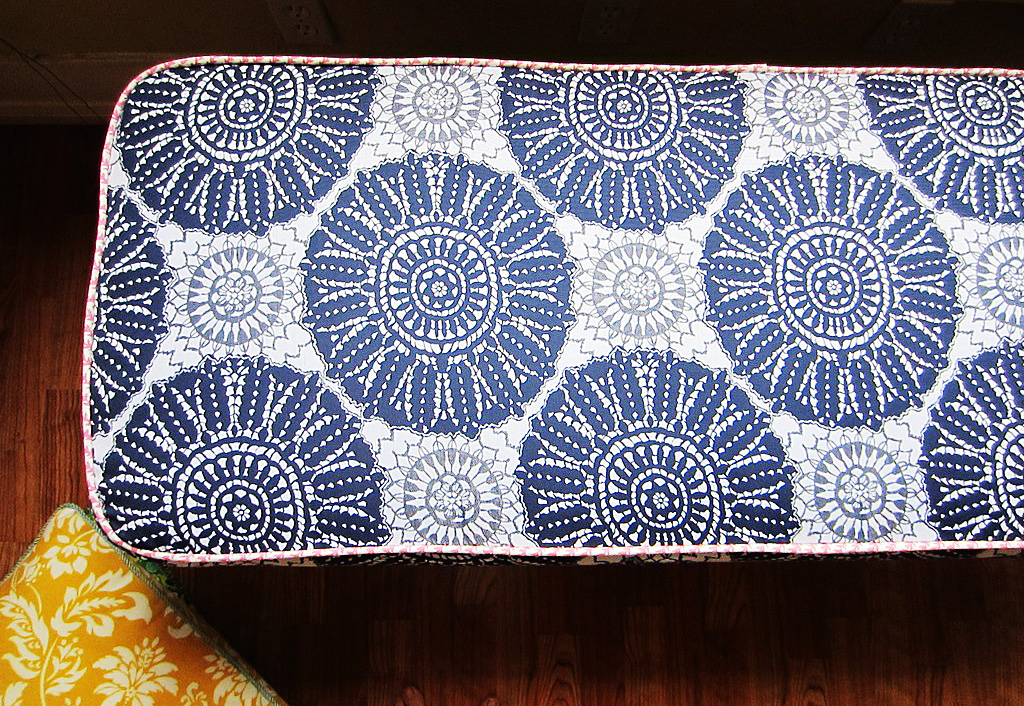
Here’s what the finished piece looks like on the underneath.
Here’s what the finished piece looks like on the underneath.
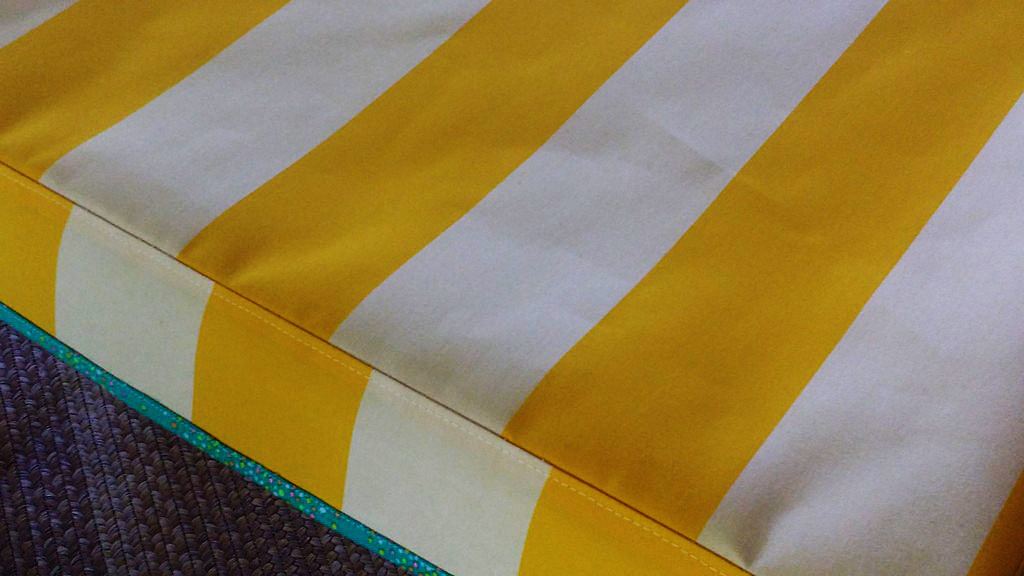
Flipped over and on the table, you can see how much more snugly the tablecloth fits because of the topstitching.
Flipped over & on the table, you can see how much more snugly the tablecloth fits because of the topstitching.
How darling is this?
How darling is this?
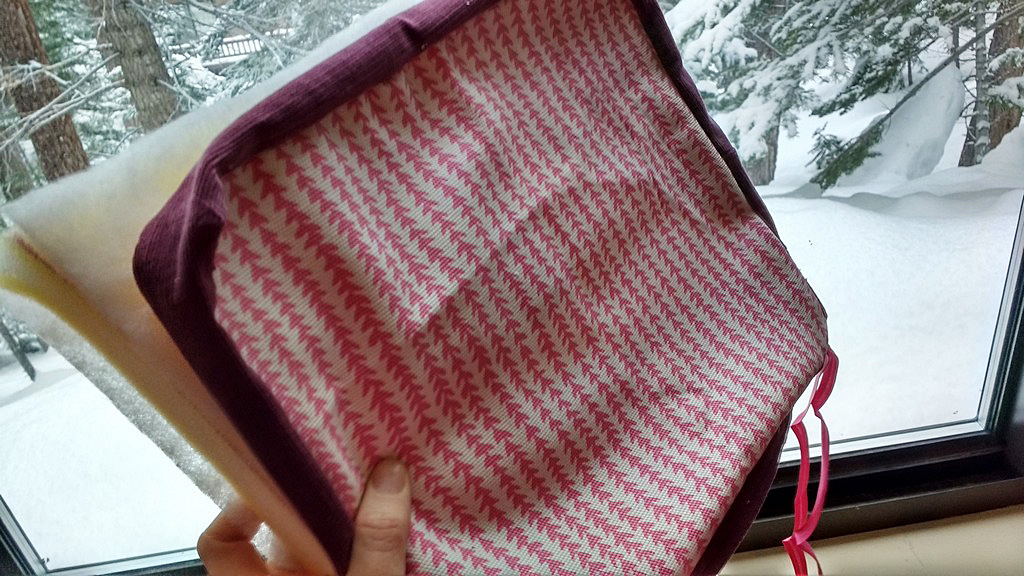
This is a quick pic of it inside.
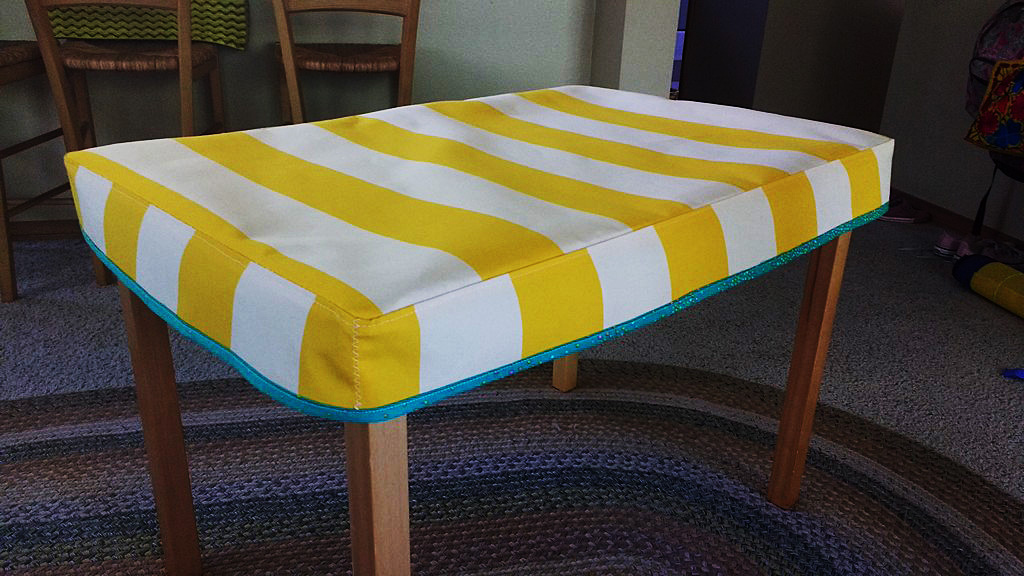
This is a quick pic of it inside.
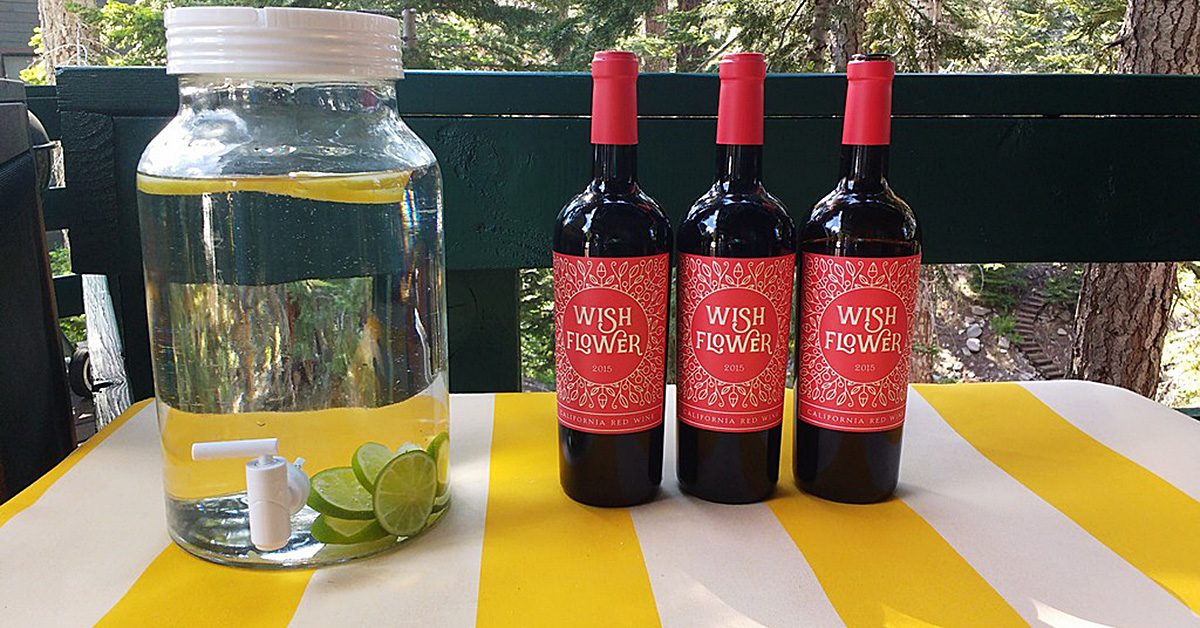
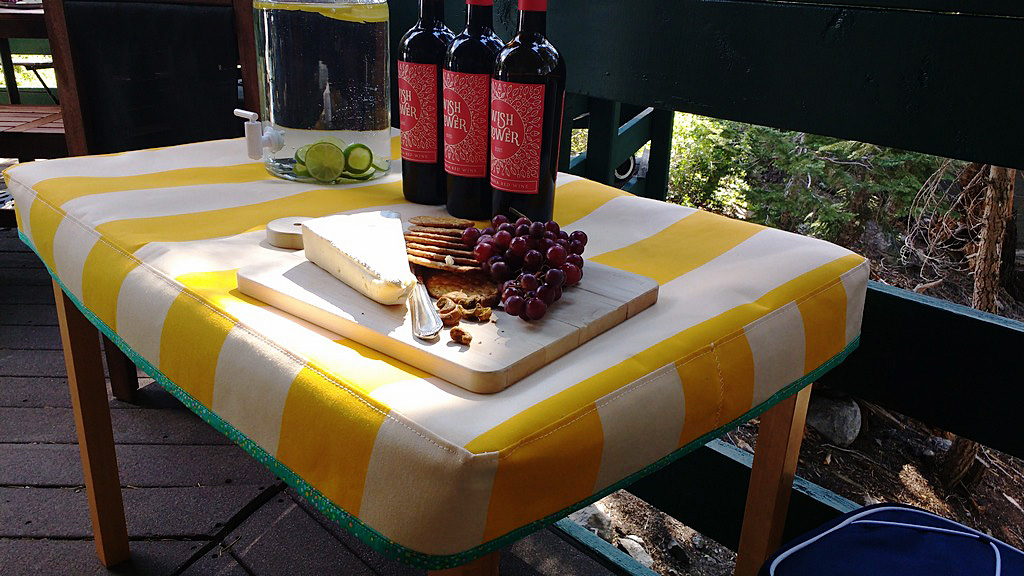
And at last, my idea worked out great on the deck where I served lasagna for my guests and later, cheese and wine. I love it when a project works out!
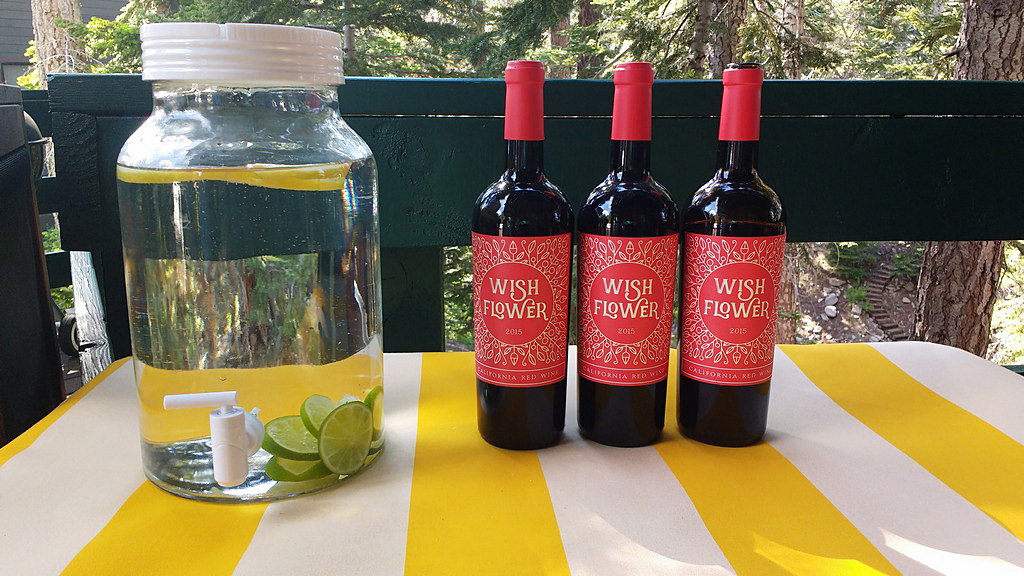
I love it when a project works out!