I’ve written before about answering the question, “What do you do for living?” and how I really don’t like it and have trouble explaining it accurately.
Another type of question I find slightly troublesome as well are the ones that start with, “You’re into clothing and fashion, what do you think of…”
Or questions about specific names for types of fabric or techniques.
First of all, I would never say that I’m into fashion and clothing (If you saw the way I dress, you’d definitely believe this! I usually define my personal style as homeless chic). I just speak the language of fabric and patterns. I certainly have my own ideas about what styles I like but I’m no expert on whether or not that poofy princess dress you just bought for your niece is tasteful or not.
You go girl
If she likes it, is happy, and feels like a princess, then I’d say it’s perfect.
Humans have a wide variety of tastes and, ultimately, the things you like are the things you like. I’m a big advocate of never reading any article that has a title along the lines of What to Wear Now or Fashion Must-haves.
Wear what you want – be happy
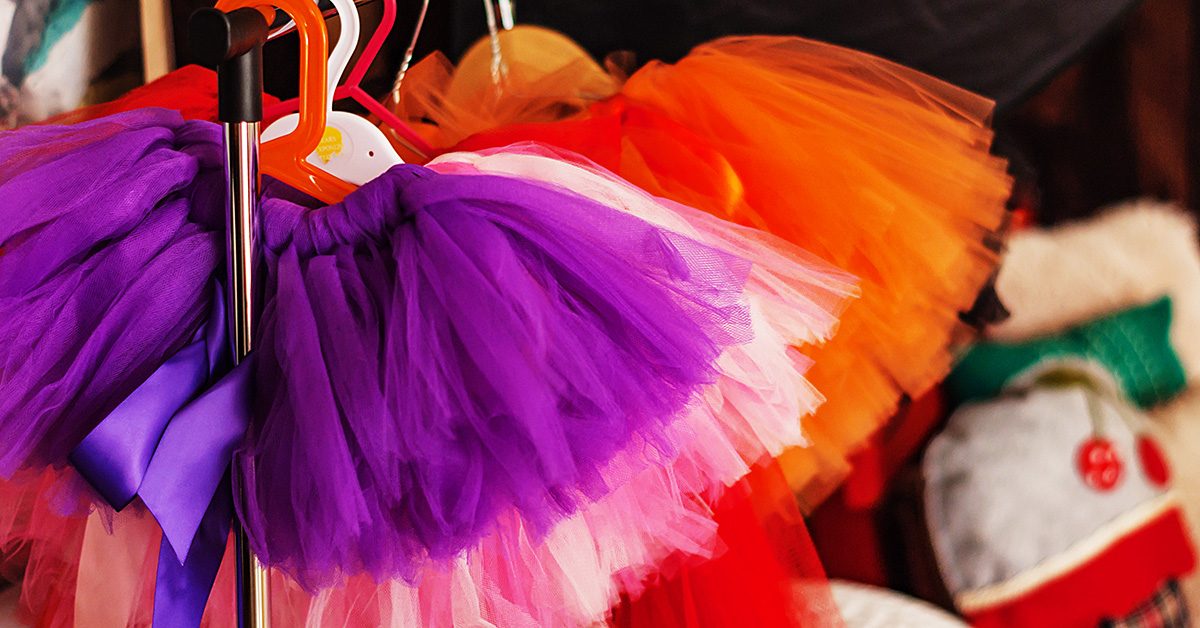
I have an amazing, wacky friend, who is an ultra-runner – meaning she routinely runs 100 miles in a row. She’s also run the New York City Marathon a bunch of times. And sometimes she does this wearing a pink tutu. For no reason than it makes her happy. Just because.
I love this picture of her. So did the promoters of the marathon this past year as they featured it in subways and on the sides of city buses. I was on my way to work one morning, on my bike as is my custom, stopped at a light at the corner of Lex and 62nd, when suddenly this huge photo of my friend went rolling by. It was kind of amazing.
The other line of questions about names of fabrics and techniques annoy me (slightly) only because, honestly, I usually don’t know the “proper” name for things. Why, you may ask?
My big secret
Well, here’s the thing: my big secret. I never finished college. This was a huge deal at the time as I was valedictorian of my high school class and accepted into the Honors Tutorial College at Ohio University. I was considered smart and a brain.
So I went. For a year. But then I didn’t go back.
And I’ve never regretted it. Colleges and degrees are great for some people, if that’s what you want. But, honestly, I was sick of memorizing stuff and just “practicing” at doing things for life. There was no challenge for me at University. I needed, wanted, to be out in the real world, working at something I loved and was, quite frankly, quite good at in a very natural, intuitive way.
One size does not fit all
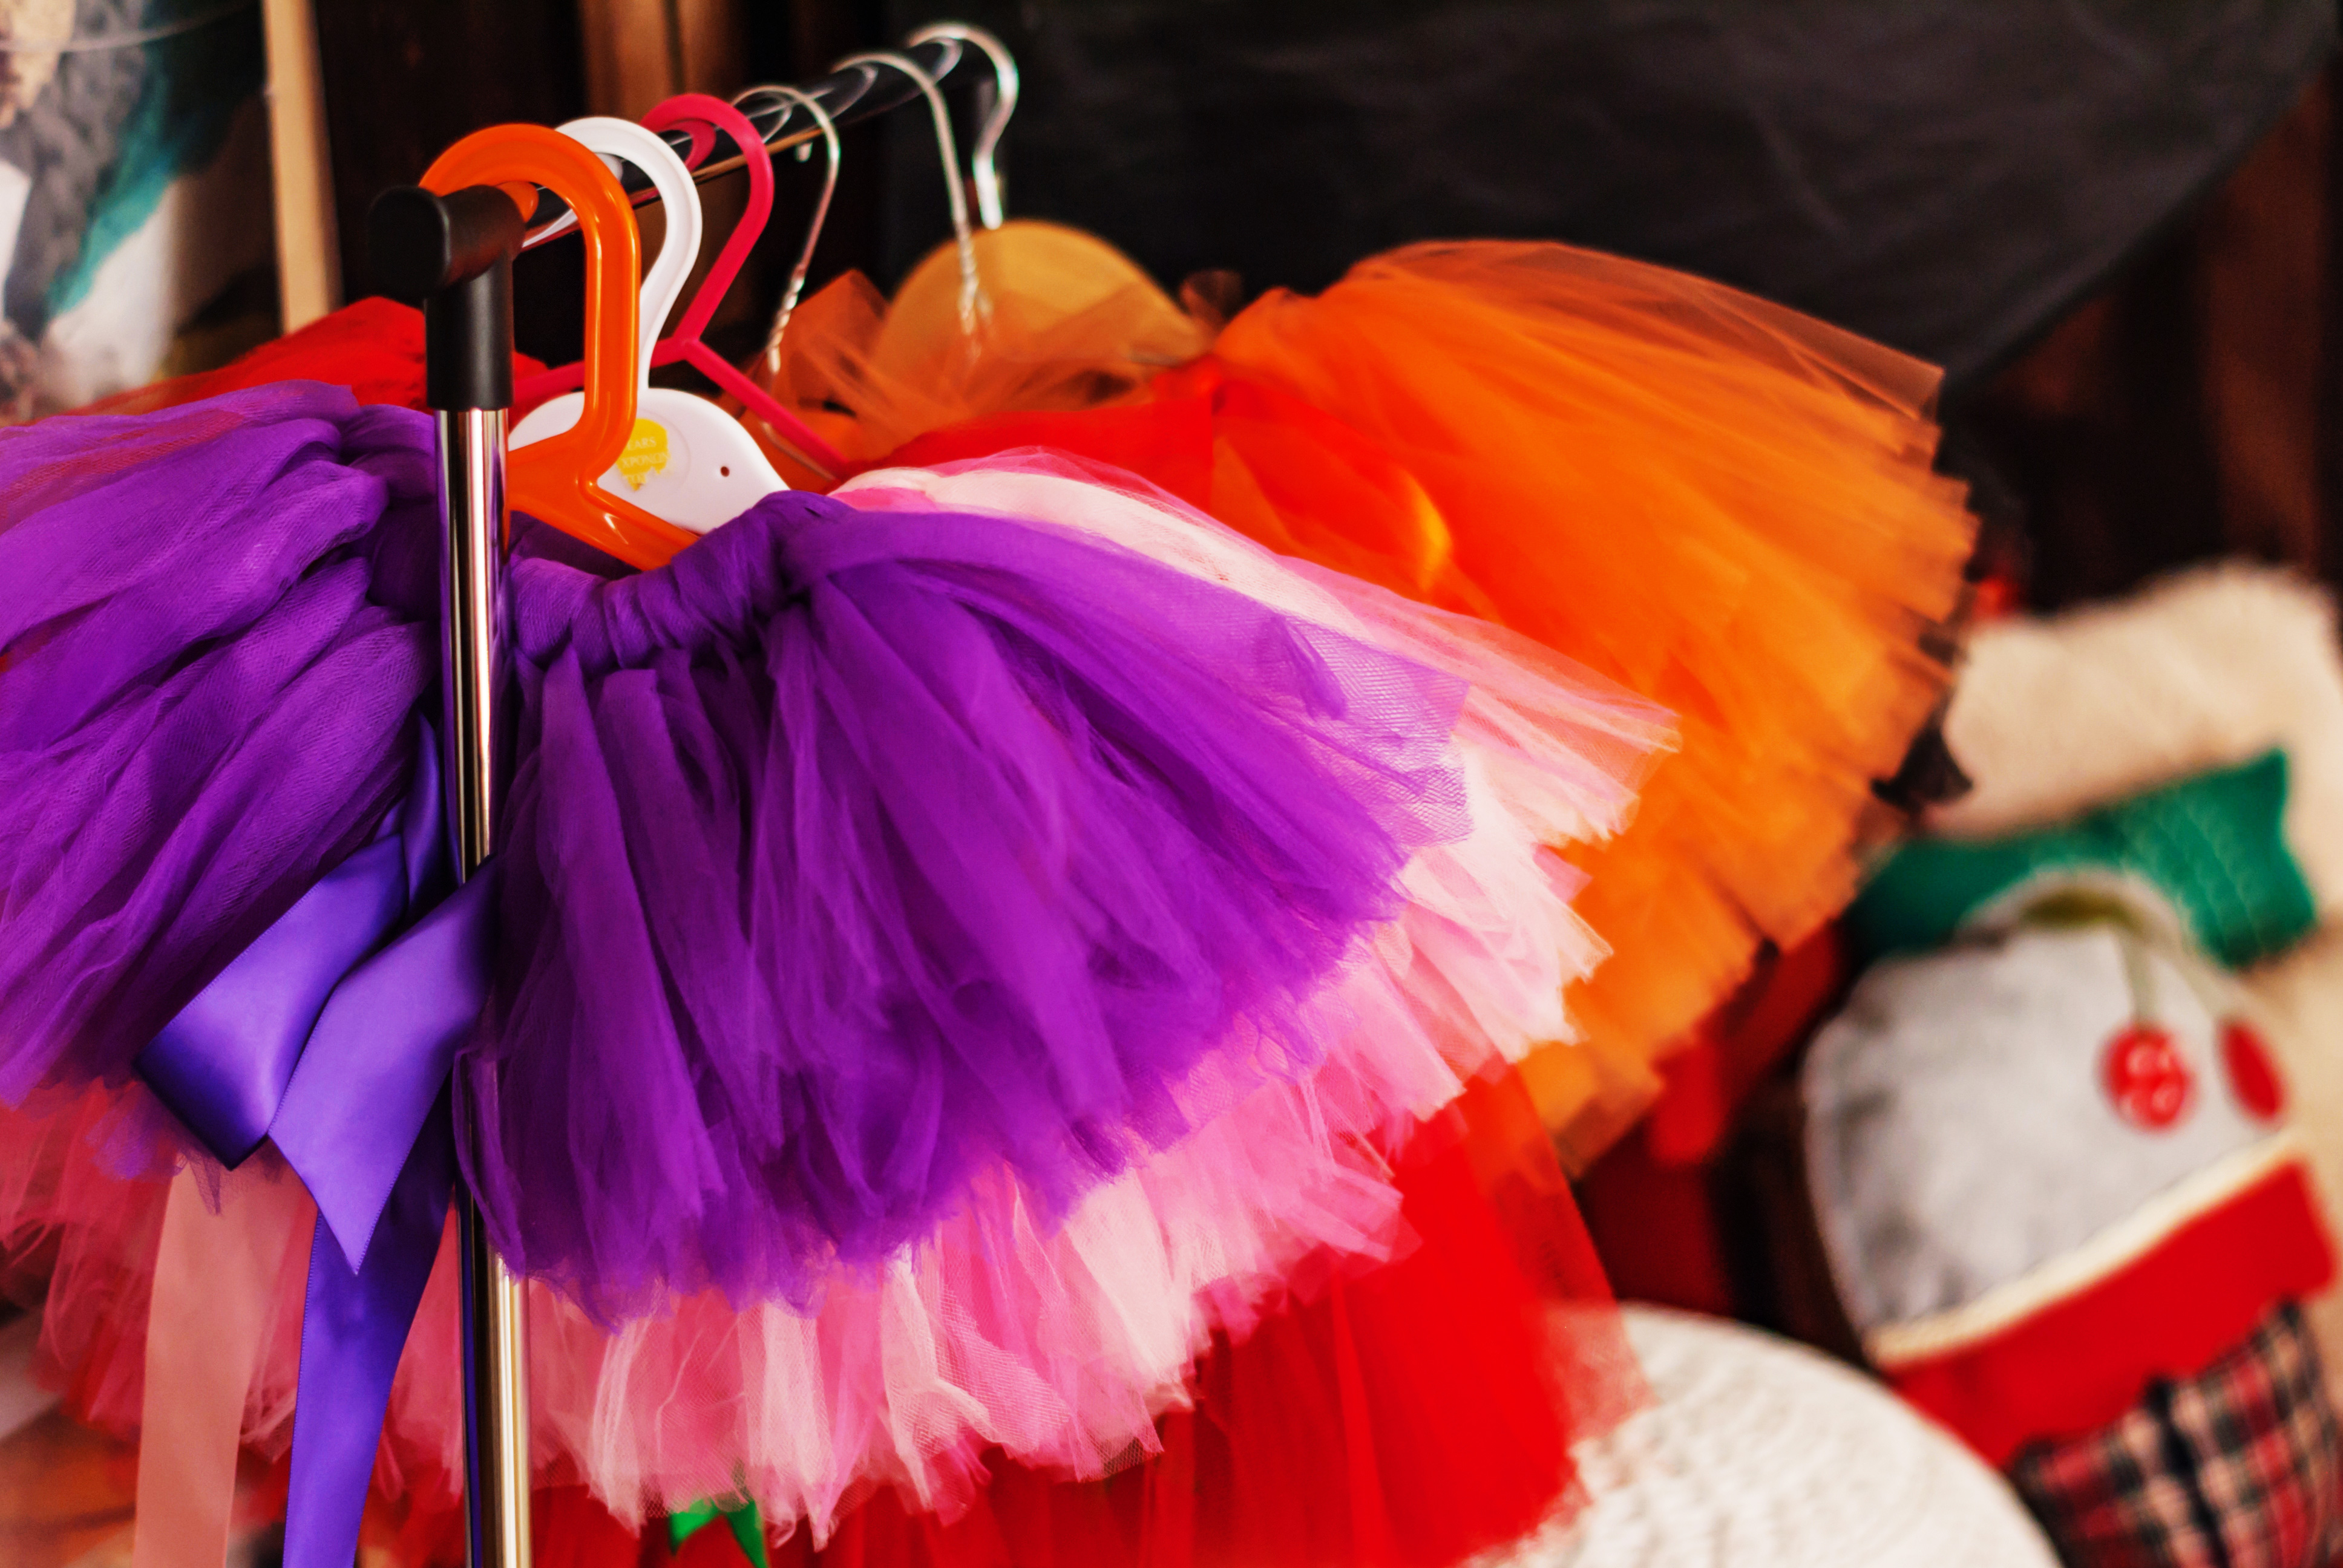
Put on your tutu & run.
Sometimes I think the downfall of our education systems is the one size fits all approach to learning. (I’m allowed to say this because both my parents and two of my brothers are in education.) People learn differently.
And for me, at 18 or 19 years old, whatever it was, the best option was to be actually in a real working costume shop learning everything I could. Practical application, if you will. Developing new skills by trial and error (sometimes trial by fire) but ultimately, doing. Not sitting in a lecture hall listening or draping yet another sloper or princess seam bodice.
My main reason for bringing this up is that I’ve noticed recently that sometimes people are ashamed of the fact that the don’t have some fancy degree from some fancy college and think it makes them not as smart or talented as someone who does.
I can tell you with certainty that that is not the case. You either have the talent or you don’t. No college anywhere can teach you that. They can teach you the difference between organdy and organza in words but you won’t really know what that difference means until you’ve worked with both fabrics in a practical application.
The same with something as simple as the difference between cotton and wool. Its easy to say cotton is a natural fabric made from the cotton plants and wool comes from sheep but, in order to understand that difference, you need to use those fabrics and get to know them on a personal level.
I know its kind of cheesy, but I’m a big believer in the language of things. There is nothing inherently scientific about my belief. I just think people in general don’t pay close enough attention to their environments (in part because so many of us spend entirely too much time looking at our phones) and, as a result, miss a lot of the information that is right in front of us and don’t hear what someone (or something) is saying.
I know this post is a bit rambling and disjointed (I had a rather busy weekend lacking in sufficient sleep.) But, the point(s) I’m trying to make are put down your phones, put on your pink tutus, listen to your fabric, and make something unique and wonderful to let loose in the world.
I’m going to try and do the same today. And, then, I’m going to get some sleep.