Country Kitchen Mug Rug.
Mug rugs are extremely popular in the sewing world. They are usually fairly easy to sew and are generally easy to customize. Mug rugs make quick, easy, fabulous personalized gifts. I made a bunch of them personalized to the tastes and colors of each individual for friends and family. It wasn’t long before the requests for a second for work or for a child or friend of theirs came in. I absolutely love designing these. They don’t take long to make and I get to play with all sorts of fabric designs. They’re a wonderful project to add personality and flare to.
“Okay,” you say, “this sounds wonderful, fabulous, awesome. But what in the world is a mug rug?”
What is a Mug Rug? A Mug Rug is a cross between a full size place mat and a coaster. Smaller than a place mat, there is usually just enough room for a coffee or tea mug and a snack. They work perfectly for that breakfast coffee or an afternoon snack of tea and cookies. Typically the front side is the focus of designs and decals. The back is usually just one piece of decent fabric. The back fabric can match the colors or design on the front or can be completely different. If spills occur, just flip it over and finish your cup before tossing it in the dirty laundry.
Country Kitchen Mug Rug
Level: Beginner
Time to Complete: In an Hour
Sewn by: Machine-1/4 in. straight stitch except where indicated
**Tip** Wash all new materials prior to use to avoid shrinkage when you wash it later on.
**Tip** Iron cut pieces before sewing and in between each step. This helps in the sewing process and the end results will look more professional.
Country Kitchen Mug Rug.
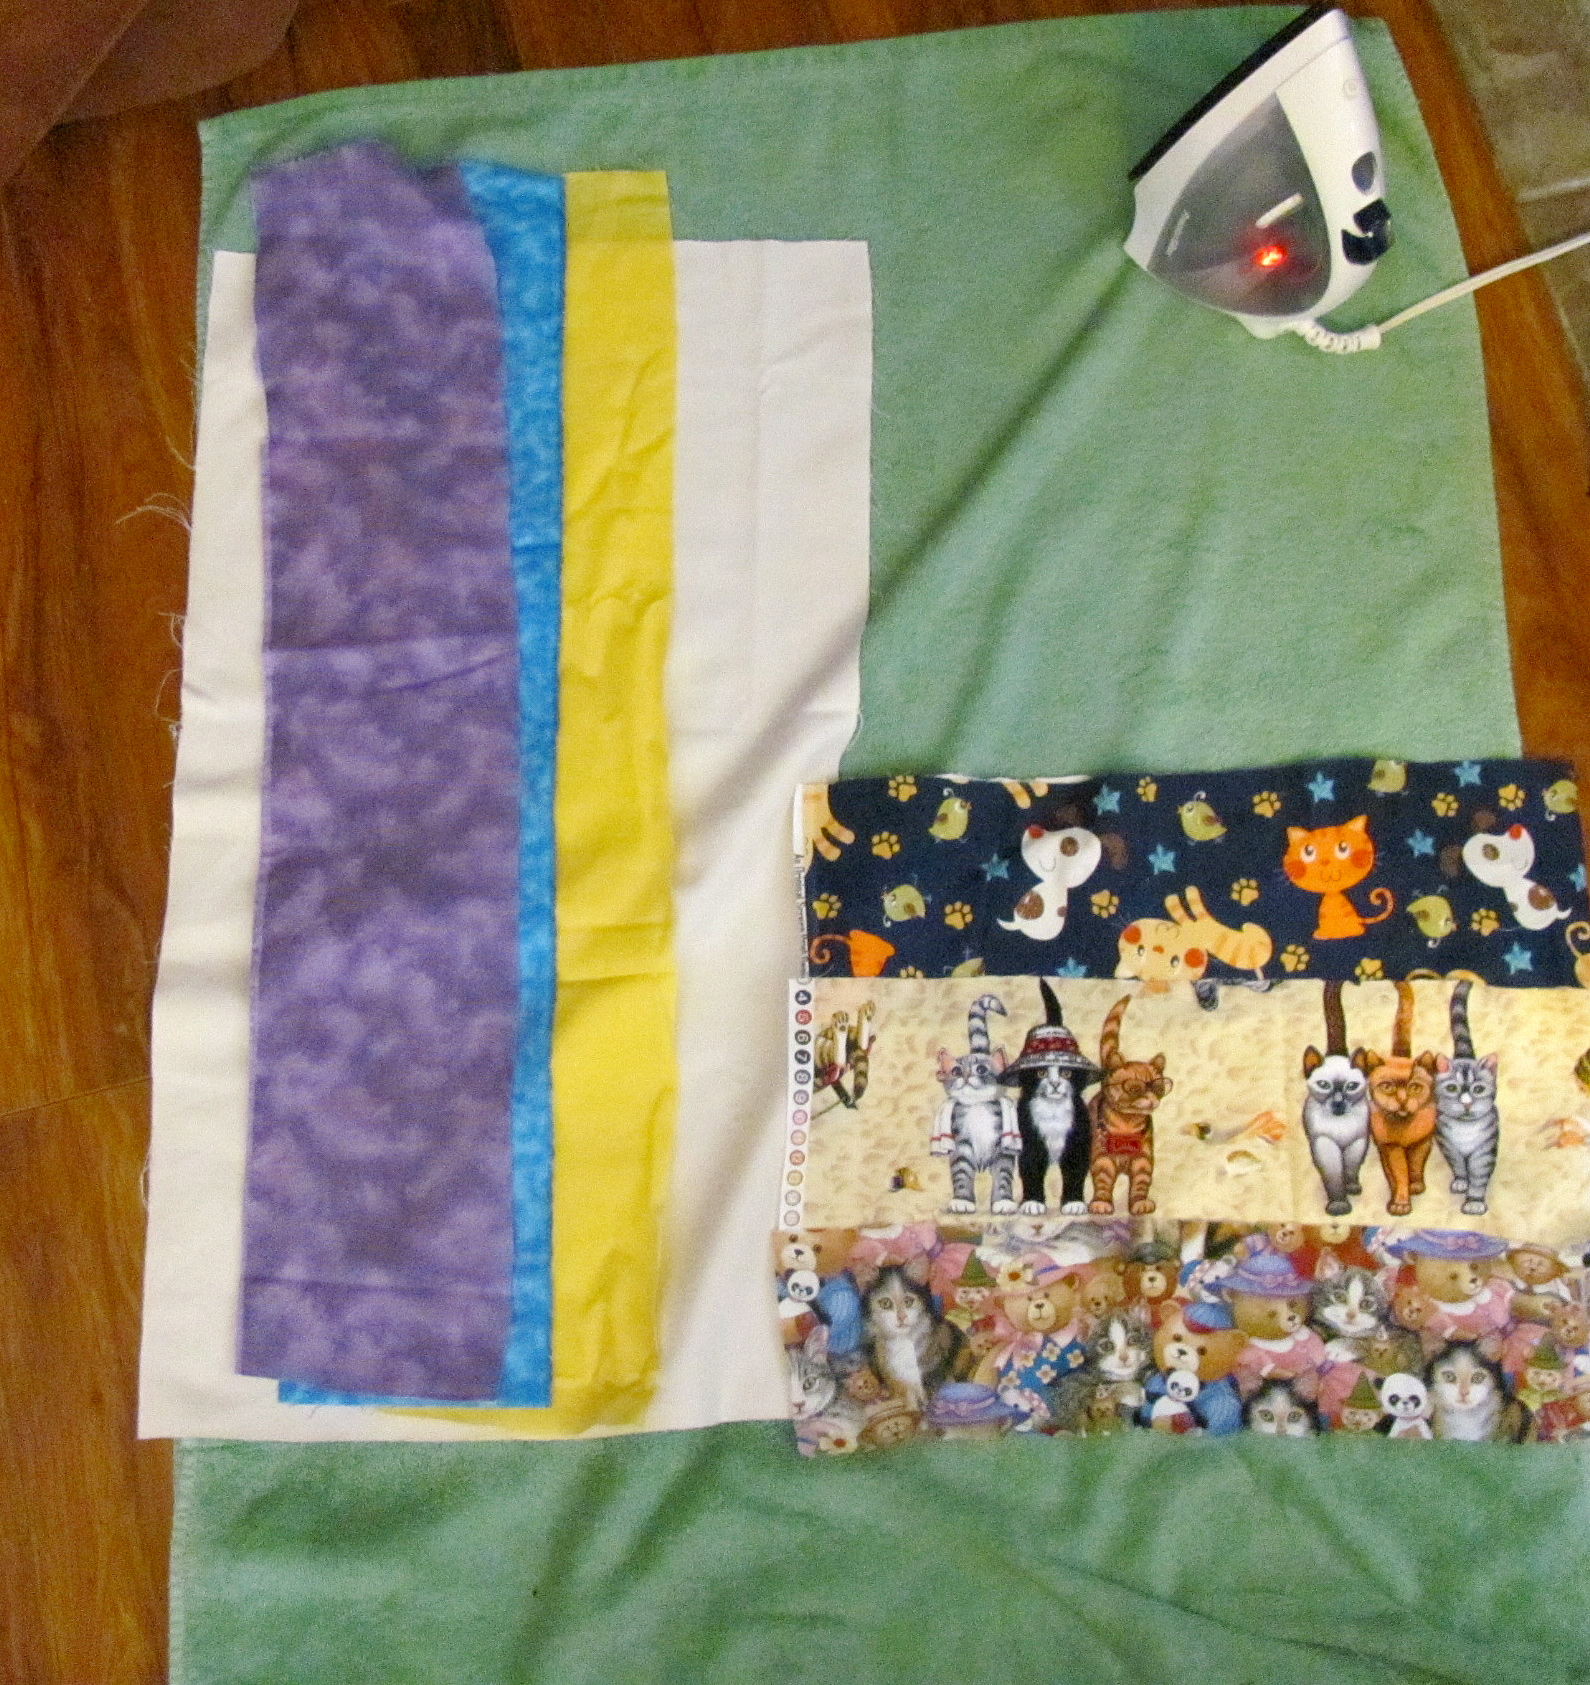
Materials:
- 2 – 12″ L x 8″ W Front/Back
- 1 – 12″ L x 8″ W Cotton Batting
- 2 – 7″ L x 2 1/2″ W Farm Animals
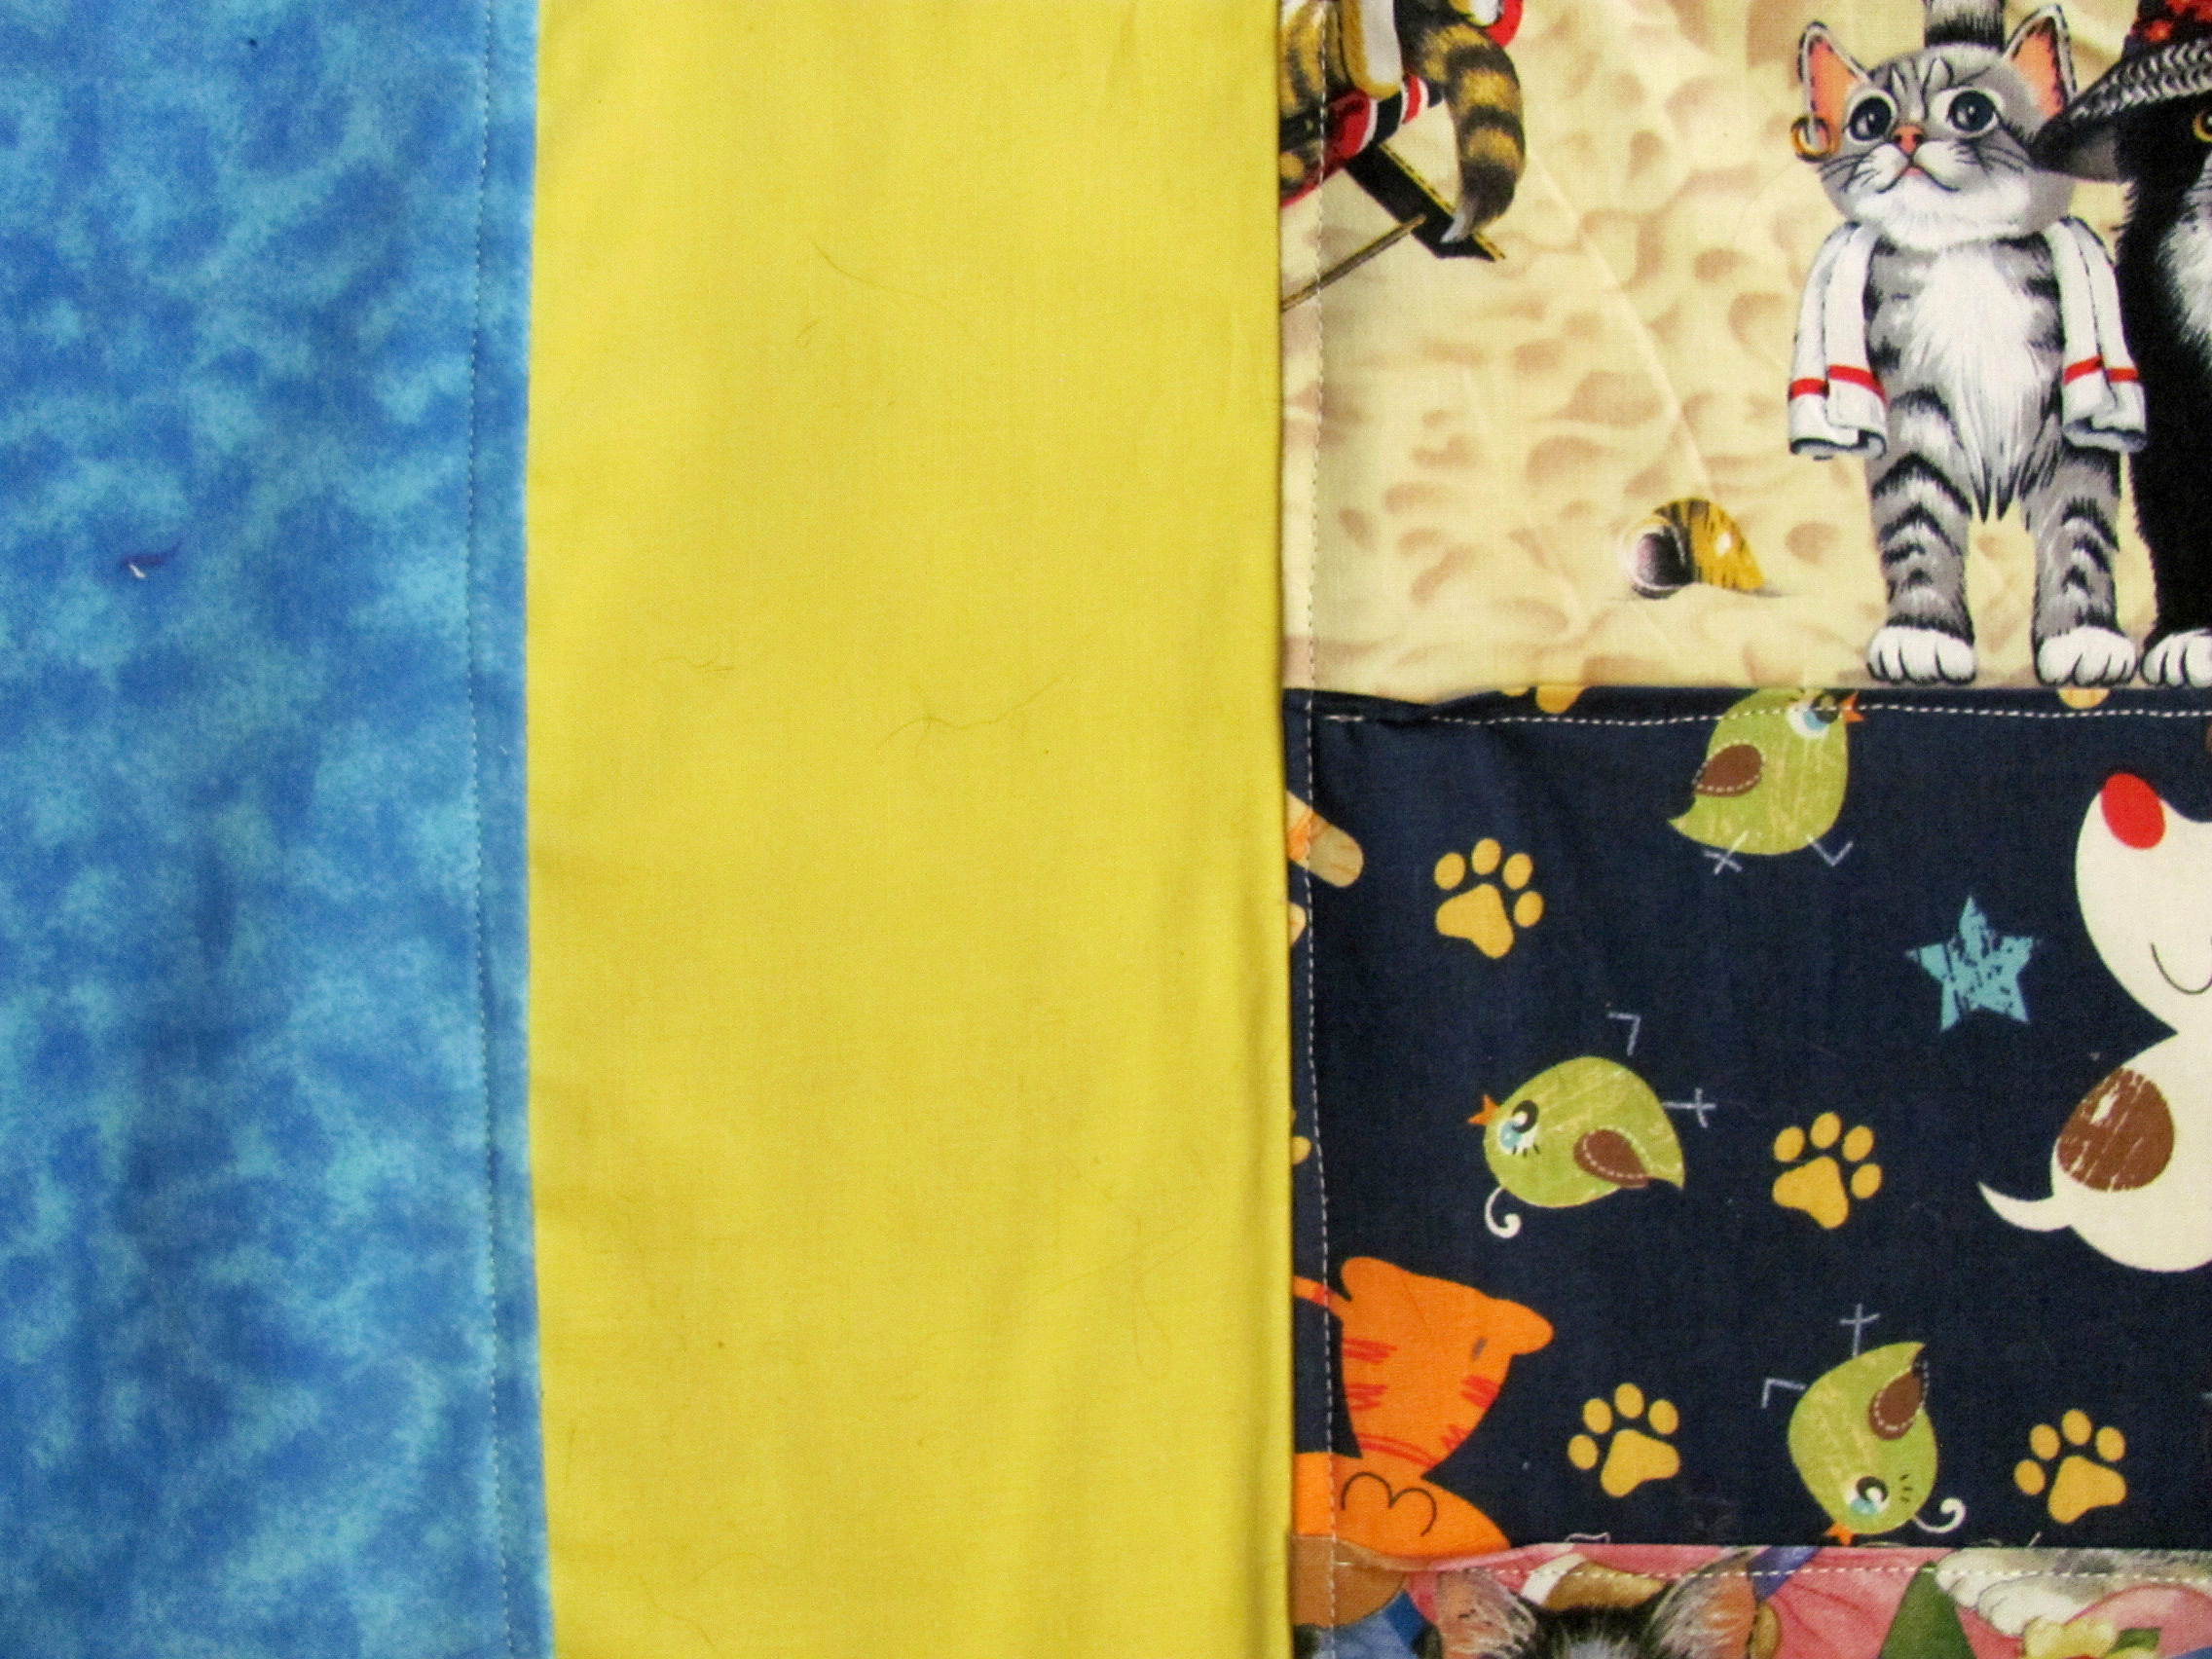
**Tip** I used material in my massive fabric collection. I always get new ideas every time I dig into my stash. It’s a great way to dream up new projects.
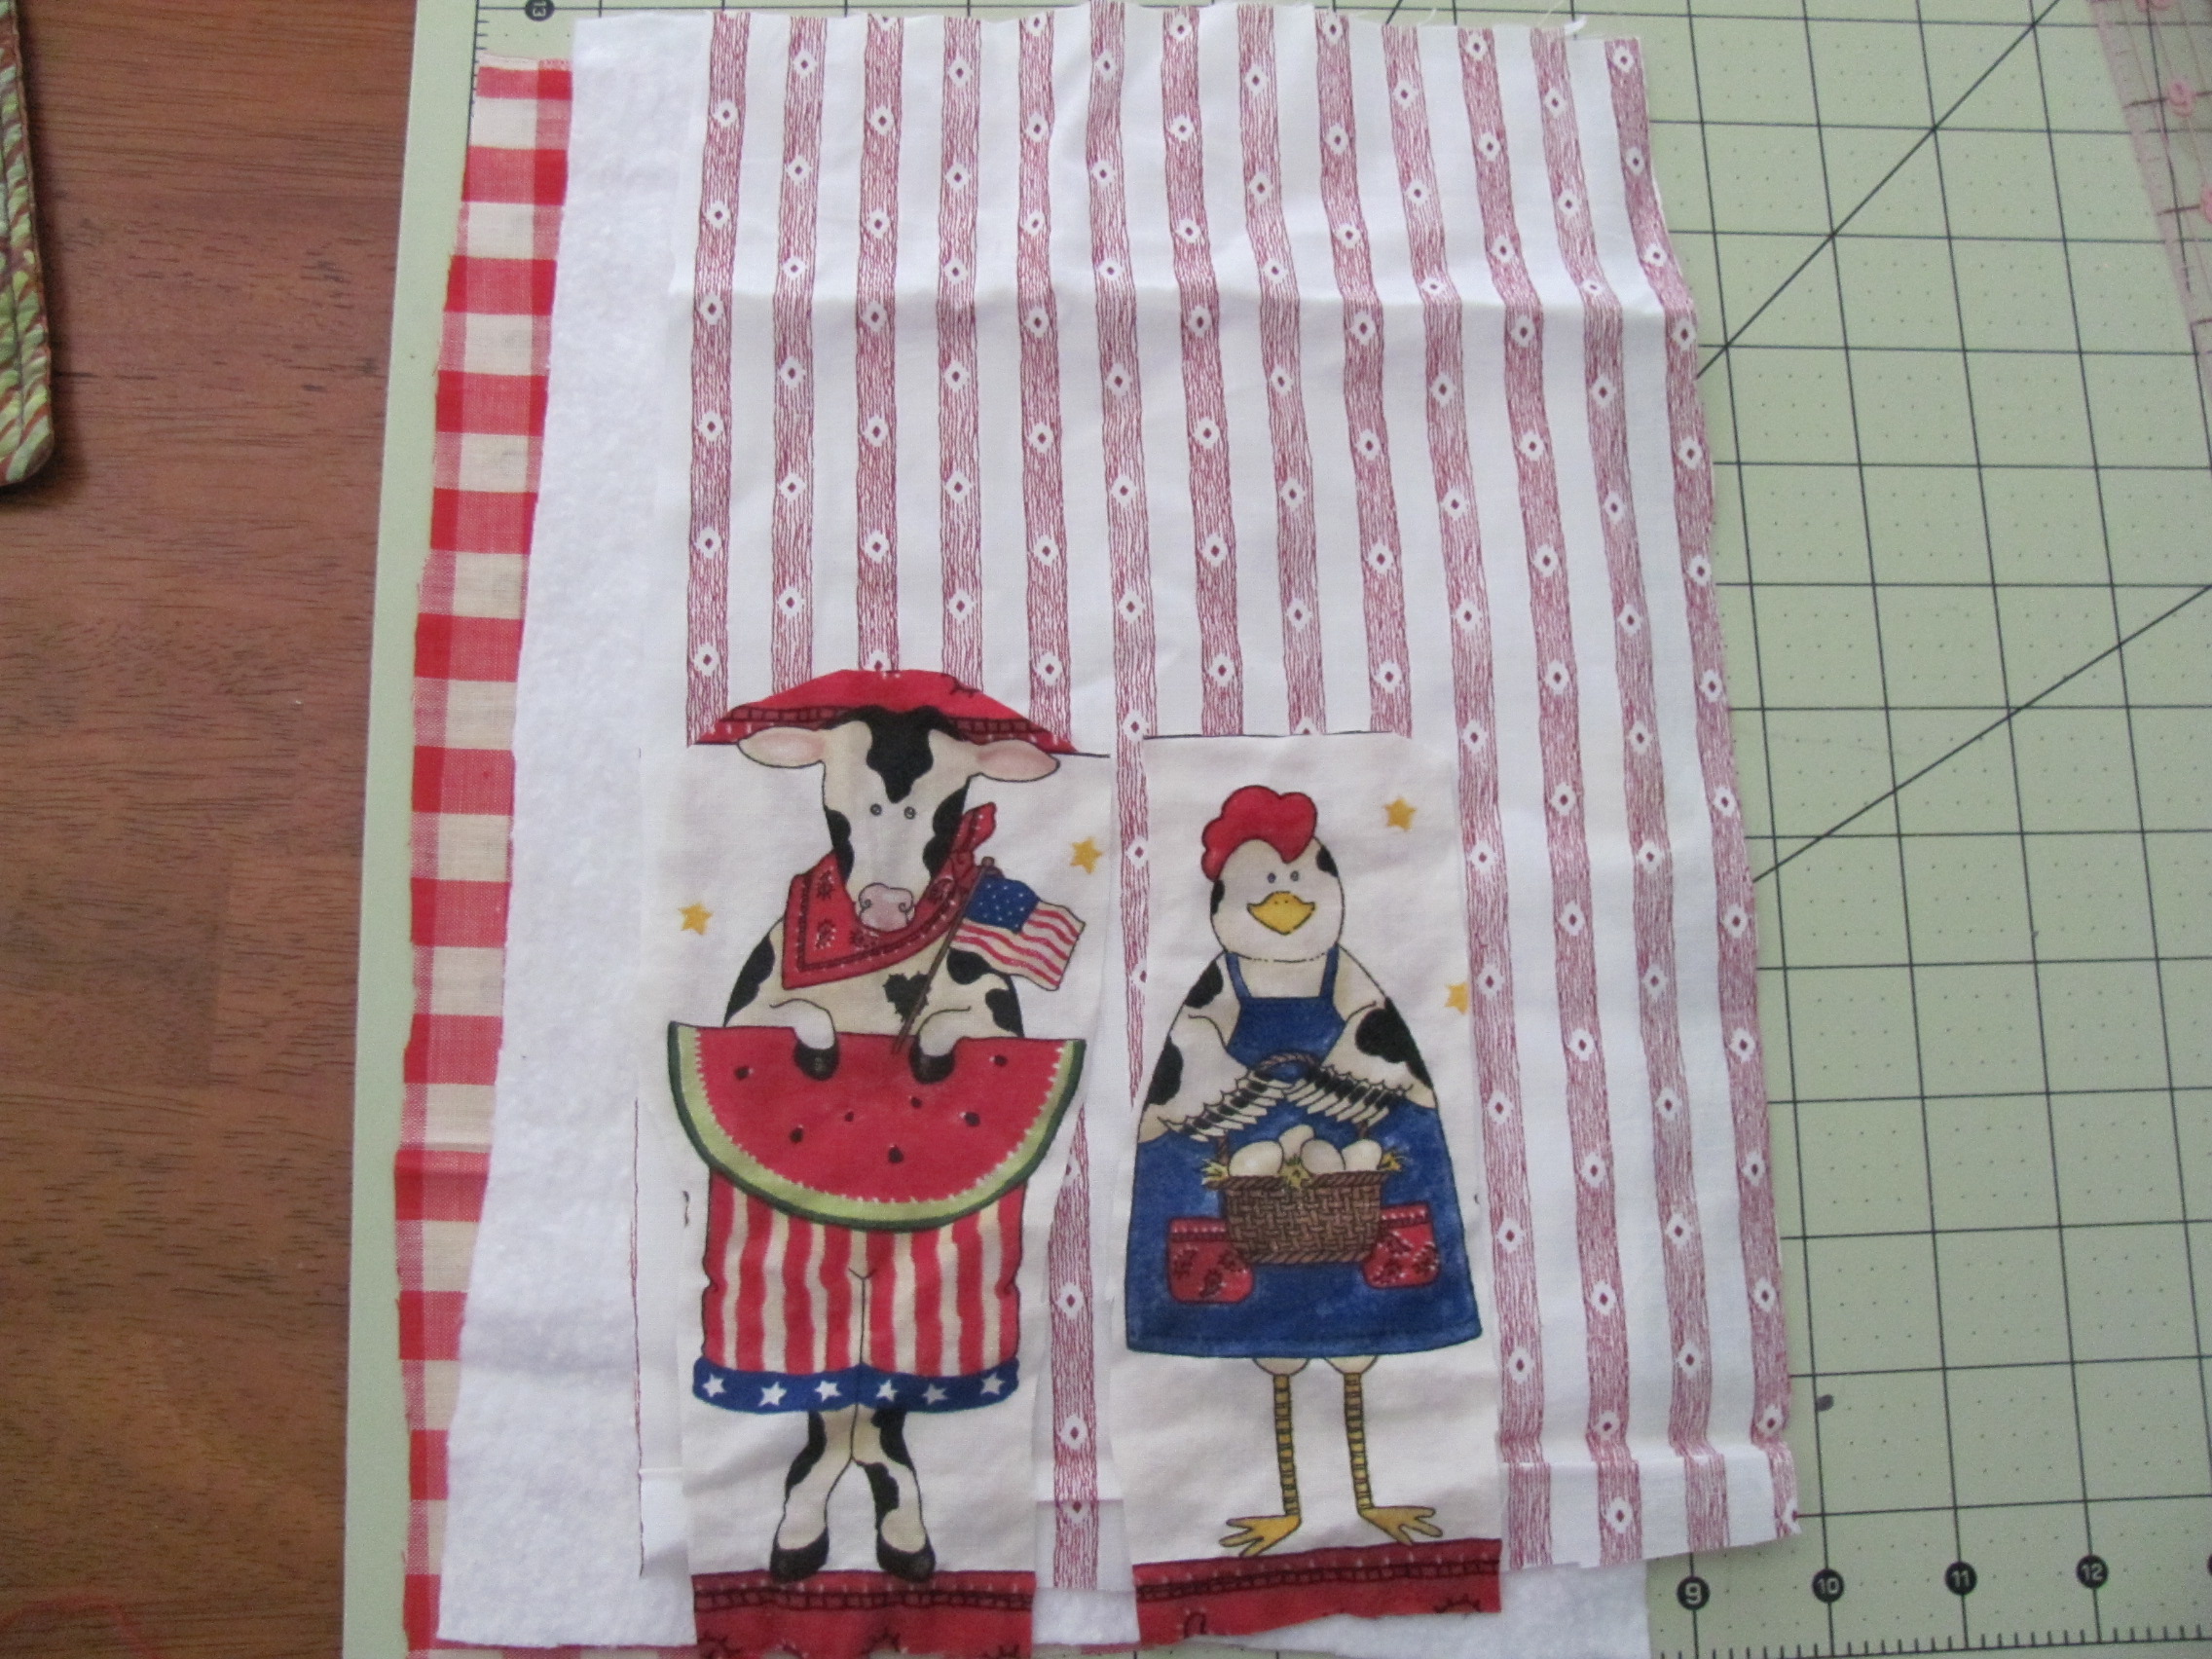
- Cut out fabric.
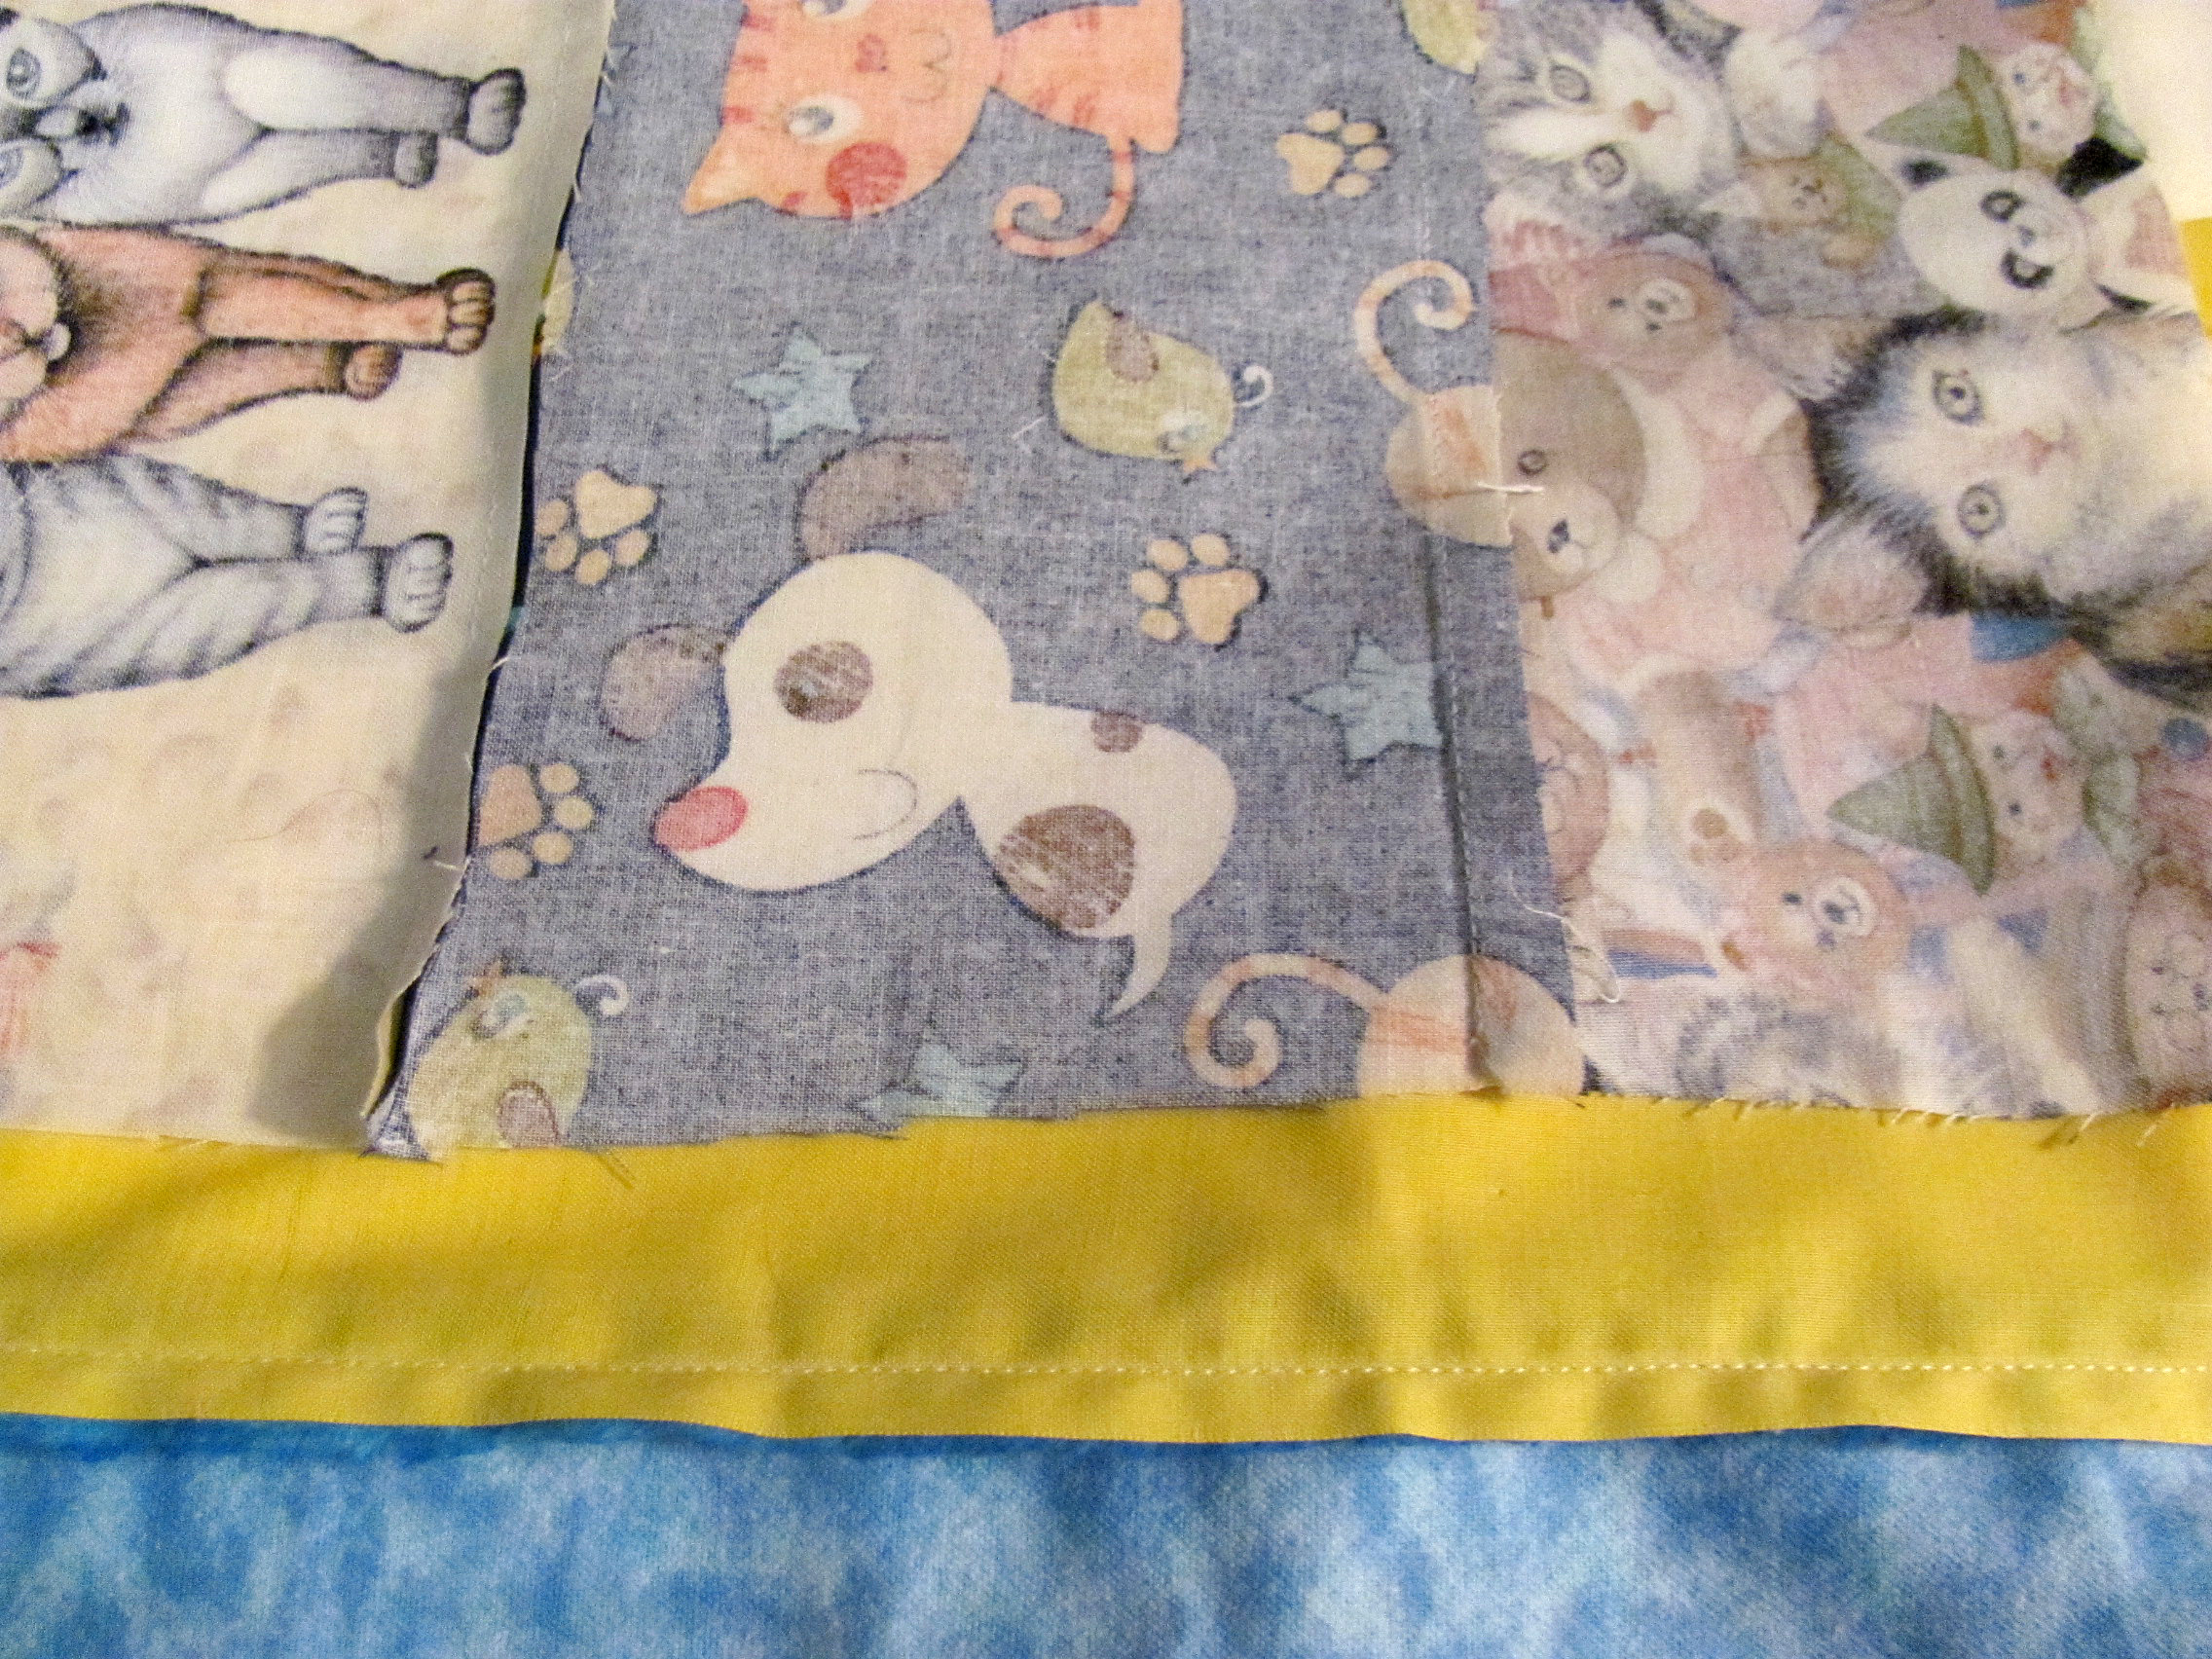
- Place front piece and batting together, right sides out.
- Pin farm animals to front and batting pieces and sew with 1/8 in. seam allowance. Any stitch is fine. I like to get creative and use the more decorative stitches when attaching smaller pieces to the overall product. I used a basic zig zag stitch.
Panel of common stitches.
- **Tip** I’ve been experimenting with decorative stitches I’ve never used. My Singer Advance has tons of decorative stitches. The owner’s manual describes the use of each stitch. I’ve also gone online to research stitches and to see how and for what projects others used them. Pay attention to the manual for any adjustments to stitch length or tension. Some stitches require adjustment changes. And, don’t forget to change settings back to auto when moving back to a straight stitch.
- I used a basic zig zag stitch.
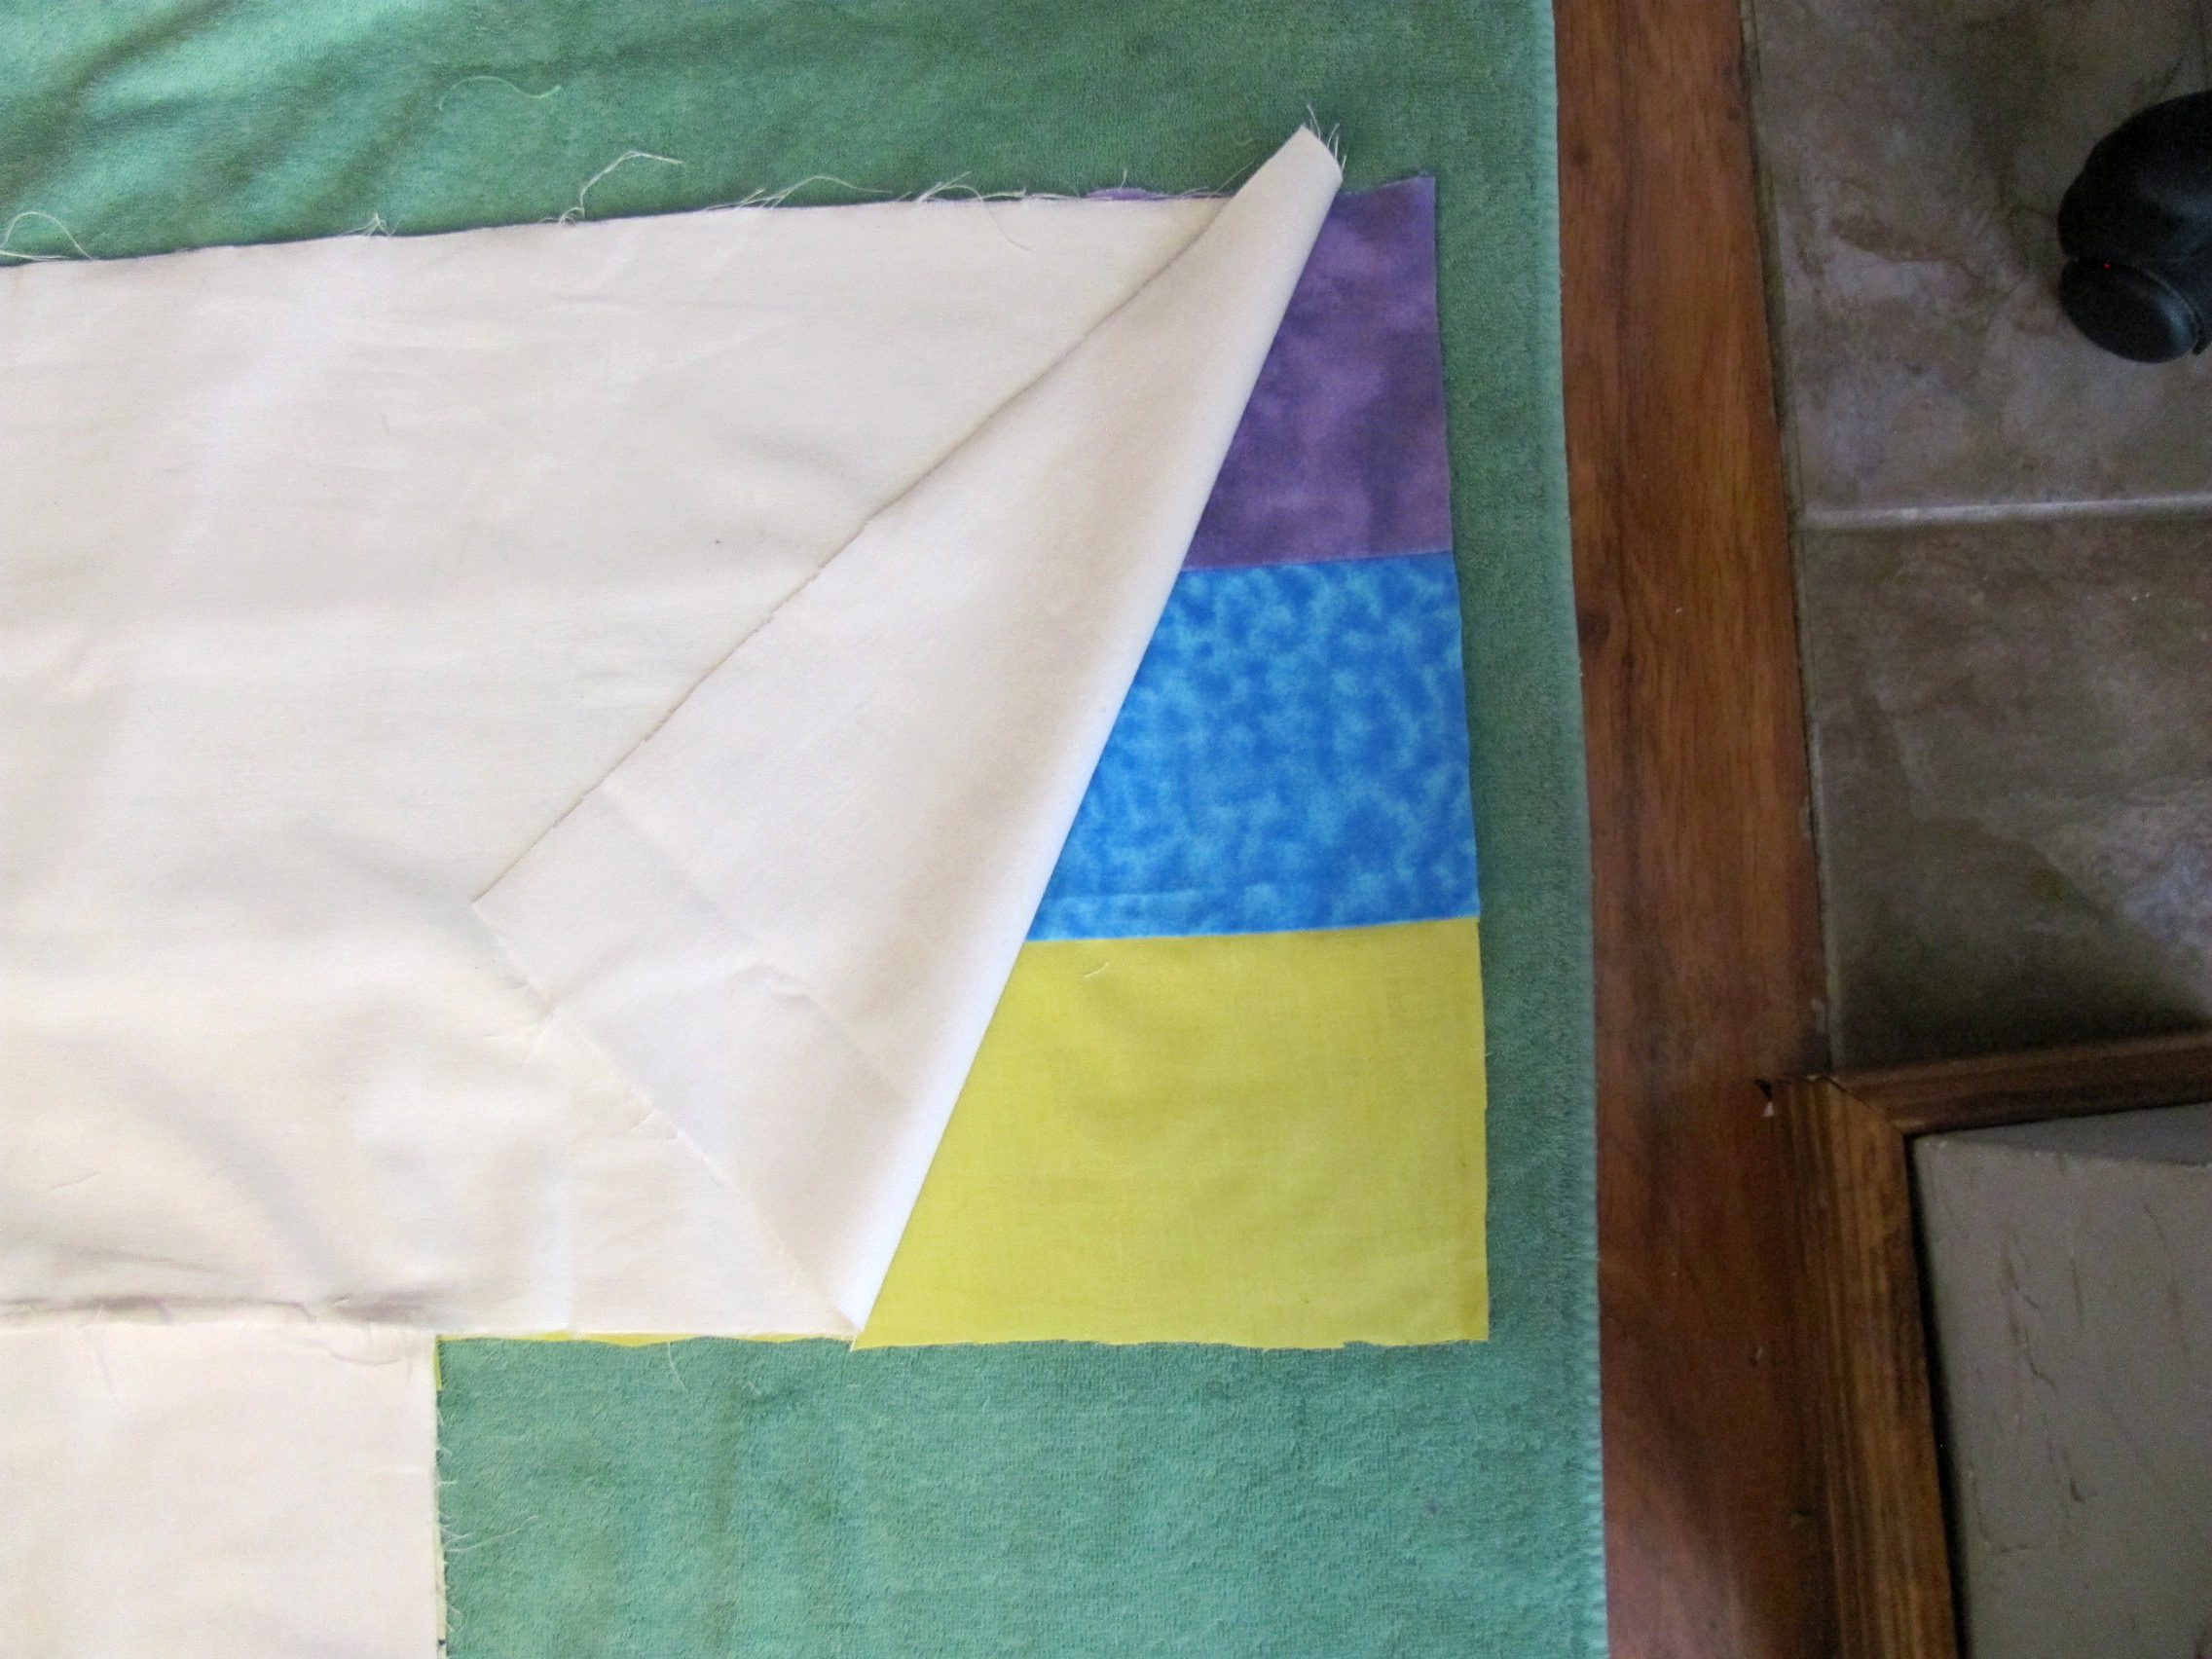
- Place front and back right sides together. Make sure to mark a 3 in. to 4 in. opening to pull the fabric right side out. I place pins vertical instead of horizontal pins at the opening so I know where to stop.
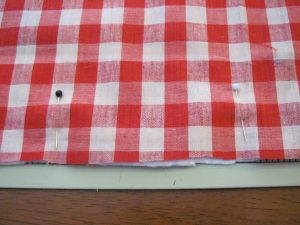
Mark area to be left open.
- At this stage the cotton batting should be on the outside. We need it inside when we pull the fabric right side out.
- Sew with 1/4 in. seam allowance, leaving the open space.
- Cut corners. Turn fabric right side out. Shape mug rug and push out corners.
- ** Tip** Cutting a small amount off the corners before turning material right side out allows for better-shaped corners when turned right side out. I use a pencil to shape the corners.
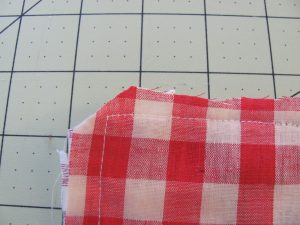
Cut corners close to stitching.
- Iron. Ironing at this stage is important to flatten material and inside seams before top stitching.
- Top stitch with 1/8 in. allowance around entire front side to give it a finished look as well as hold down your seams on the inside. Also make sure to stitch over the opening used to pull the fabric right side out. Iron.
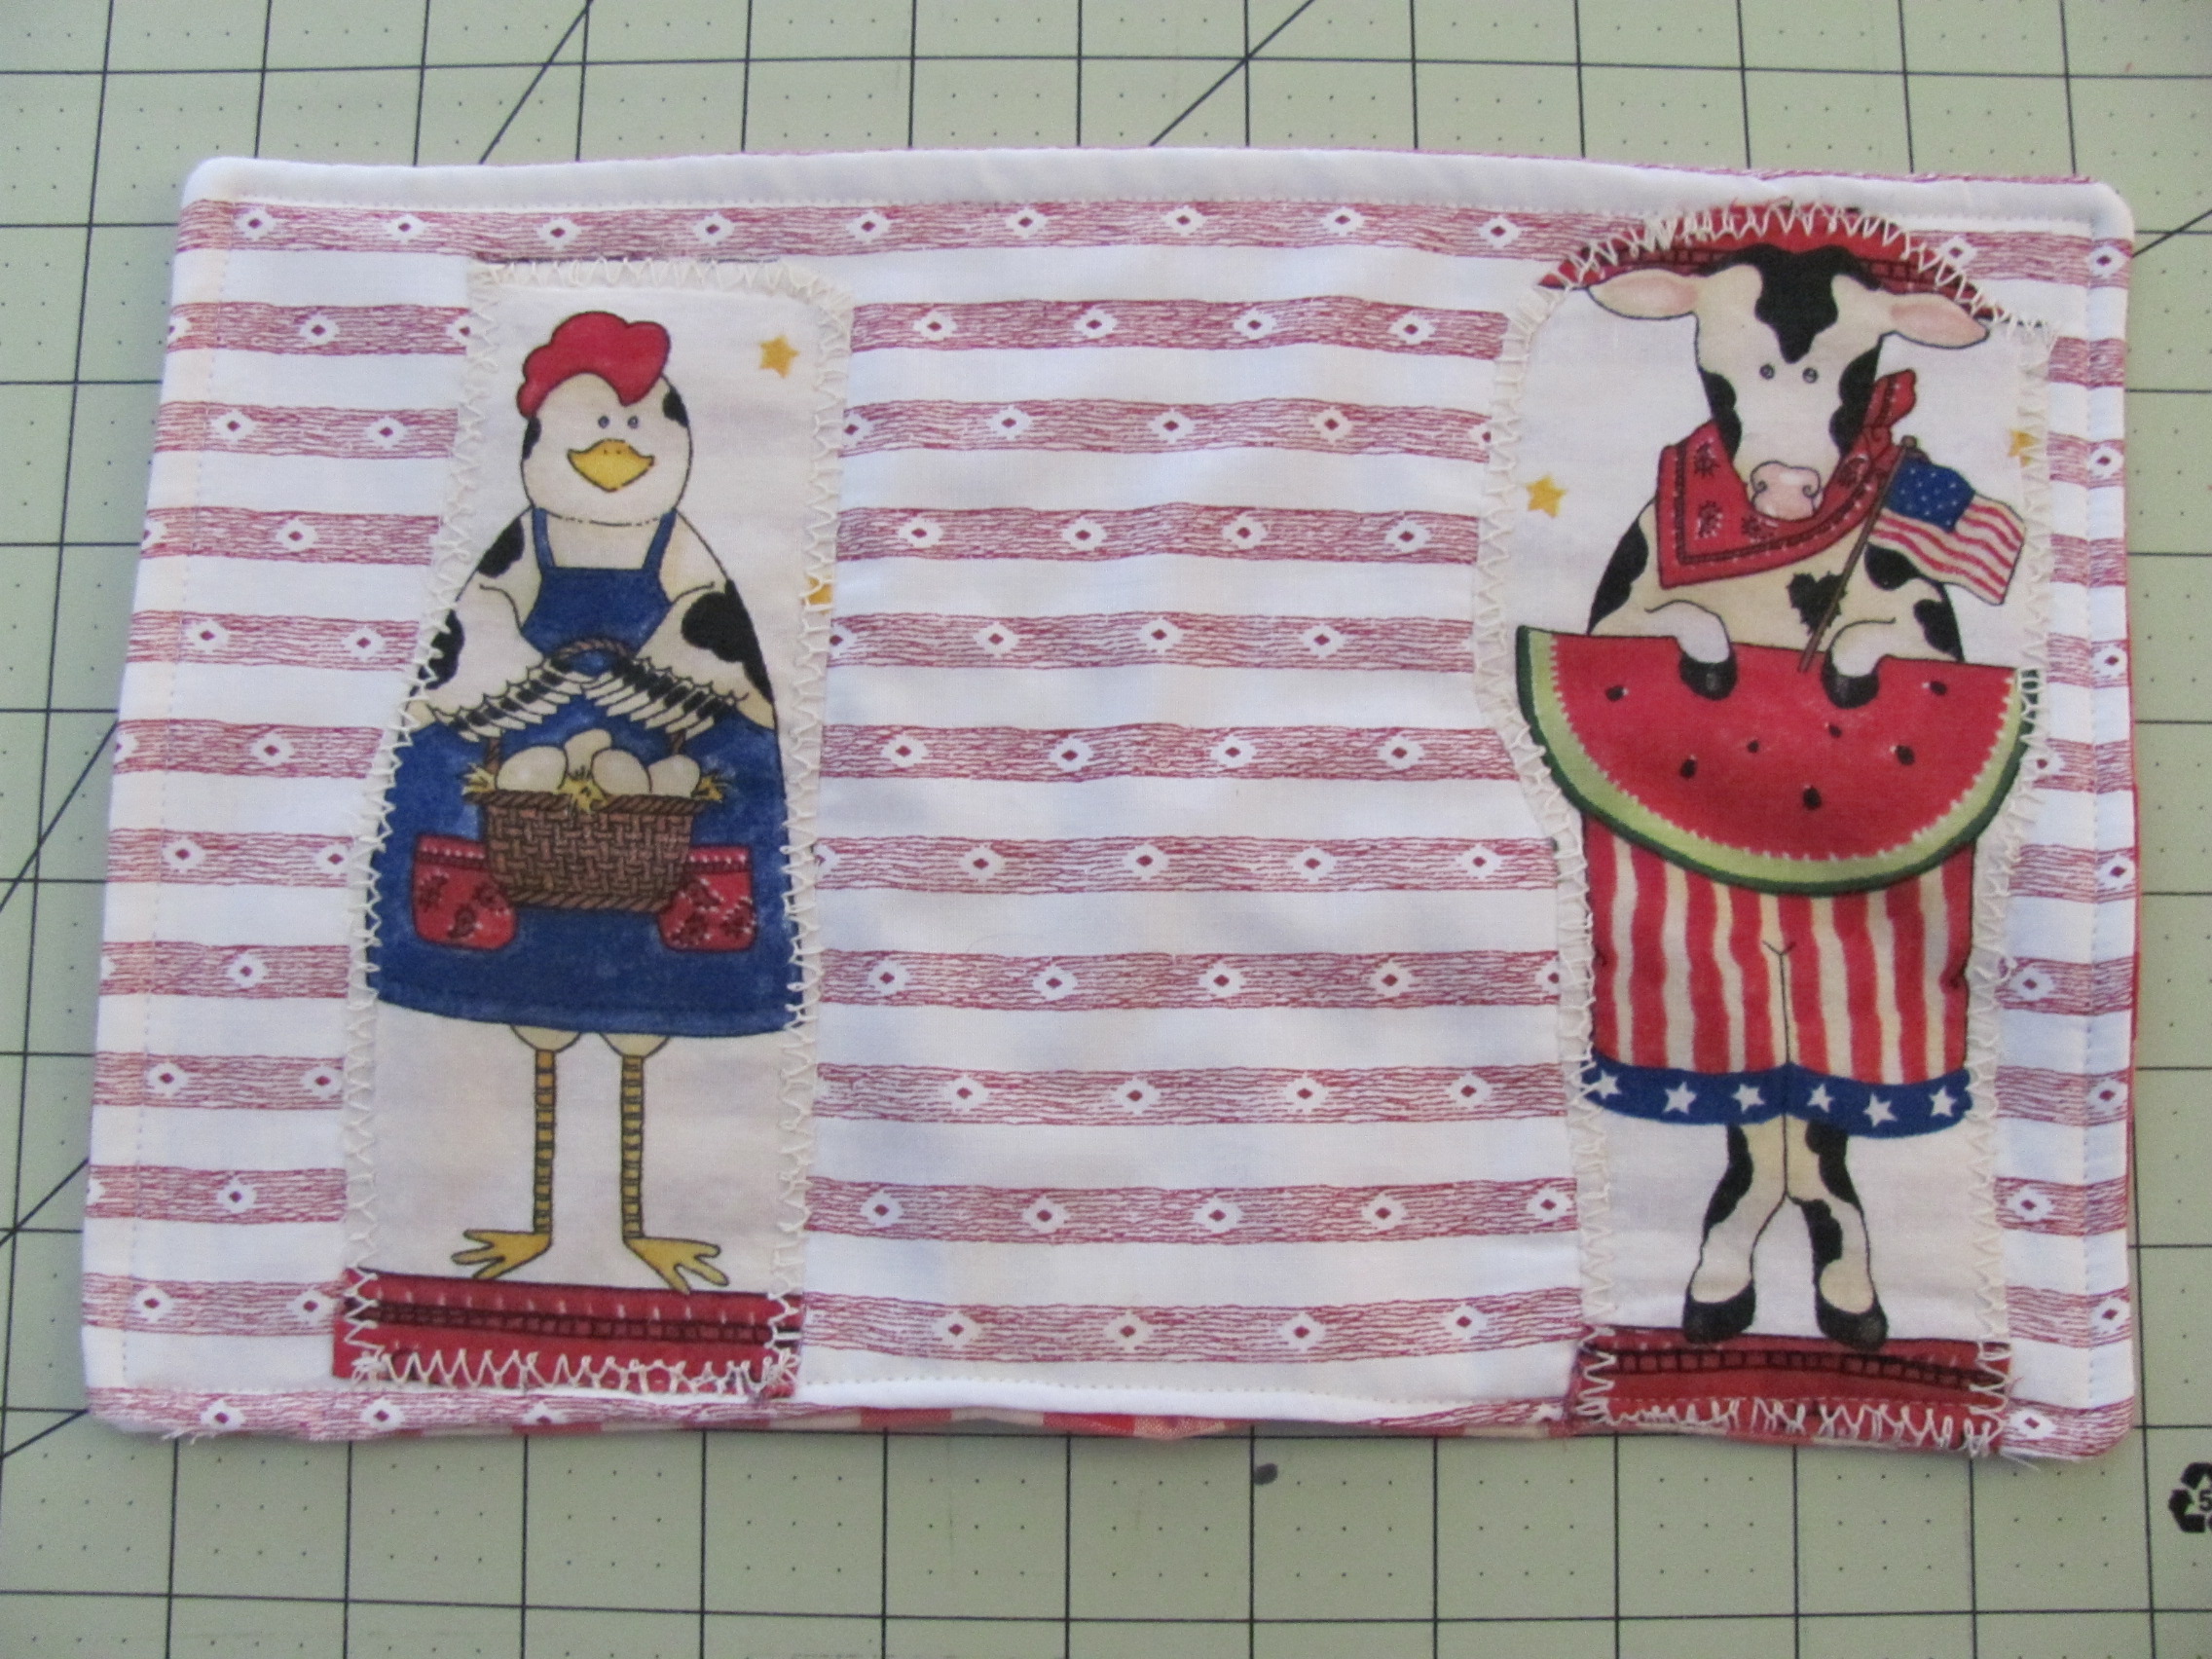
- Viola! Finished!


Time to celebrate. Take a well-deserved break, make some coffee or tea, sit back and ENJOY!
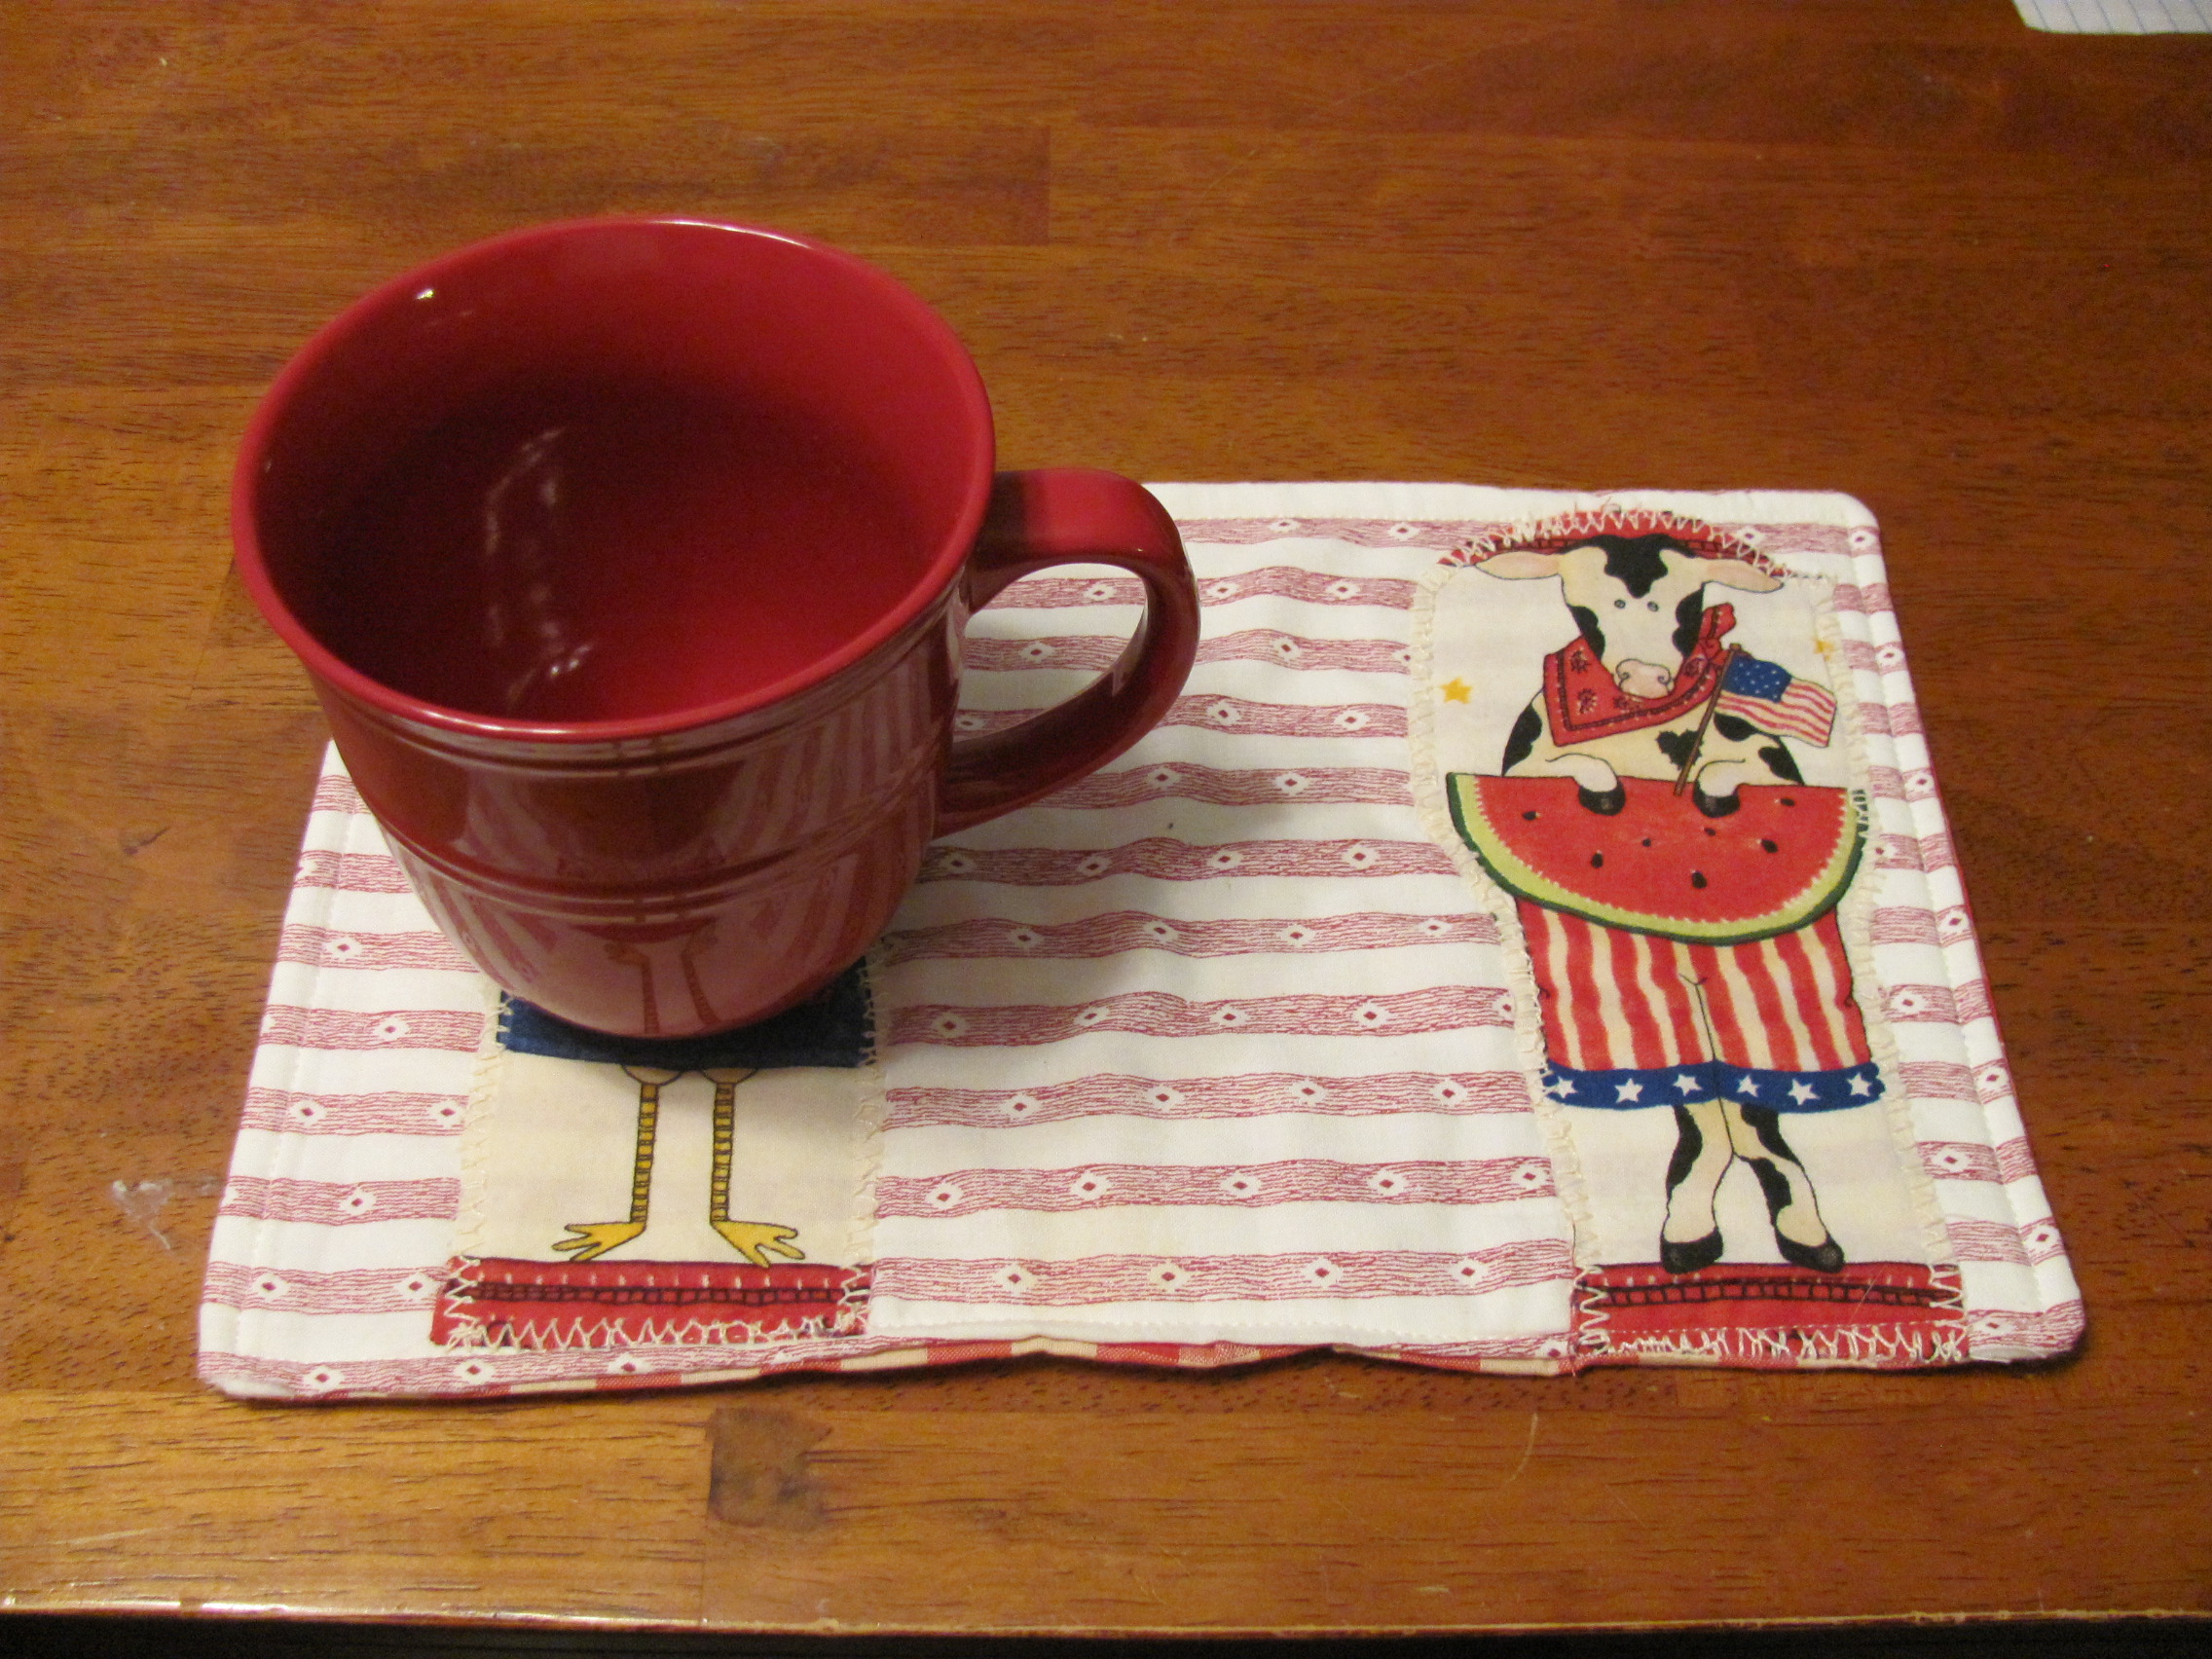
Coffee break!
I hope you enjoyed this project. If you have any questions or comments, please share! Any ideas, shortcuts, or other contributions are welcome.
I would love receiving picture posts showcasing your Country Kitchen Mug Rug creations 🙂