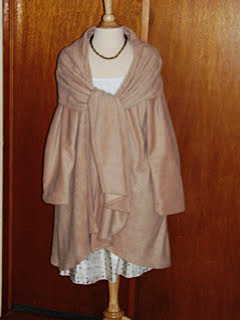
Who knew chickens wore clothes?
When my girlfriend, Ella, asked me if I could make her a ‘chicken apron’ I thought perhaps she meant something like a heavy duty cover for when she is out in her yard working with her chickens. I of course said yes, but she quickly corrected me and explained that the aprons in questions were actually for her chickens.
Who knew chickens wore clothes?
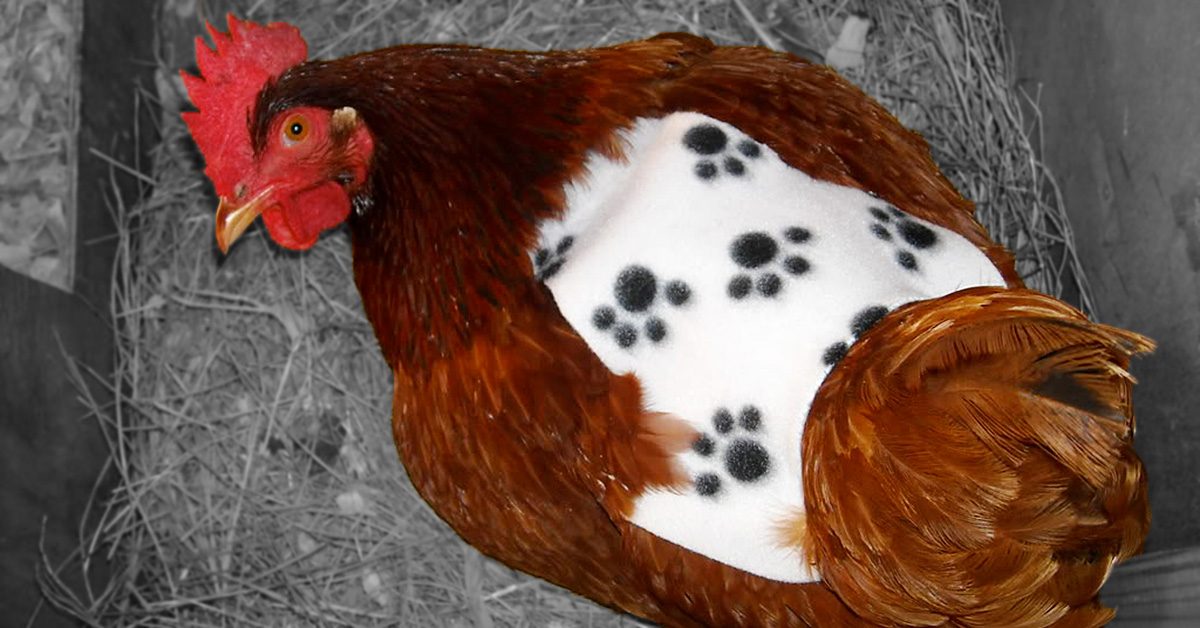
It turns out that other chickens can be mean and may pick on or peck a member of their brood (even to death). Additionally, roosters can sometimes be too aggressive with hens. Chicken aprons, also called chicken capes, or hen saddles, can protect their backs from the claws of the roosters.
While I often create my own patterns when I sew, creating something like this for Ella’s chickens was beyond me. She found me a free pattern, which you can also follow here, and I got to work.
Heads up that this project is perfect for any pre-cut layer cakes (10″ x 10″ squares) you may have on hand.
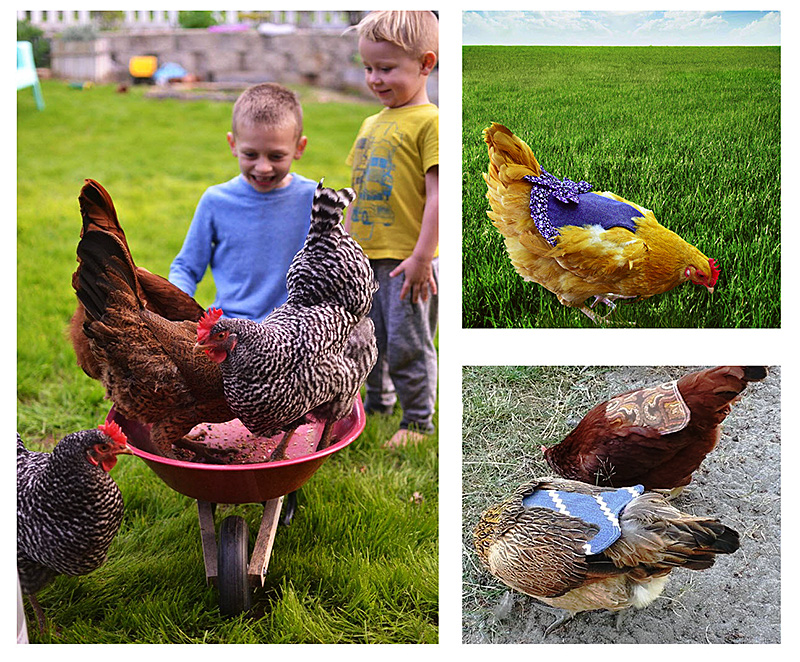
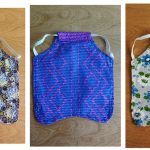
Photo credit, left to right: Ella Sherman, MyPetChicken.com & WeAllSew.com.
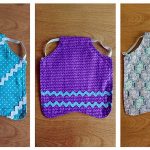
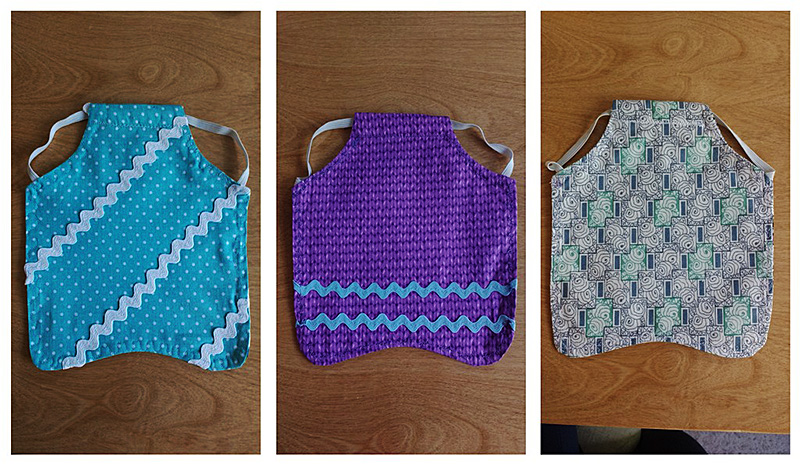
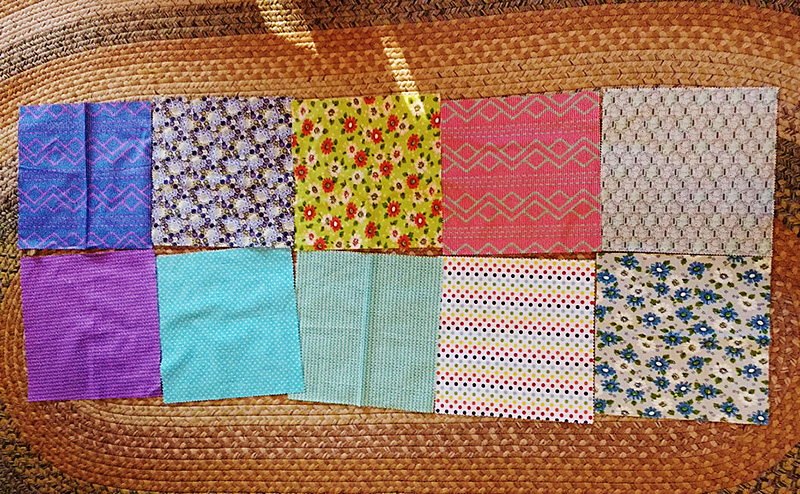
My oldest daughter helped me pick out some fabrics and we sent a picture for Ella to choose from. I planned to make her three reversible aprons.
Here’s another interesting thing we learned
Never dress your chickens in pink, or red; it brings out their cannibalistic instincts and could result in the chicken getting pecked to death. Red & pink = no no.
Beware of chicken scratch. Red & pink = no no.
Sketch it out
With my six fabrics decided, I drew out a pattern on each one. All of these are layer cakes squares I had in my fabric stash.
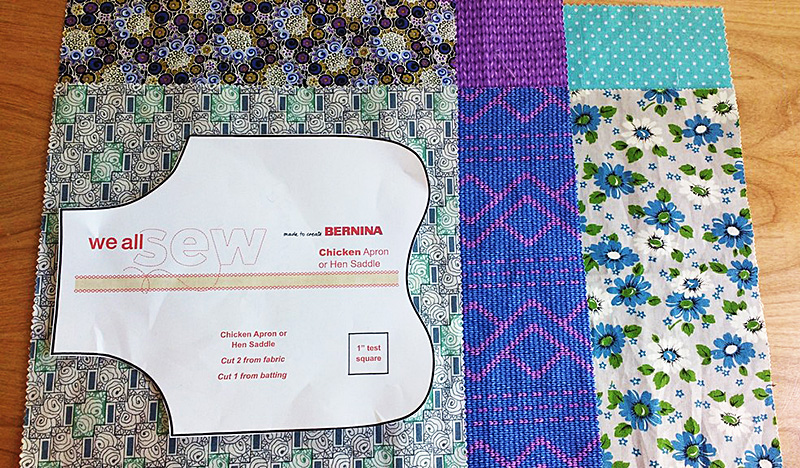
All of these are layer cakes squares I had in my fabric stash.
Ella lives in Southern California so she didn’t need any type of warmth or real thickness for batting. Still, I wanted them to be crisp, so I added a layer of Pellon 931TD, Fusible Midweight Interfacing to one side of each apron.
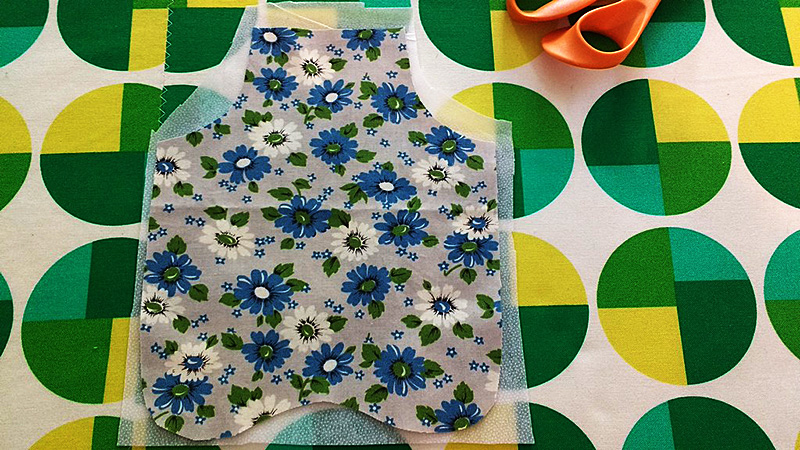
I wanted them to be crisp, so I added a layer of Pellon 931TD, Fusible Midweight Interfacing to one side of each apron.
Once three of the sides had interfacing, I turned to decoration. If you plan to add rick rack or bows, do it before you sew the sides together.
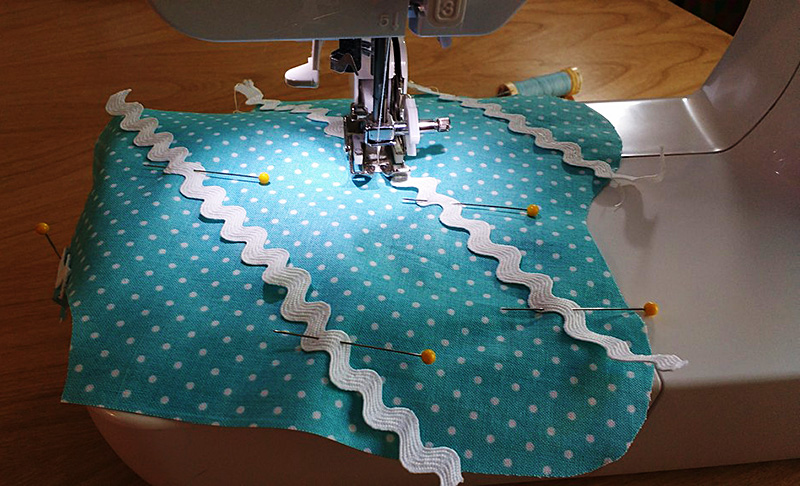
Once three of the sides had interfacing, I turned to decoration.
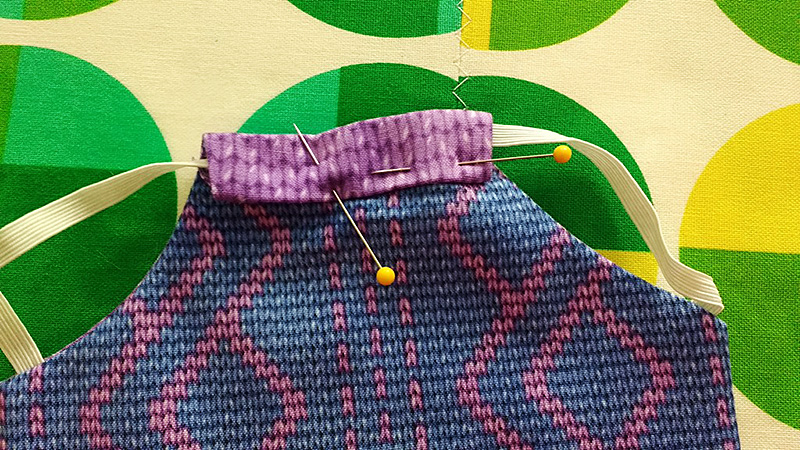
Cut out a 10.5″ piece of elastic for each bib. You will pin each end where the arm (wing?) holes would be.
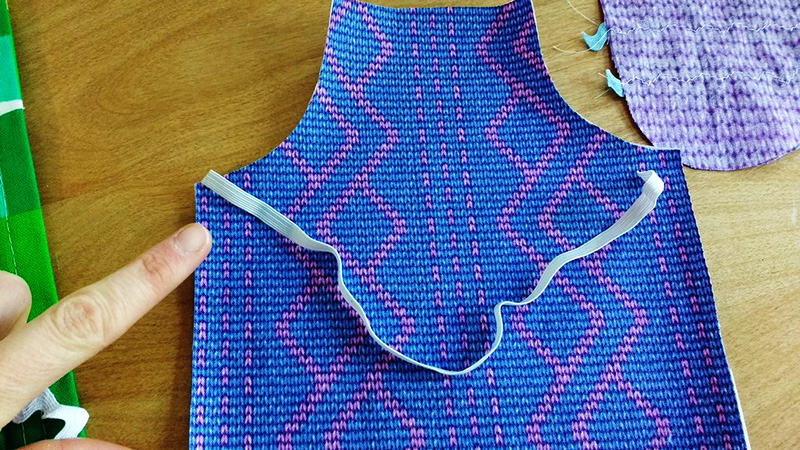
You will pin each end where the arm (wing?) holes would be.
Place the layers, right sides together and pin (here you can see the elastic sandwiched between the layers).
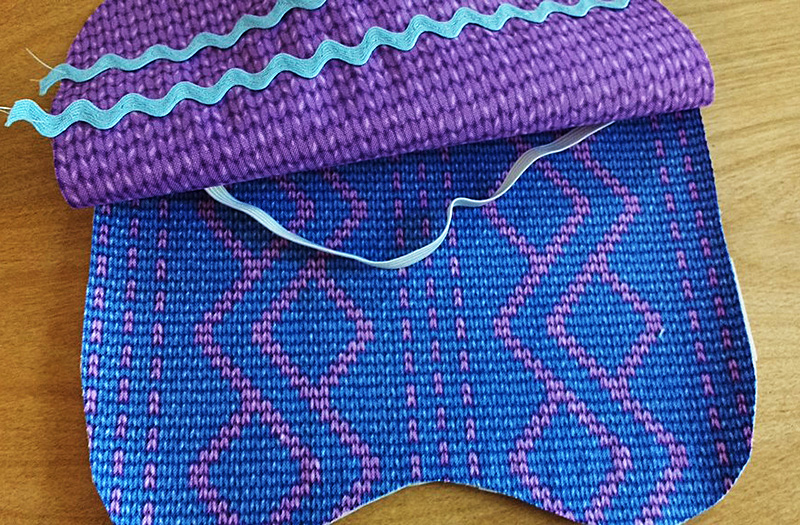
Here you can see the elastic sandwiched between the layers.
Ok, here we go…
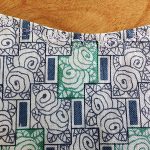
This is how it should look before you begin sewing. The pattern I used called for a ½” seam allowance, probably because it also called for thick batting. Choose your own seam allowance and sew all the way around, leaving only the neck hole completely open.
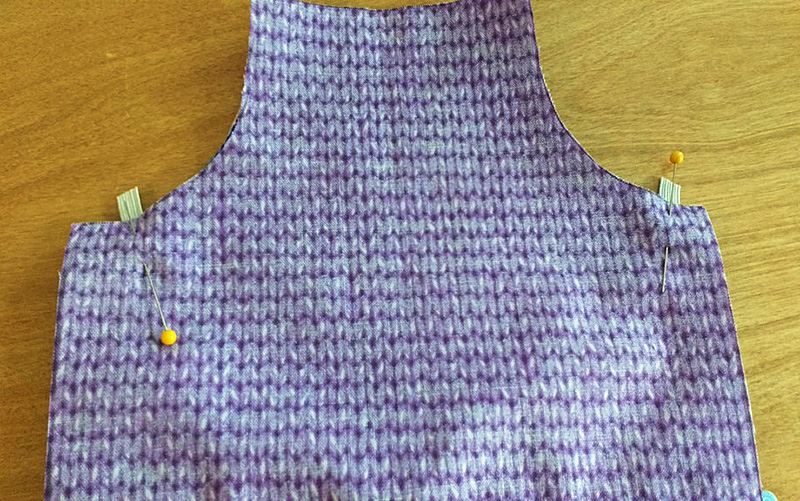
This is how it should look before you begin sewing.
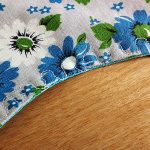
Here’s how mine looked after sewing all the way around. I trimmed away the excess fabric and made small snips around the inner and outer curves so they would lie flat once I turned the fabric right sides out.
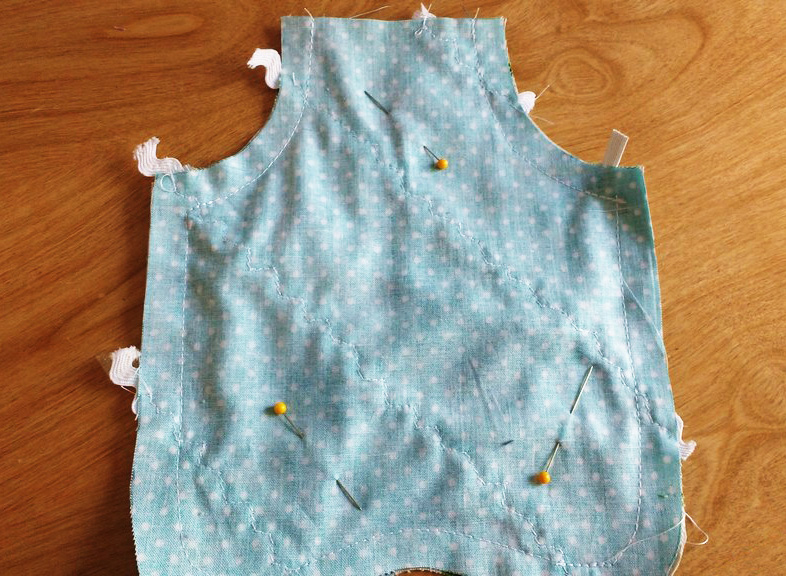
Here’s how mine looked after sewing all the way around.
Two important things to do once you’ve turned the fabric
- Take your time and run your fingers along the inside seam, popping the fabric out so it shows a great shape.
- Iron! I both ironed and starched mine once I had turned them.
Next, turn the neck hole down first a ½ inch then another ½ inch. Tuck the piece of elastic into where you’ve turned it, creating a casing. You will sew across the bottom of the folded fabric, taking care not to catch the elastic. When you are done, you should be able to move the piece of elastic freely back and forth in the casing.
When you are done, you should be able to move the piece of elastic freely back & forth in the casing.
Top stitch!
Have fun with your top stitching. I used a different decorative stitch on each apron.
And there you have it
This is easily a 20 minute project if you have all your supplies at hand. It’s wonderful for layer cakes and if you have friends who own chickens, these would make great handmade gifts.
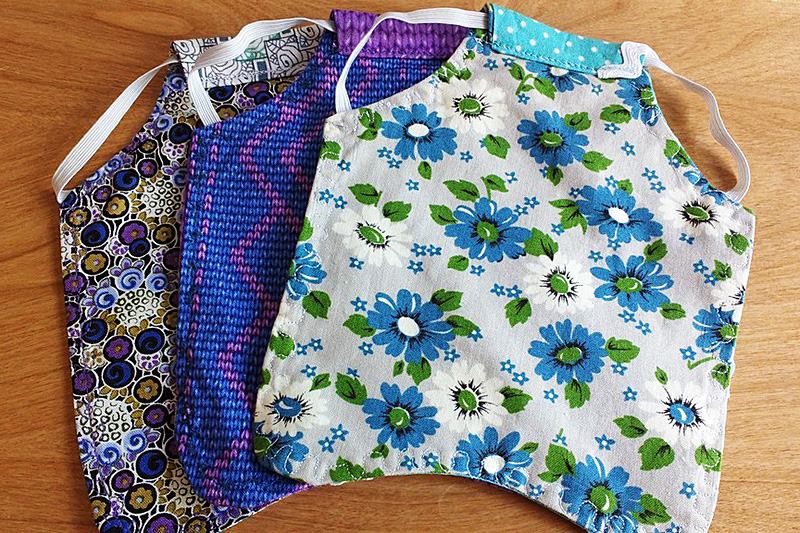
It’s wonderful for layer cakes & if you have friends who own chickens, these would make great handmade gifts.
Pop your presents in some pretty wrapping and send them off to be wild with some hens!
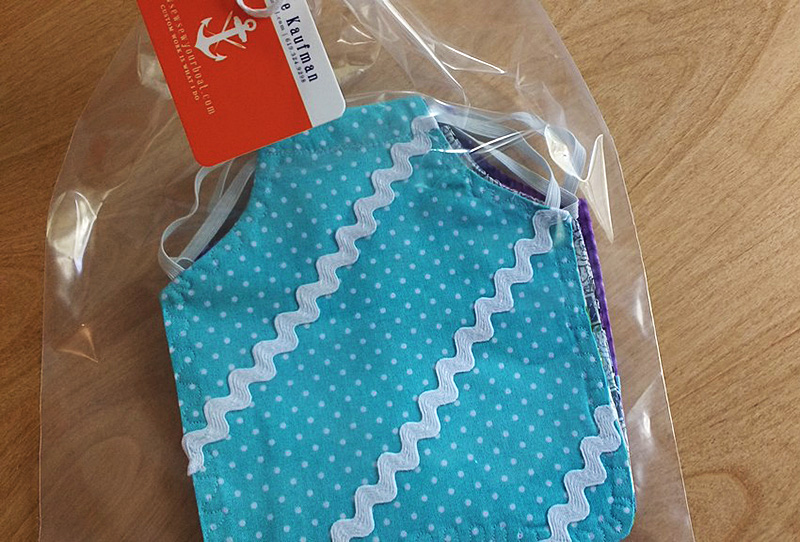
Pop your presents in some pretty wrapping and send them off to be wild with some hens!
Have you ever made chicken aprons or a unique piece of clothing for an animal? Tell us about it in the comments!