June is wrapping up, which means that July is on the horizon. If you’re an American, that means Independence Day is right around the corner with its fireworks, watermelons, and recollections of the birth of our freedom. But along with those standard notions for the 4th of July, there’s also a sewing story to be found within the details of our nation’s birth. It’s a story you might be familiar with, and we’ll explore it a bit on this post.
Betsy Ross

Betsy Ross presenting her flag to George Washington & two other members of the Continental Congress.
Once upon a time in the 1700s, a widow—named Betsy Ross—who was trying to make ends meet by sewing and such was approached by none other than George Washington and two other members of the Continental Congress. Why? They wanted her to create a flag for the nation that was budding around them. It’s easy to write off this detail as unimportant since countries and states often have their own flags as standards, but when you dig deeper, you might find how significant this moment was in United States history.
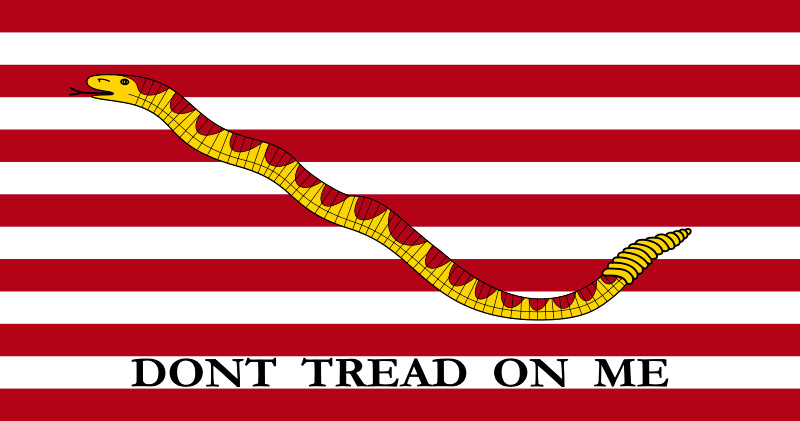
“Don’t Tread on Me” flag.
Before this, not once since the colonists started struggling for freedom did they have one unifying flag. Rather, a number of flags were decorating their army, and that concept doesn’t spark ideas of unity—not to the level that one overall flag for an army can showcase. If one group is using a “Don’t Tread on Me” flag, and another is waving the “Liberty Tree” one, that’s division even on a subtle level. Through Ross’s work, there would be one flag to fly for all the Colonials in their push toward independence. All of them would be united under that one flag in contrast to the subtle division they’d experienced before.
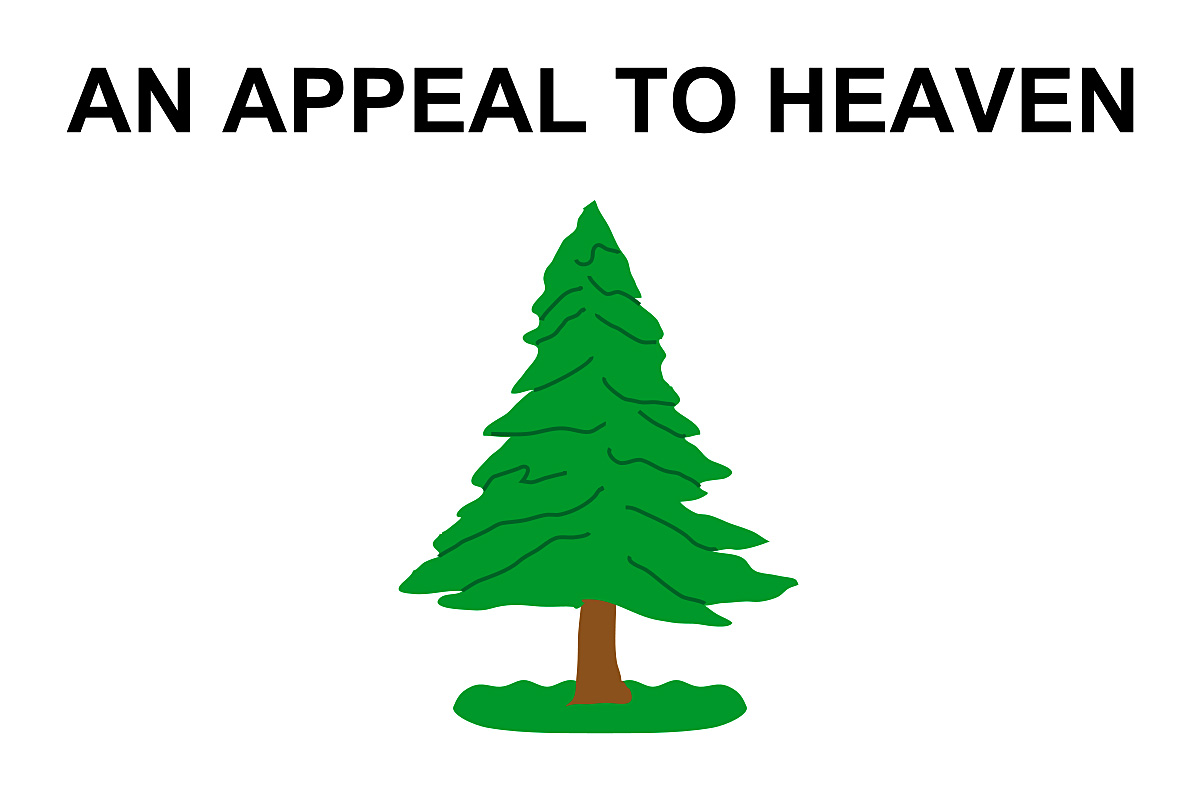
“Liberty Tree” flag.
Ross accepted that responsibility to create the nation’s flag, and the rest is history.
But let’s take a moment to consider what could’ve happened if the United States had lost the war. I’ve heard how the men who signed the Declaration of Independence were essentially signing their own death warrants if the British had prevailed, and while I’m not saying that 18th century soldiers would’ve executed Ross for her assistance in the rebellion, it’s hard to say what her consequences would have been. Would she have been imprisoned? Banished? Would she have become a social outcast? Maybe she would have lost her business—her means of supporting her children—because she agreed to take on that duty of sewing the nation’s first unified flag.
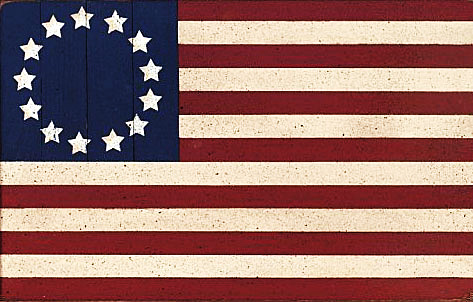
Betsy Ross risked everything to make the USA’s first flag.
I’d be surprised if Ross herself didn’t wonder these same things. Imagine the unease she would’ve felt, thinking that she could’ve lost her means of providing for her children, as an 18th century widow, for such a sewing detail in the war. She could’ve passed the prospect on, choosing instead to let someone else sew the nation’s flag—someone perhaps who wouldn’t have so much to lose.
But she didn’t
She agreed to be an active part of the nation’s struggle for independence, risking so much to let her talent bring the colonists that sign of unity. And now? Now, we have flags waving across the nation and a pledge that’s to be given to that flag. Children have been taught to honor and revere the flag because what began with a handful of Continental Congressmen and one upholsterer has come to symbolize the nation as a whole and every man and woman who’s given their life or blood to keep it striving.
Did Ross know that so much would come out of her sewing project? She likely hoped the colonists would prevail to build a free nation, but knowing that it would happen is different. Even if she had known about their upcoming victory, how could she have known how much that flag would come to mean to the generations of Americans that would come in later years?
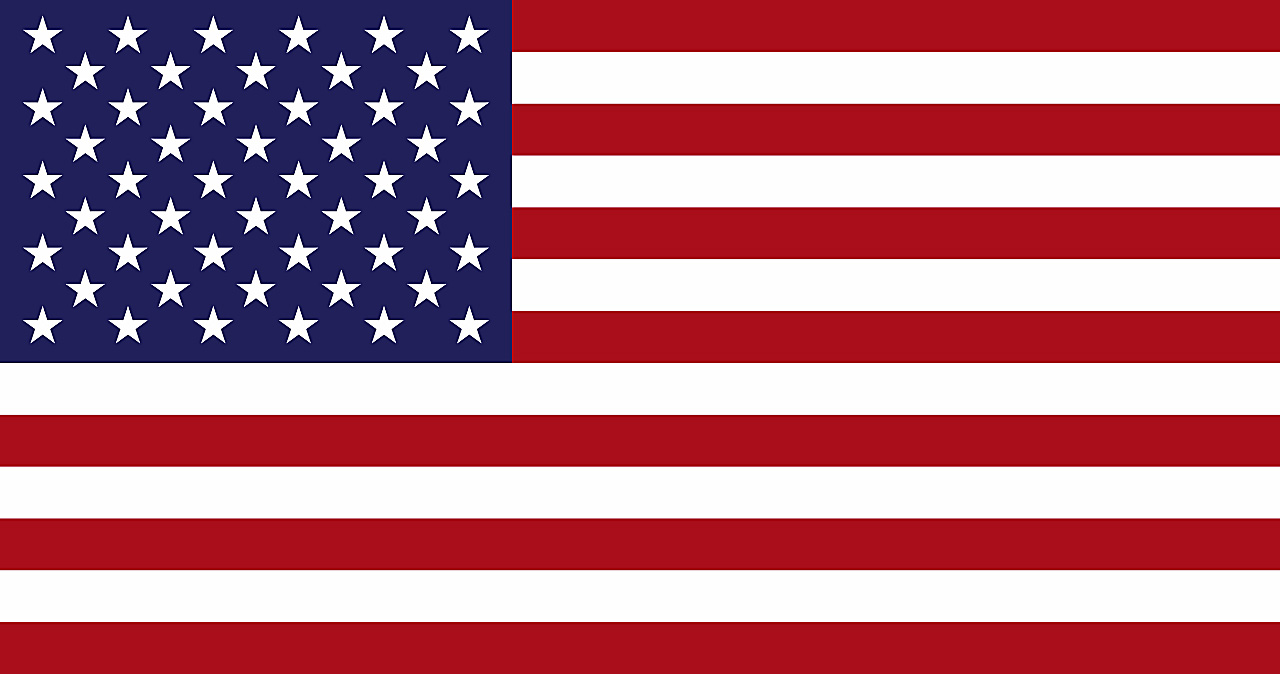
The evolution of an American tradition.
The point is that sewing was a part of our nation’s beginning, and it was a substantial moment for the United States. For once, we had a unifying flag, regardless of how much it could have cost just to agree to thread a needle and start sewing on it. Ross took that chance, and to say that the product has been significant to our nation would be an understatement. Overall, sewing has impacted our nation, and it’s linked to the struggle that allows us to celebrate our nation’s day of independence.
Enjoy the fireworks
So for the Americans reading this, happy Independence Day!
For others, even if the 4th of July is just another day on your calendar, consider how important such a small sewing project was. Will one of us sew something that noteworthy? Probably not! But clearly, each sewing project can matter—whether on a personal or public level. Tackle them with passion, because we never know how everything will turn out.