I’ve always been a morning person, or rather, I’ve never really found it that difficult to get up at before the crack of dawn. I’m usually not ready to actually talk to anyone until after the sun is up but, I actually really like the quiet pre-dawn hours, especially in a big city, like New York.
The bars here close at 4:00 am so the hours between four and six are the transition between last night and this morning; people who work in bars are on their way home (as well as those who were just out drinking) while another whole group of people are on their way to work. The streets are relatively quiet without much traffic – a true rarity in New York City. Cycling through the early morning streets always feels like a special, secret thing. The cabs that are out and about rarely honk this early and we share the roads without incident.
Top of the morning
A lot happens in the city between the hours of 4:00 am and 7:00 am. I’m not the only one out. Central Park is already humming starting at 5:00 am with runners, walkers, cyclists, and dogs. The street vendors are up and opening up their carts. Most bodegas are open already (many of them stay open all night). On the weekends, there are bike races and running races (the NYC half marathon was yesterday) and, all about the city, especially if its Monday morning, film and television crews are going to work, or are already at work.
If you want to work in film and television, you have to be able to get up early. And I mean early, like before 5:00 am, and, if you’re in the wardrobe of hair and makeup departments, often before 4:00 am. It’s not unusual for the costume and wardrobe departments to have to be at work by 5:30am, or 5:00 am. I’ve even had to be at work by 4:30 am before.
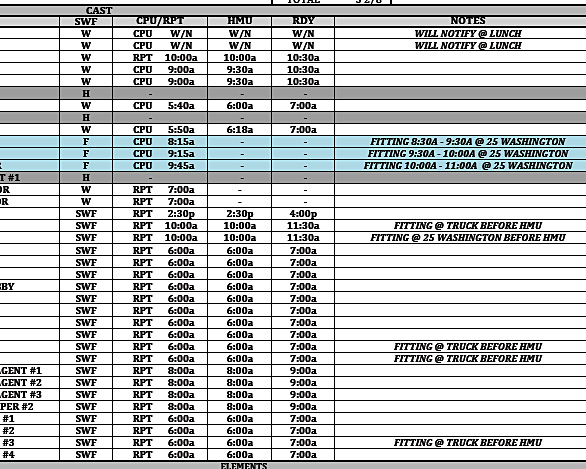
Actor call times for this morning, including fitting times.
The main reason for this is the sun, and the fact that most shooting days are, at a very minimum, twelve hours long. Mondays usually mean a super early start as the goal is often to start filming outside as soon as the sun is up (you don’t want to miss any of that precious daylight, especially in the winter months when the days are shorter).
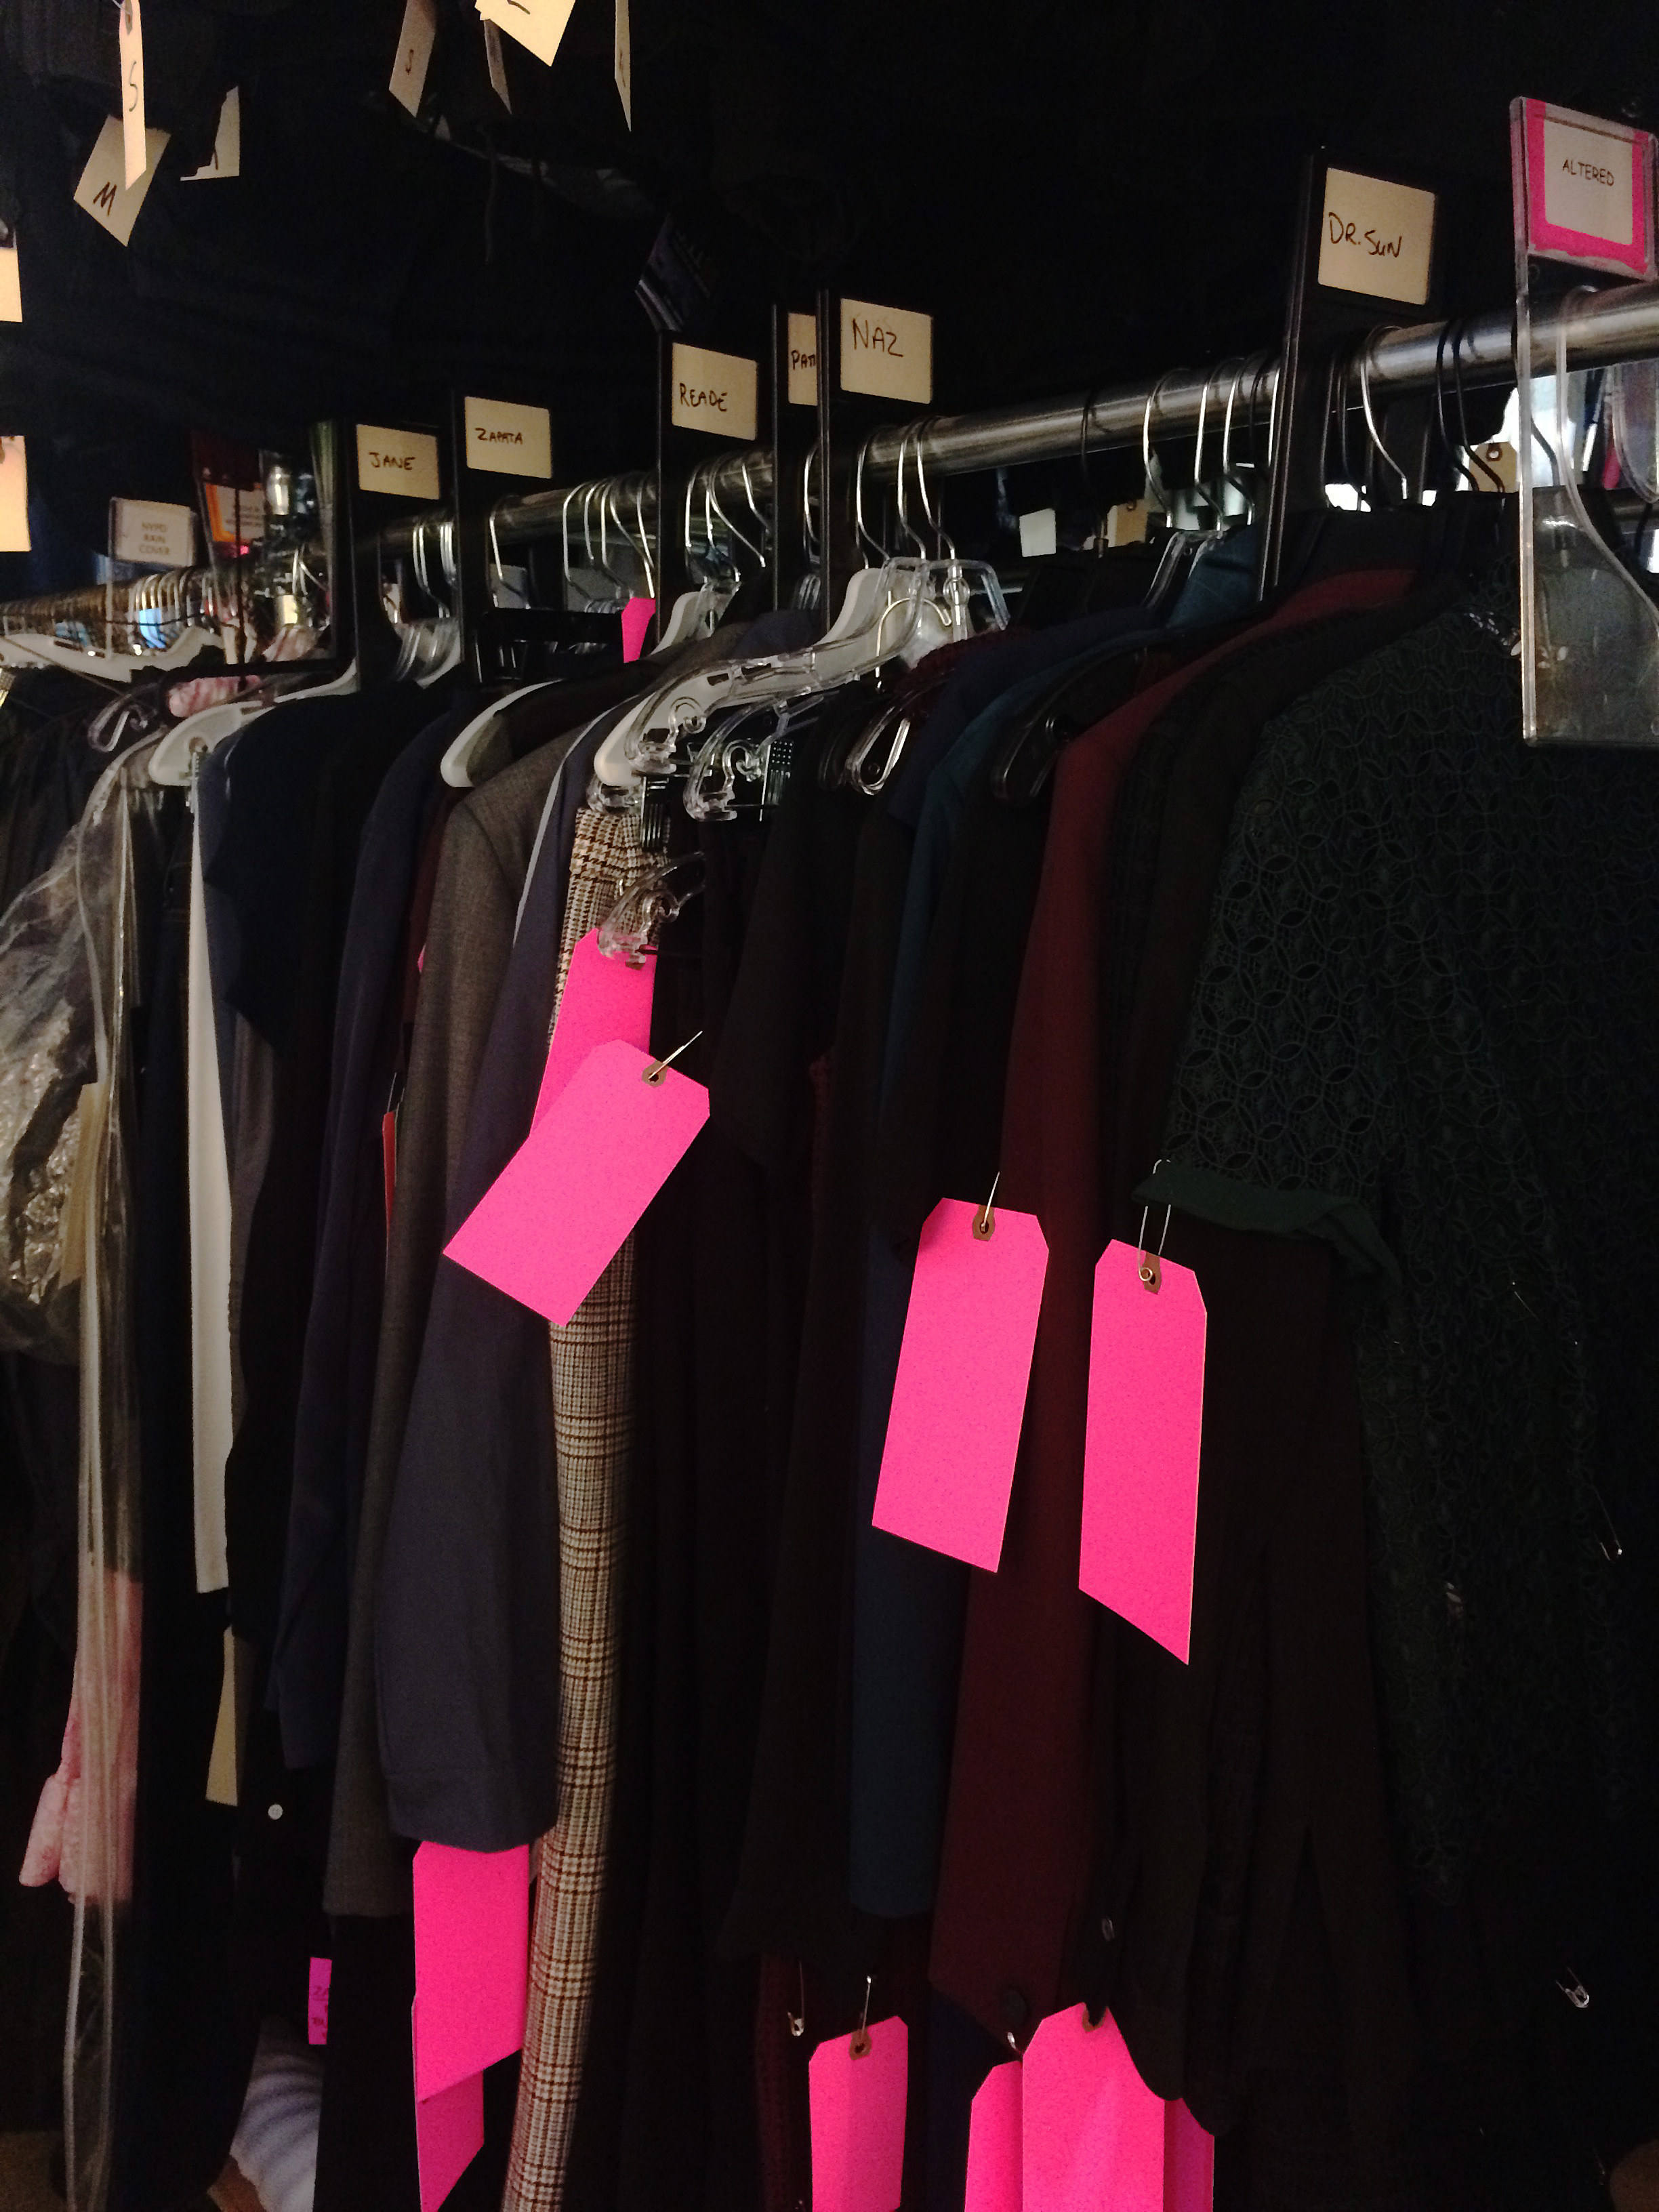
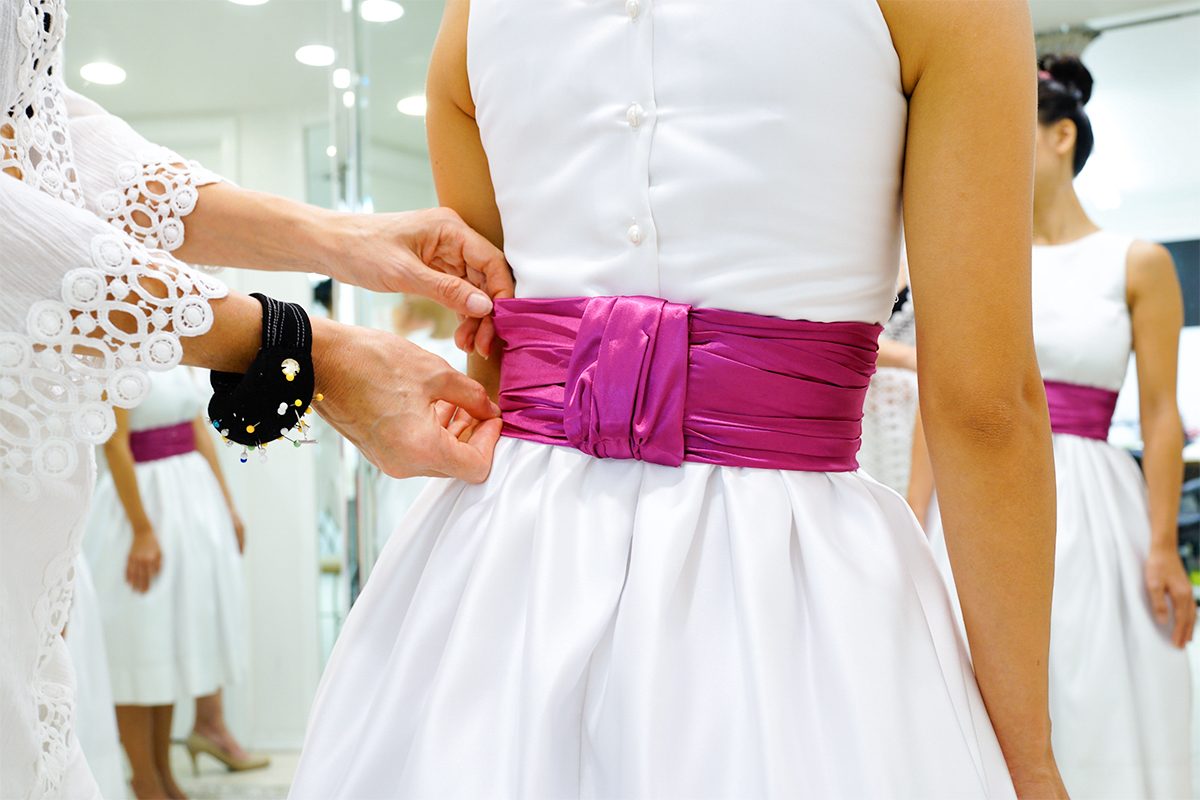
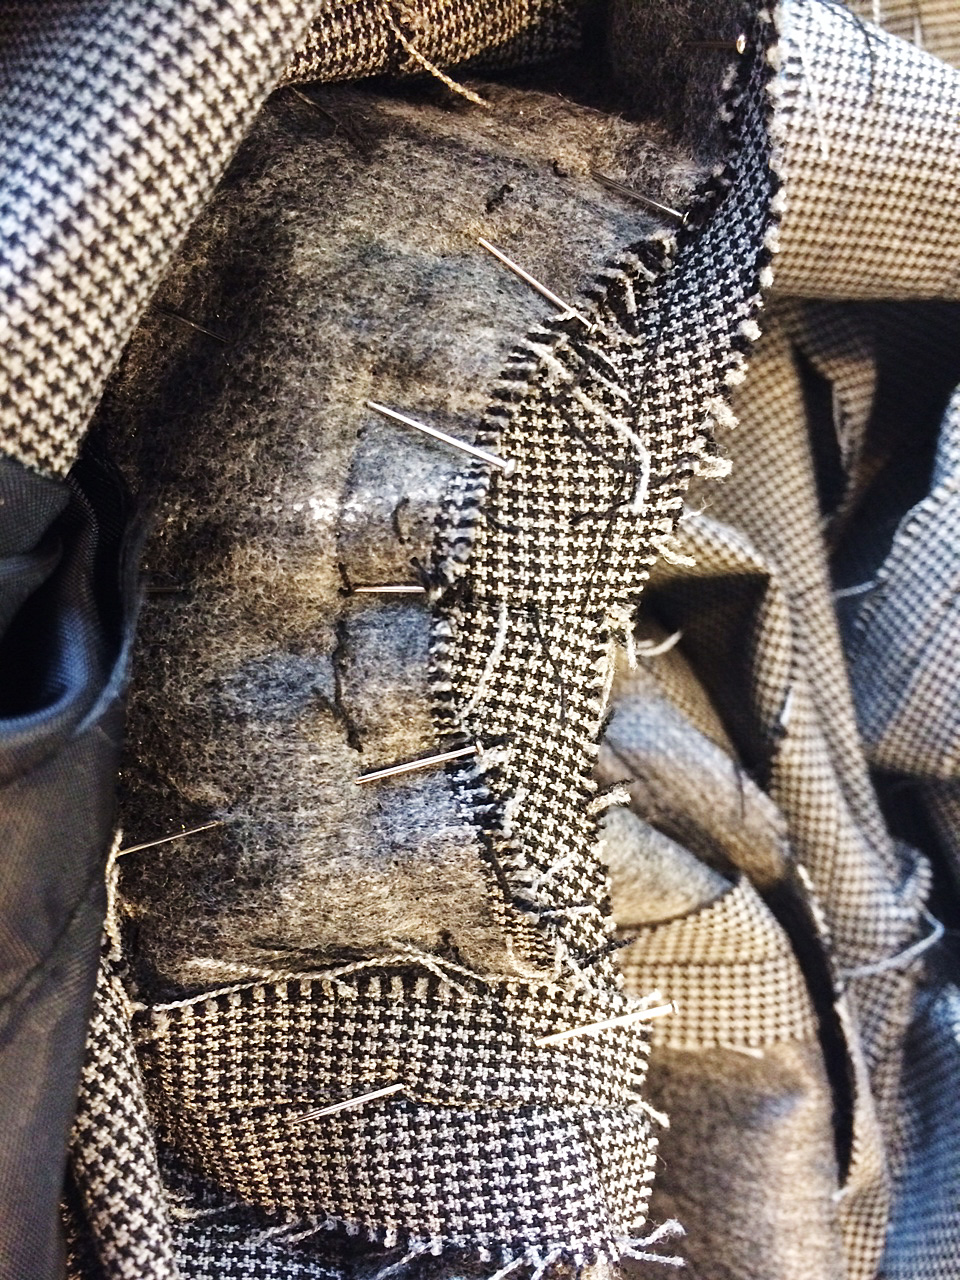
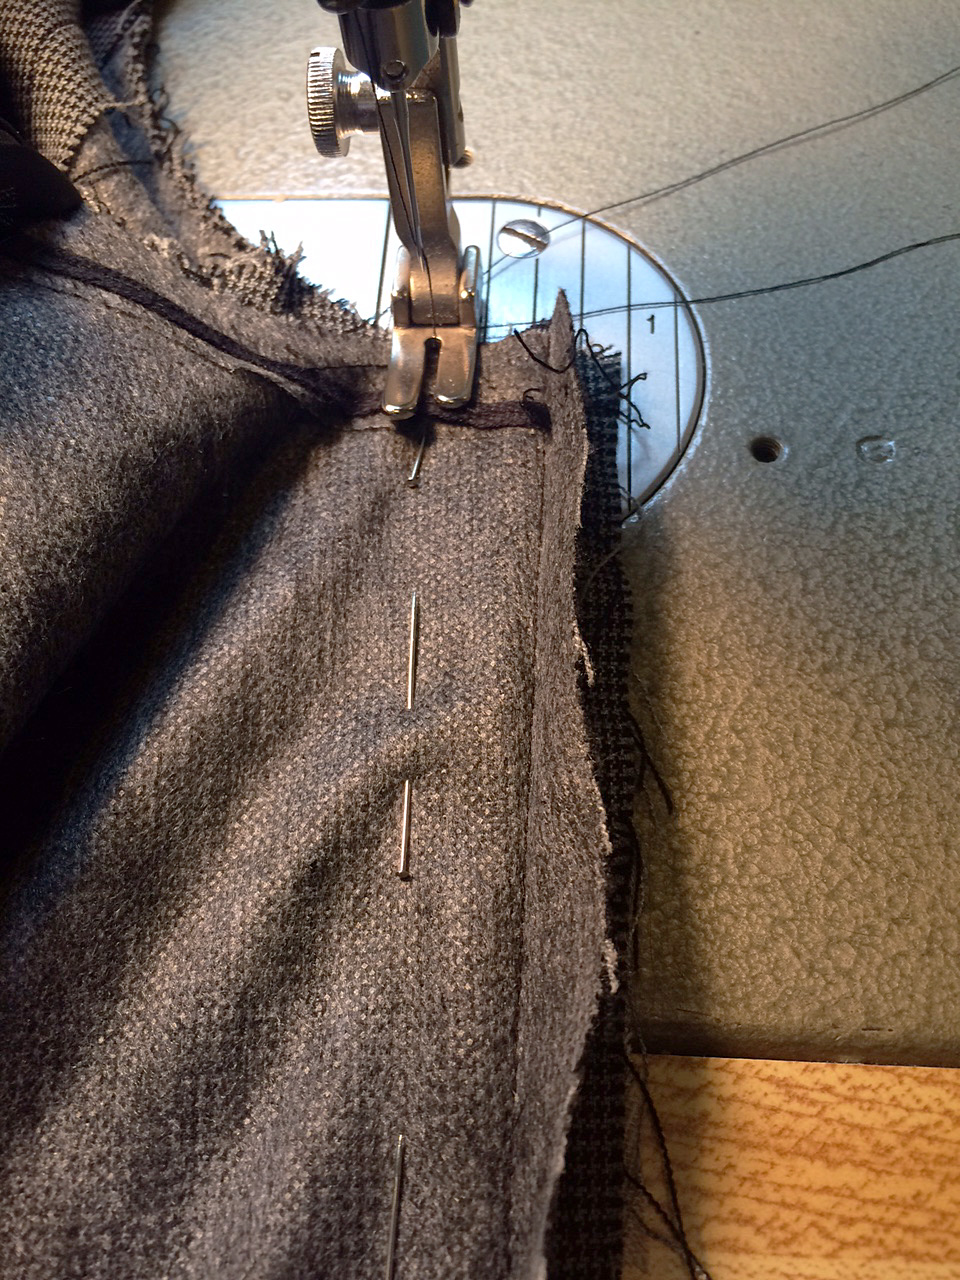
It’s all about proper preparation
In order to have the actors ready to go on set when the sun is up, they need to get to work an hour or two beforehand to go through hair and makeup and to get dressed. If it’s day that requires a large amount of background actors to be dressed and ready to go in the first shot, they (and the wardrobe people who are there to help them get ready) often must report to work a couple hours before sunrise.
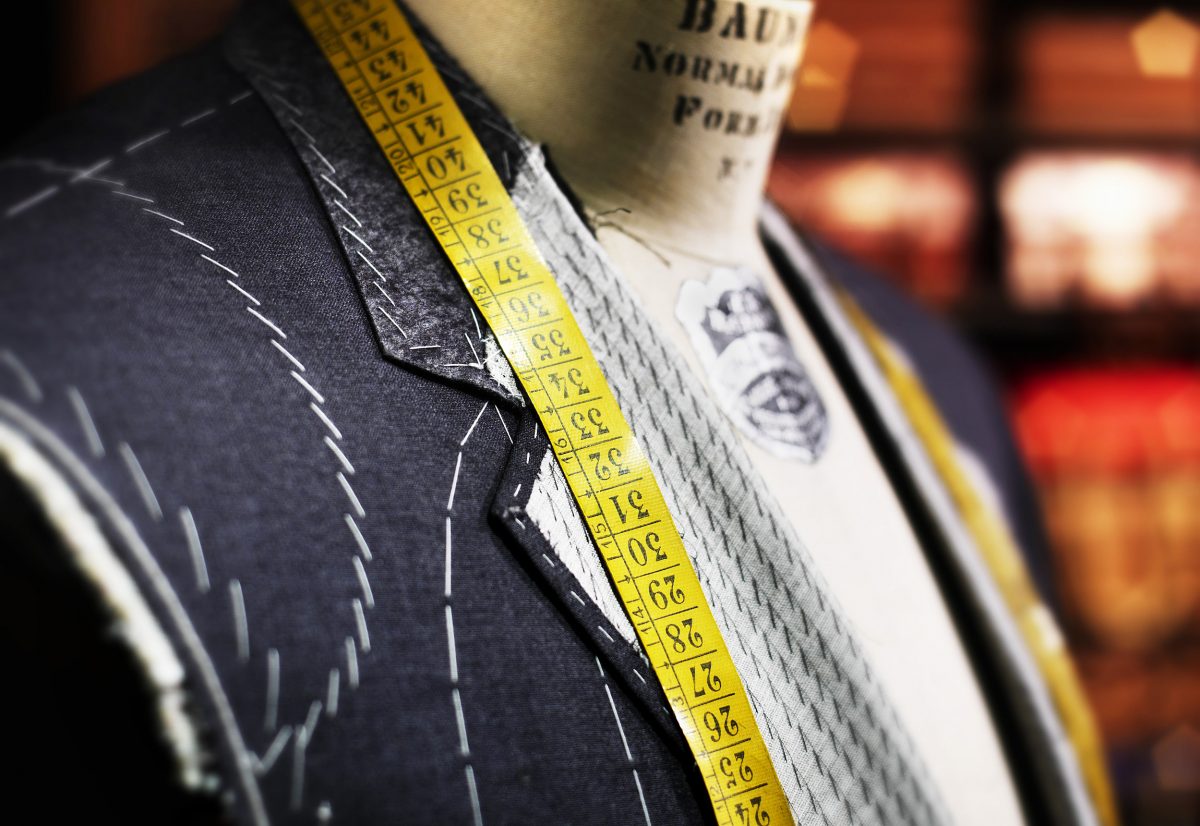
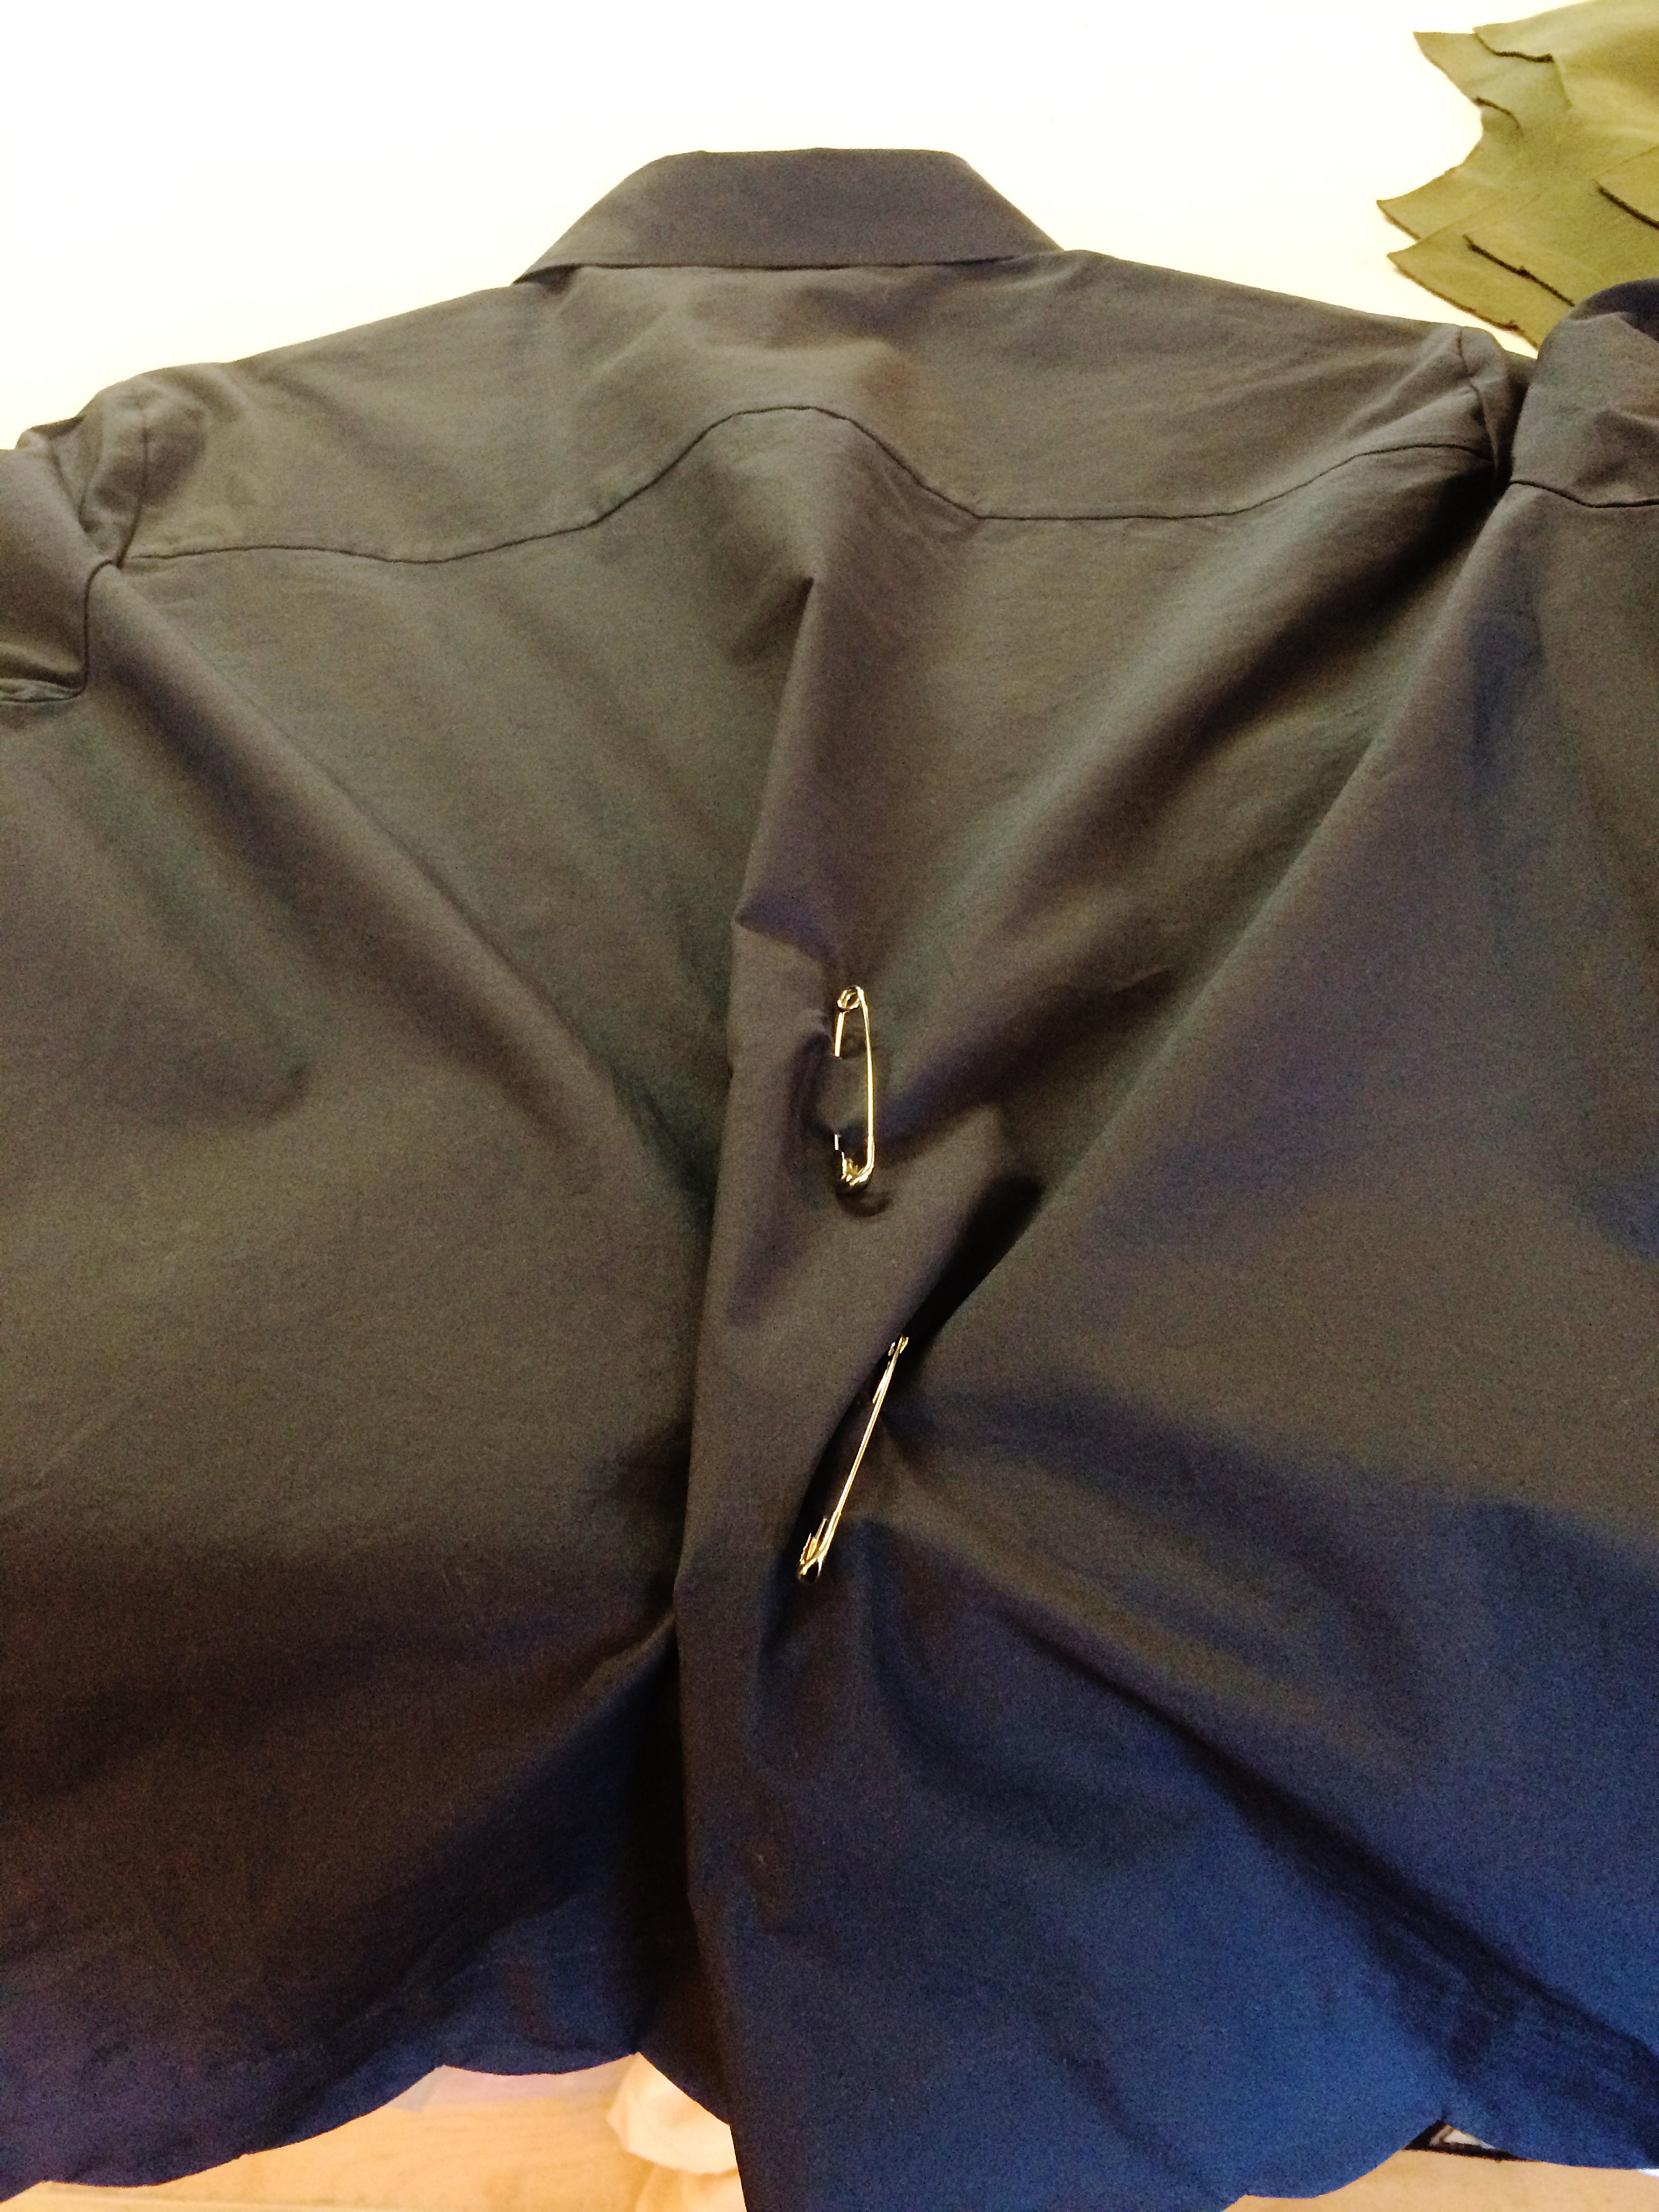
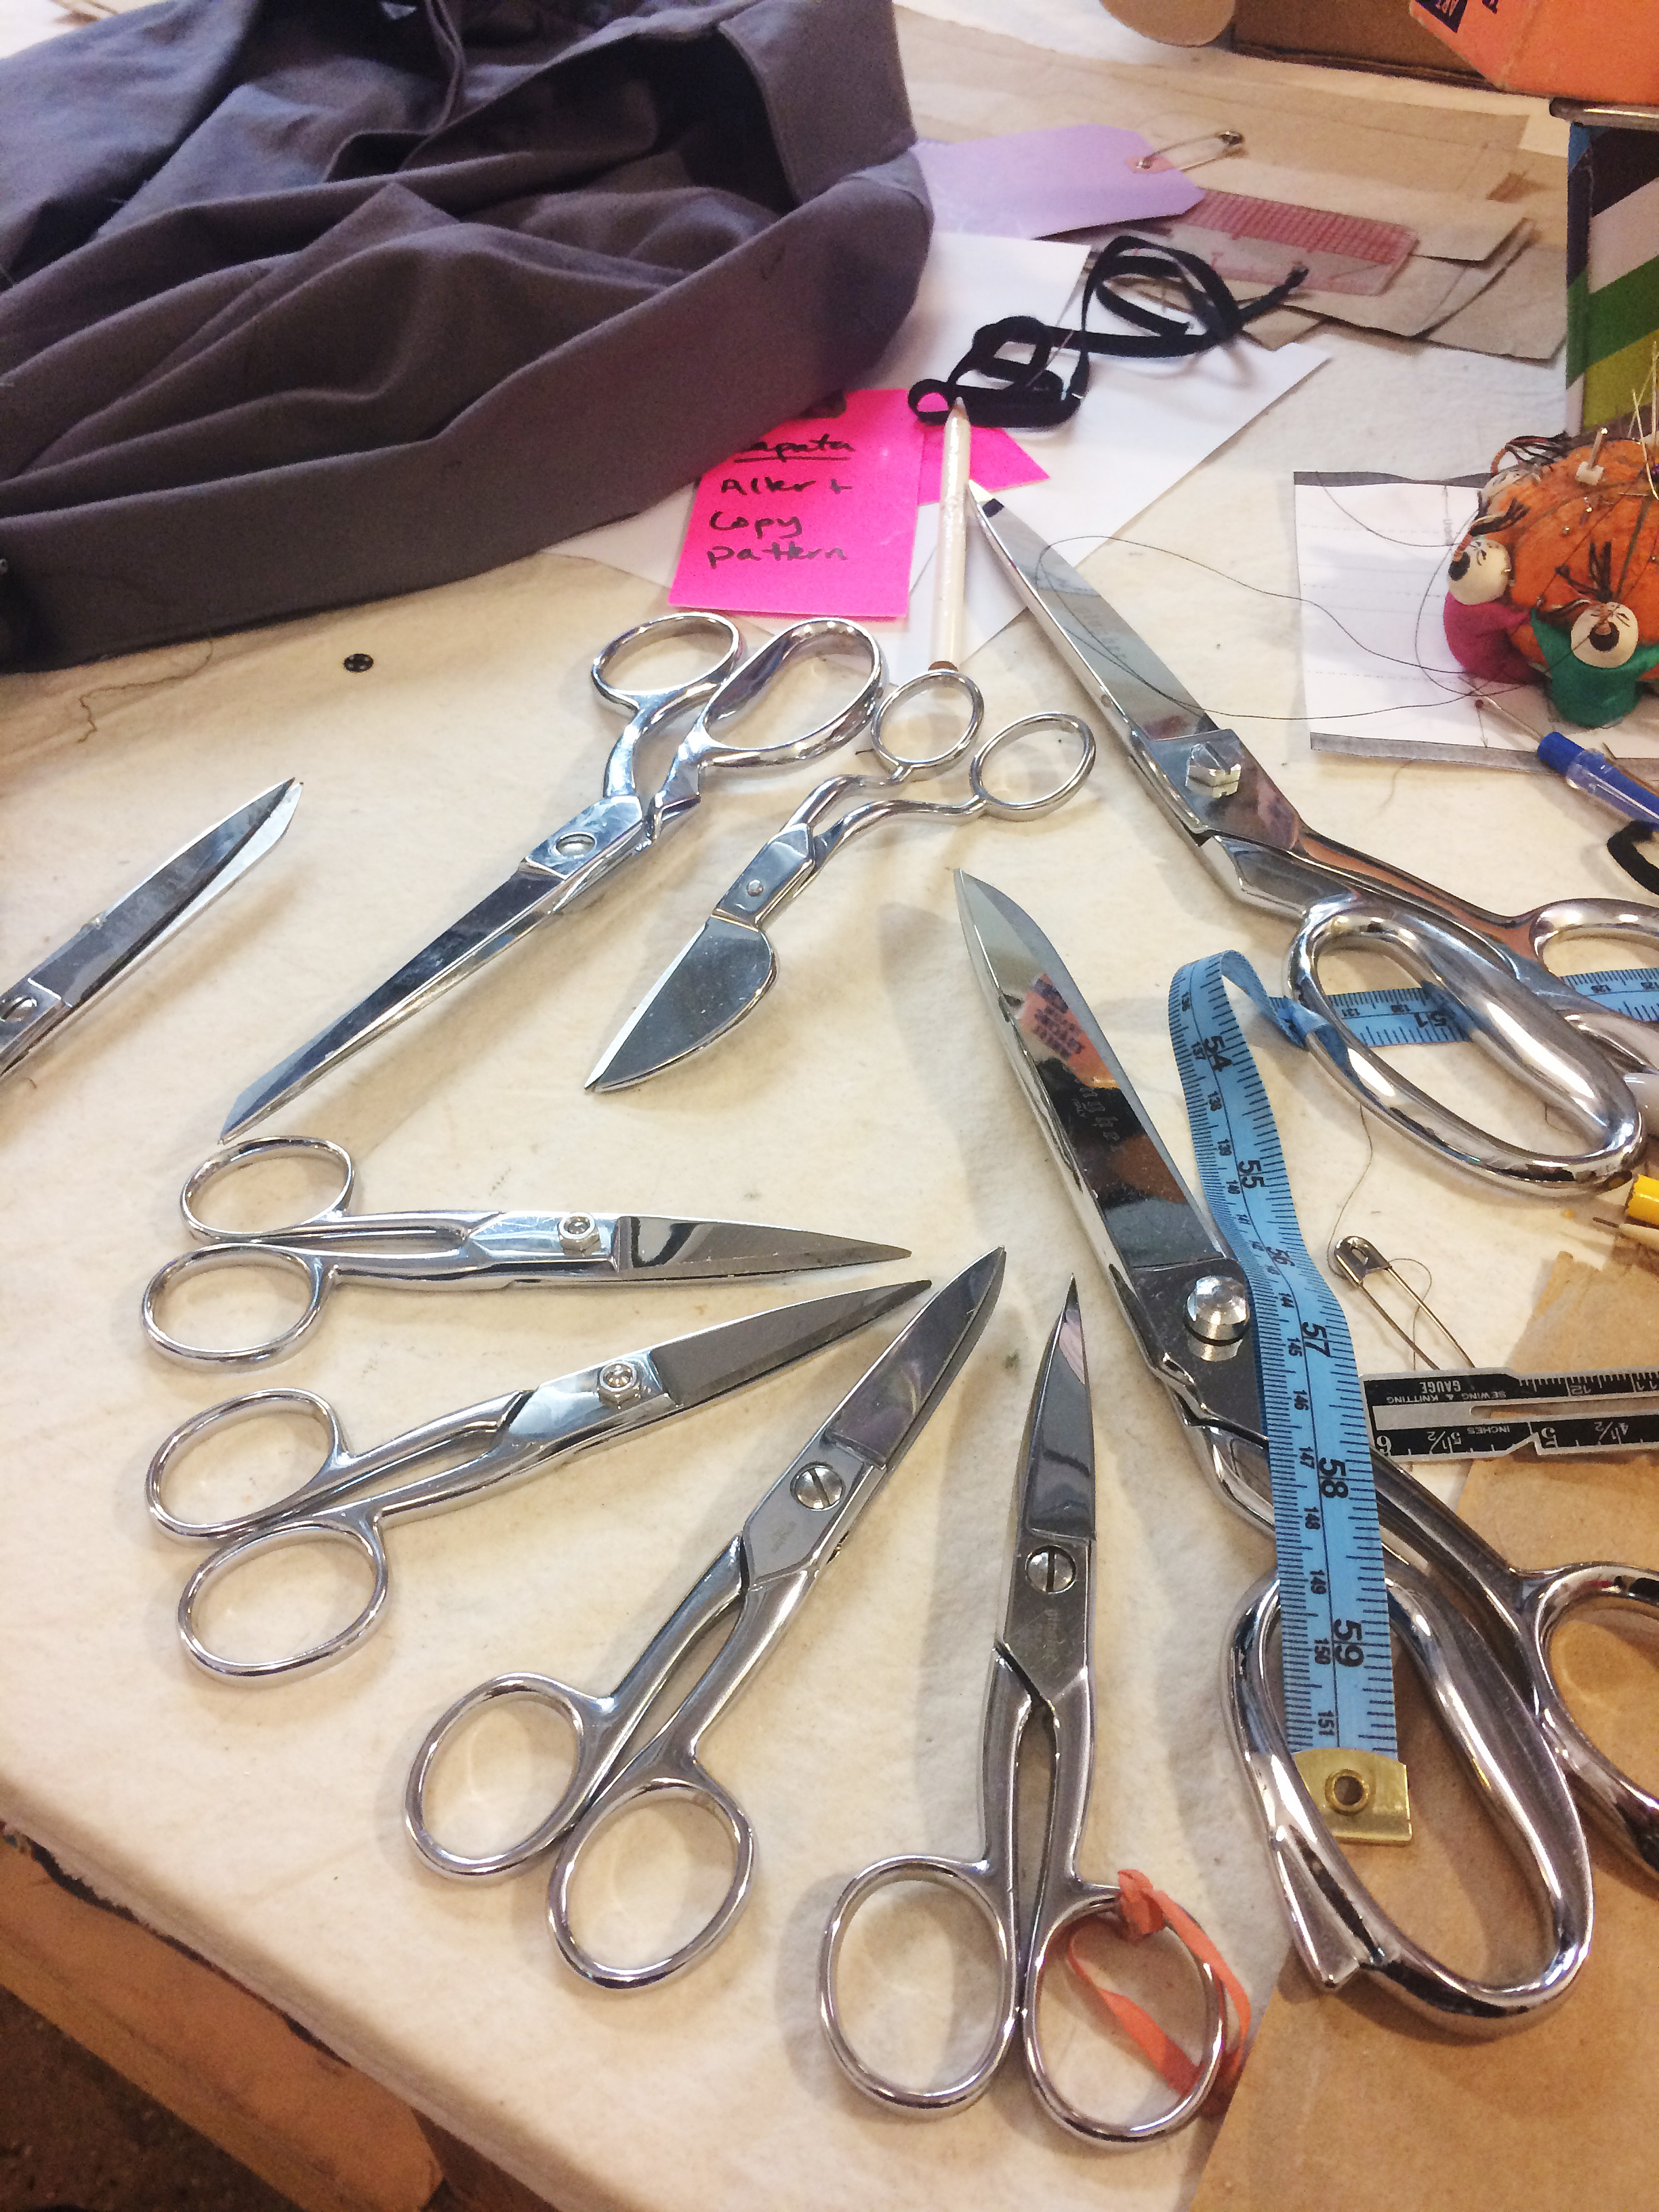
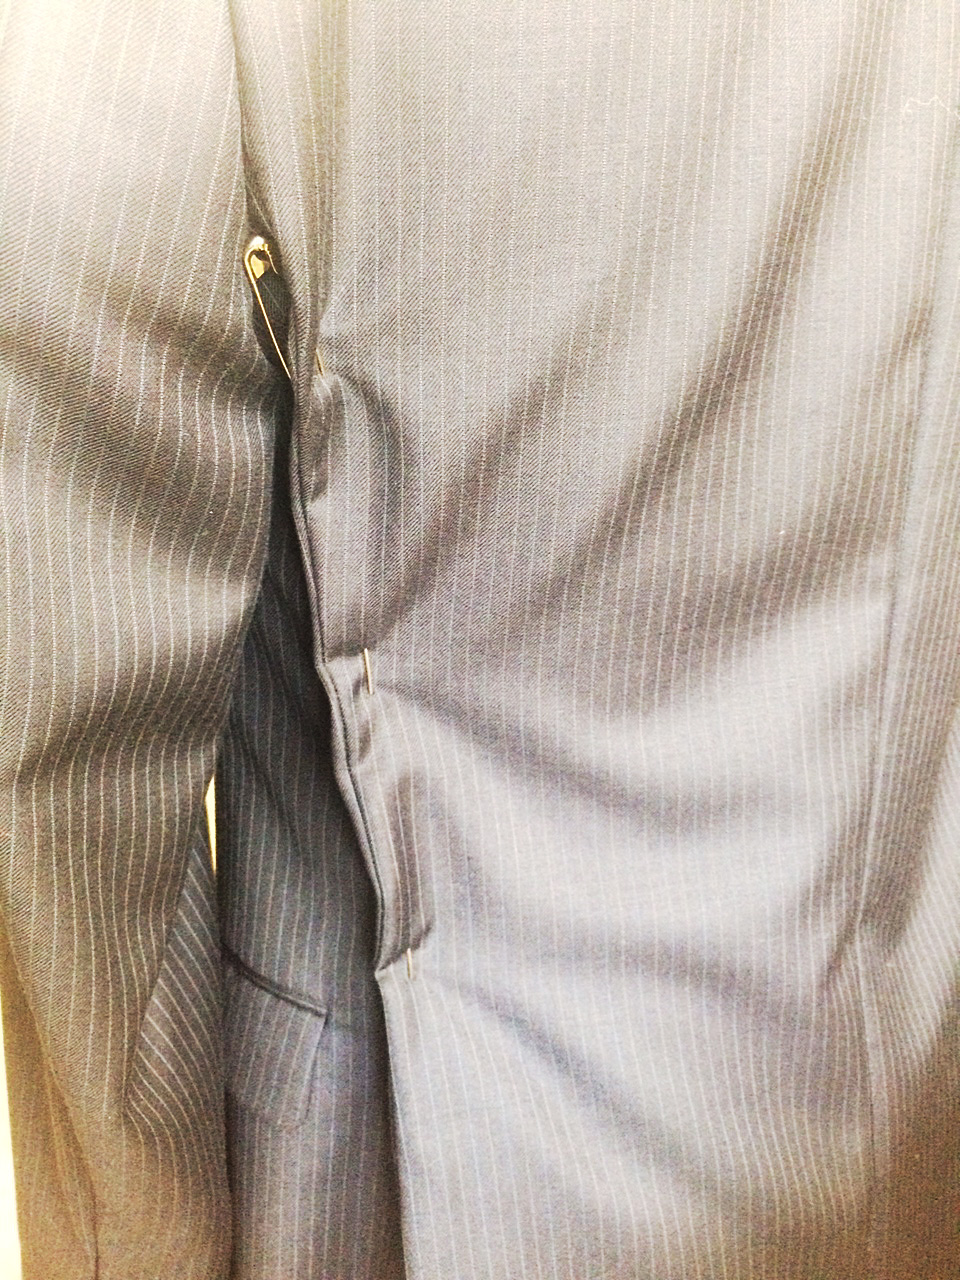
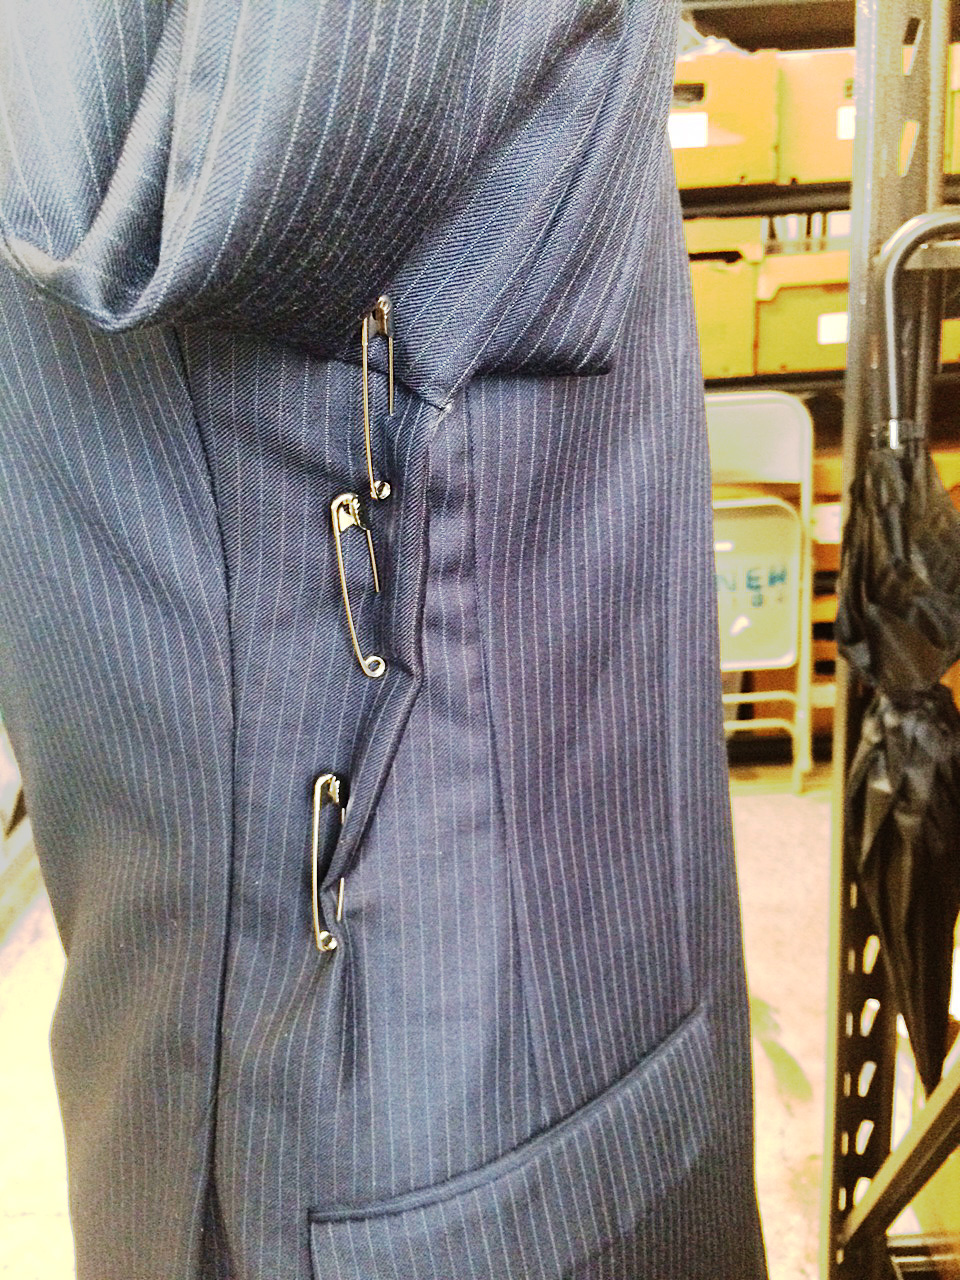
As the tailor, I often have to be at work for an early morning fitting that happens before an actor goes to hair and makeup. Then I have the hour or so when they’re “in the chair” as we call it in the film business, to complete an alteration. This is also when my fast sewing skills come in handy.
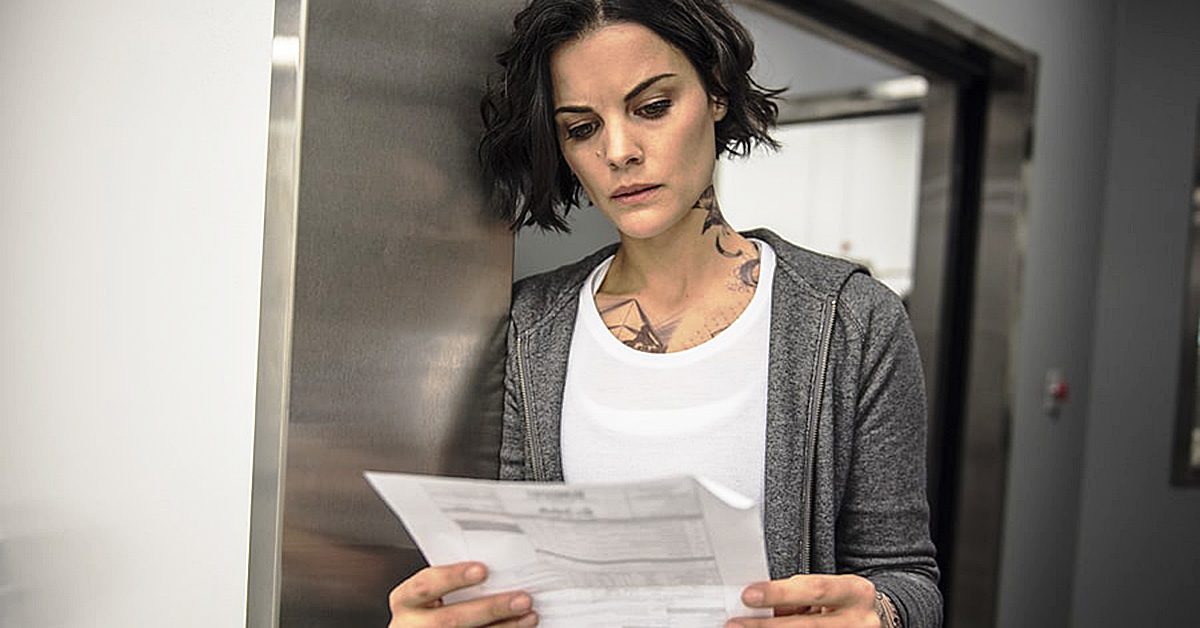
The early bird
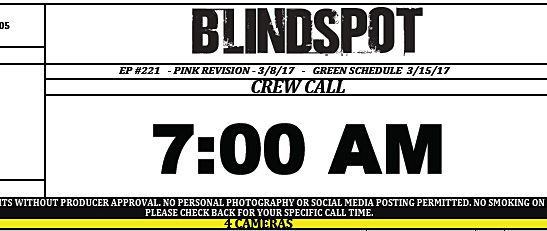
This Monday on Blindspot, we’re in the studio on the stage so all the scenes are interior but, general crew call is still 7:00 am.
This Monday on Blindspot, we’re in the studio on the stage so all the scenes are interior but, general crew call is still 7:00 am. We were also on the stage most of last week, including Friday, so the crew will be pretty much ready at 7:00 to start shooting. If we’ve been out somewhere on location shooting, sometimes an extra half hour or so is needed to get the lights ready, the cameras out, the props set, etc.
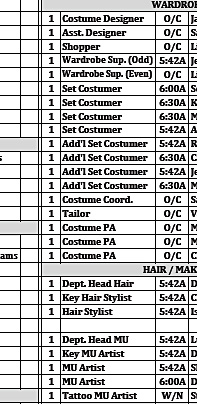
Times the wardrobe, costume, and hair & makeup departments had to be at work this morning.
The wardrobe crew, though, was here at 5:42 and 6:00 and the first actors arrived by 6:00.
Sometimes people ask how I’m able to get up so early. I honestly don’t know the answer. I will say that I think you do get used to it. I actually hate when I don’t have to be at work until 9:00 or 10:00, mainly because it can take twice as long to get there when you’re in the midst of rush hour traffic. I’d choose the 5:00 and 6:00 am starts every time.
I do my best, focused work early in the morning; things don’t seem as frenetic before the sun is up. There are fewer distractions, the phone doesn’t ring, the only texts are most likely directly related to whatever I’m working on, people aren’t quite awake yet so there’s less chit chat. Things just seem to flow along at a steady, quiet, unencumbered pace. Also, when you get to work at 6:00 in the morning, you get to have second breakfast at 10:00 – and who wouldn’t be up for that?