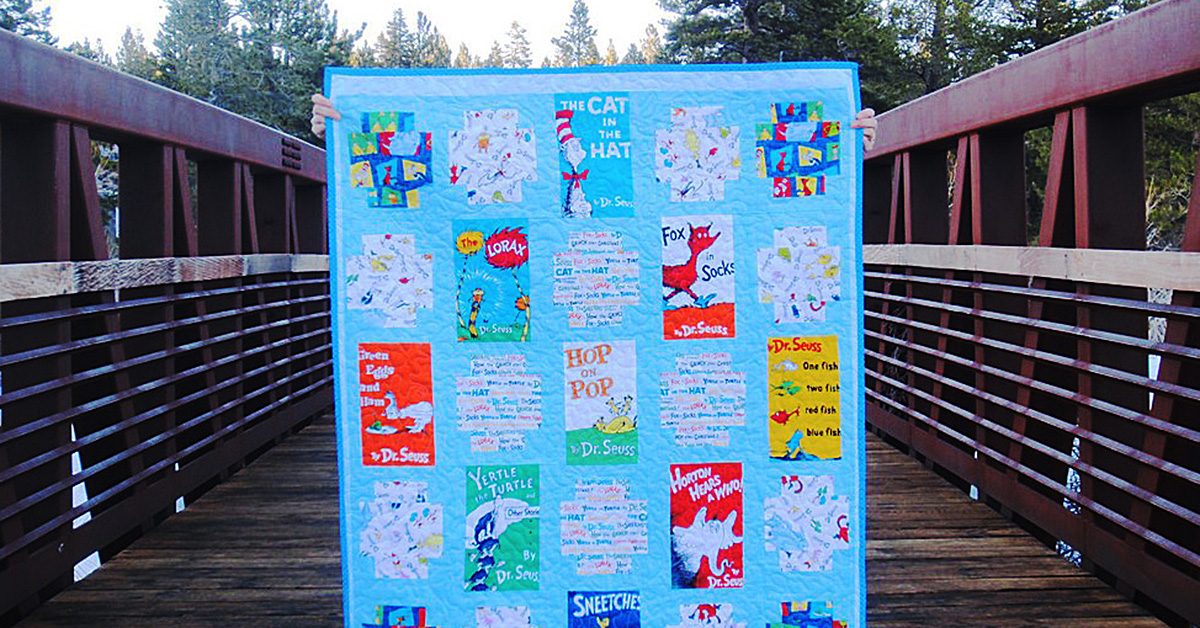
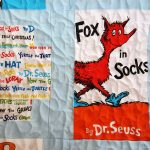
Have you ever bought a quilt kit? I buy them sometimes when the inspiration strikes, or when I’m looking for the convenience of having all the fabric I need for a pattern already provided for me. This kit came out in 2015 and is called Celebrate Seuss by Robert Kaufman Fabrics.
This kit came out in 2015 & is called Celebrate Seuss by Robert Kaufman Fabrics.
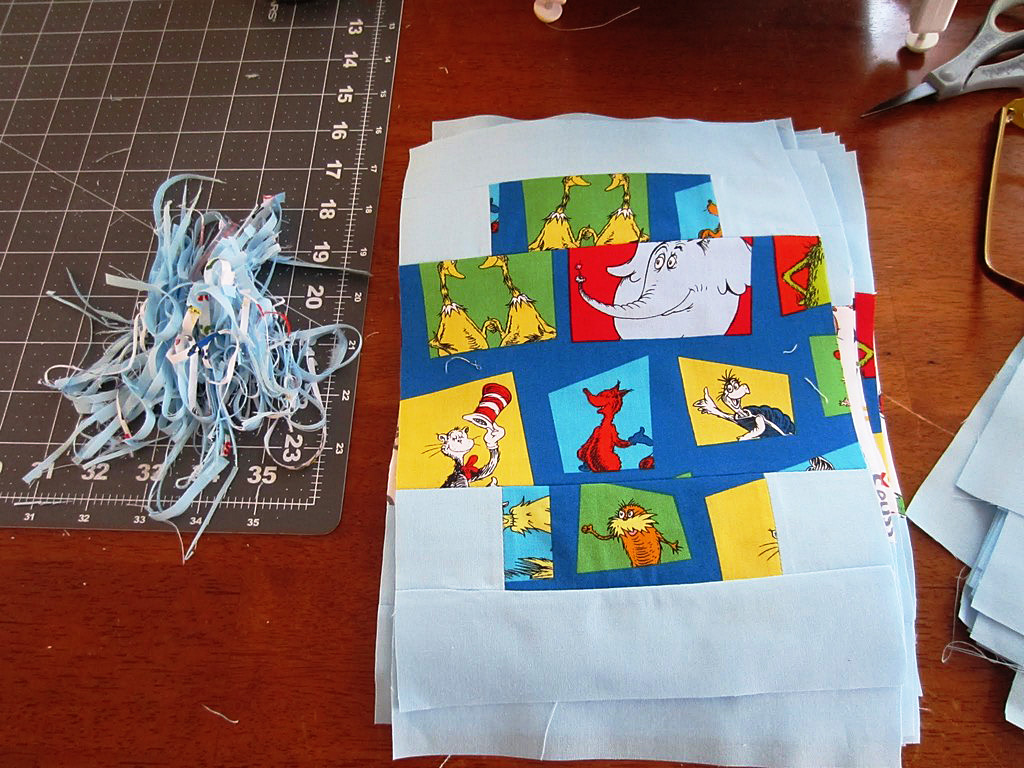
Start Cutting
Quilt kits do NOT mean that the fabric is precut into the shapes you need. Nope. They’ll send the amount of fabric you need but you will need to cut everything to size before you start sewing.
Quilt kits do NOT mean that the fabric is precut into the shapes you need.
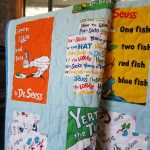
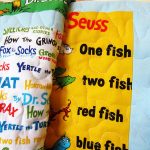
I actually started this kit last spring in San Diego. First I got all the individual blocks set up and then put them into rows. Once the rows were sewn into a full panel, I packed this project away. It wasn’t until almost 12 months later that I was ready to finish it.
Once the rows were sewn into a full panel, I packed this project away.
Make your Project Your Own
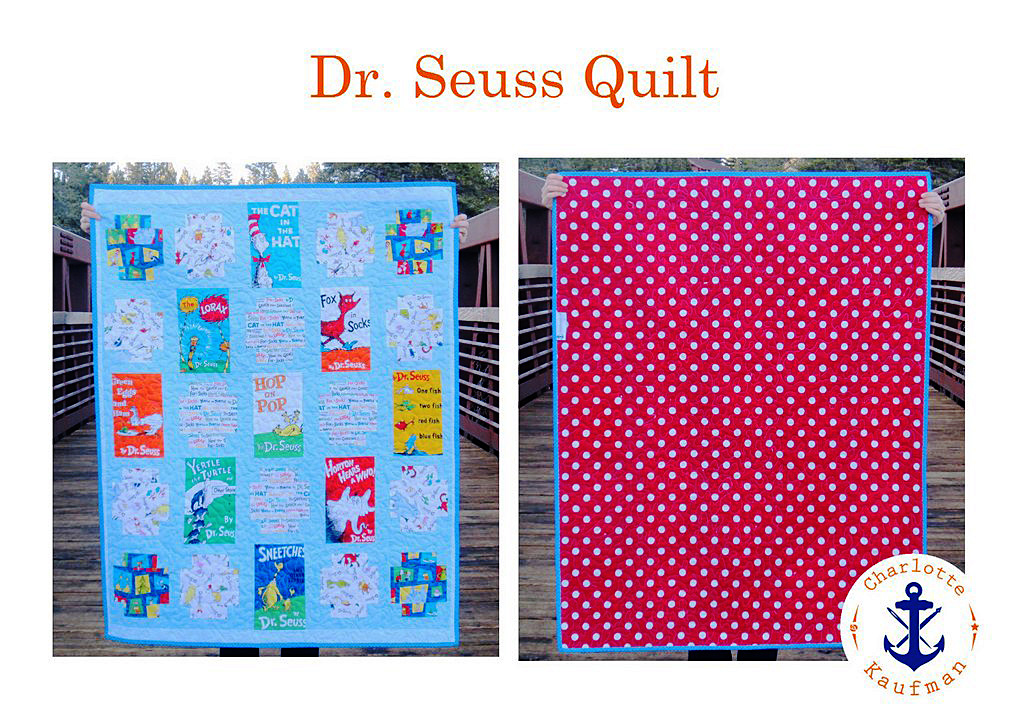
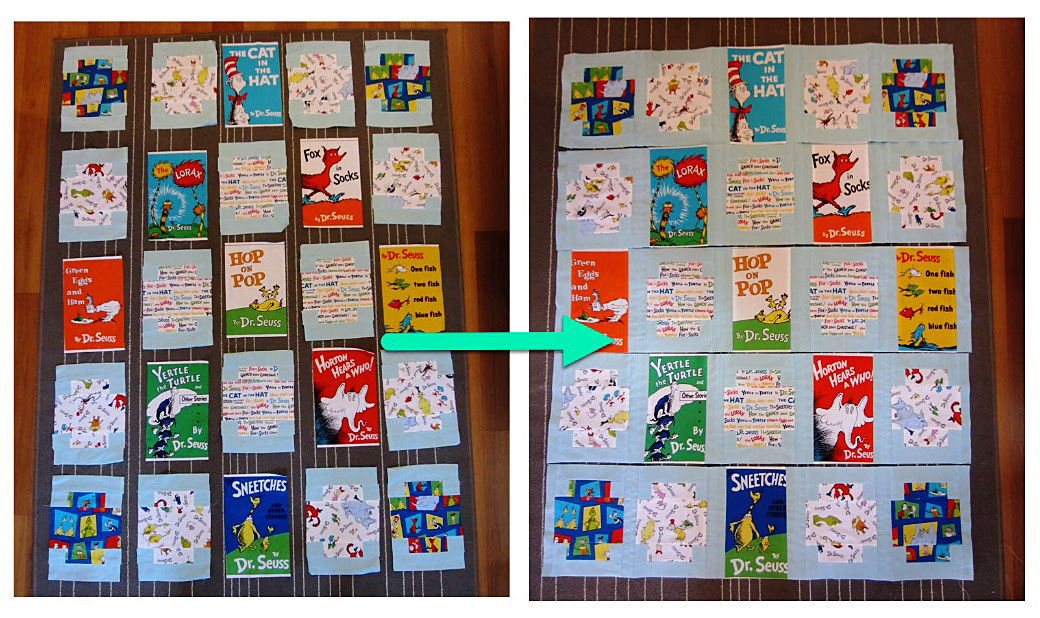
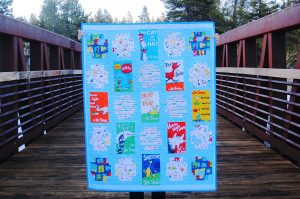
On the left you’ll see the finished photo advertised in the kit. Do you notice how the top and bottom center column run directly into the binding? That drove me crazy, so I amended the pattern. I added a 2” strip of blue polka dot fabric to the top and bottom and a 1” strip of the same fabric to the left and right.
See the right photo? Much better, no? I feel like the whole quilt is better framed.
Lesson learned
It’s okay to deviate from a pattern and a kit. Make your project your own.
Make your project your own.
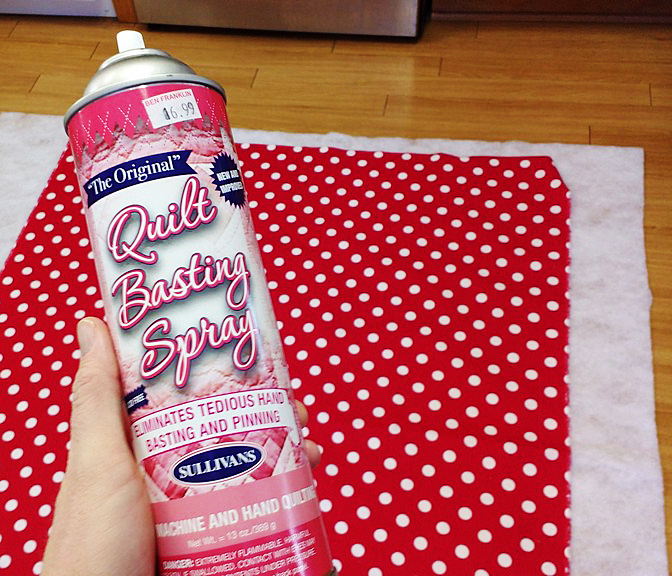
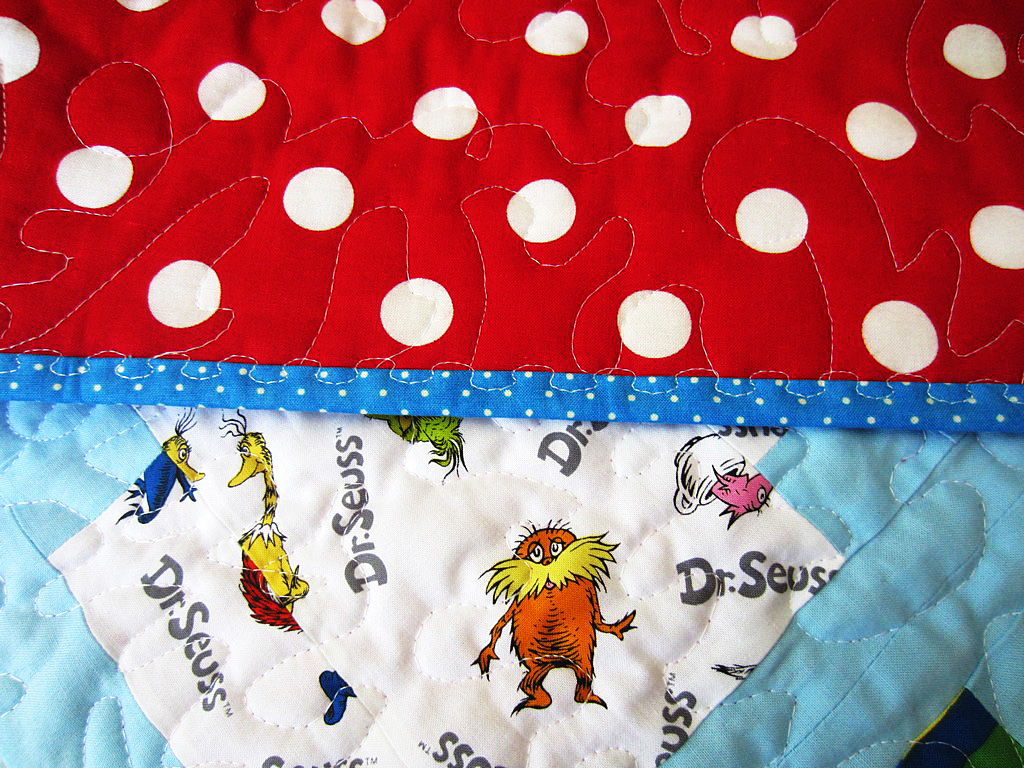
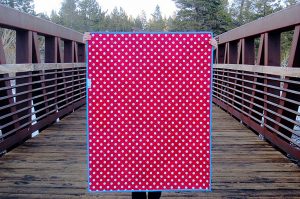
For the back fabric I went with a classic, large white polka dot on red that was very much in keeping with Dr. Seuss’ style.
For the back fabric I went with a classic, large white polka dot on red.
Method of Quilting
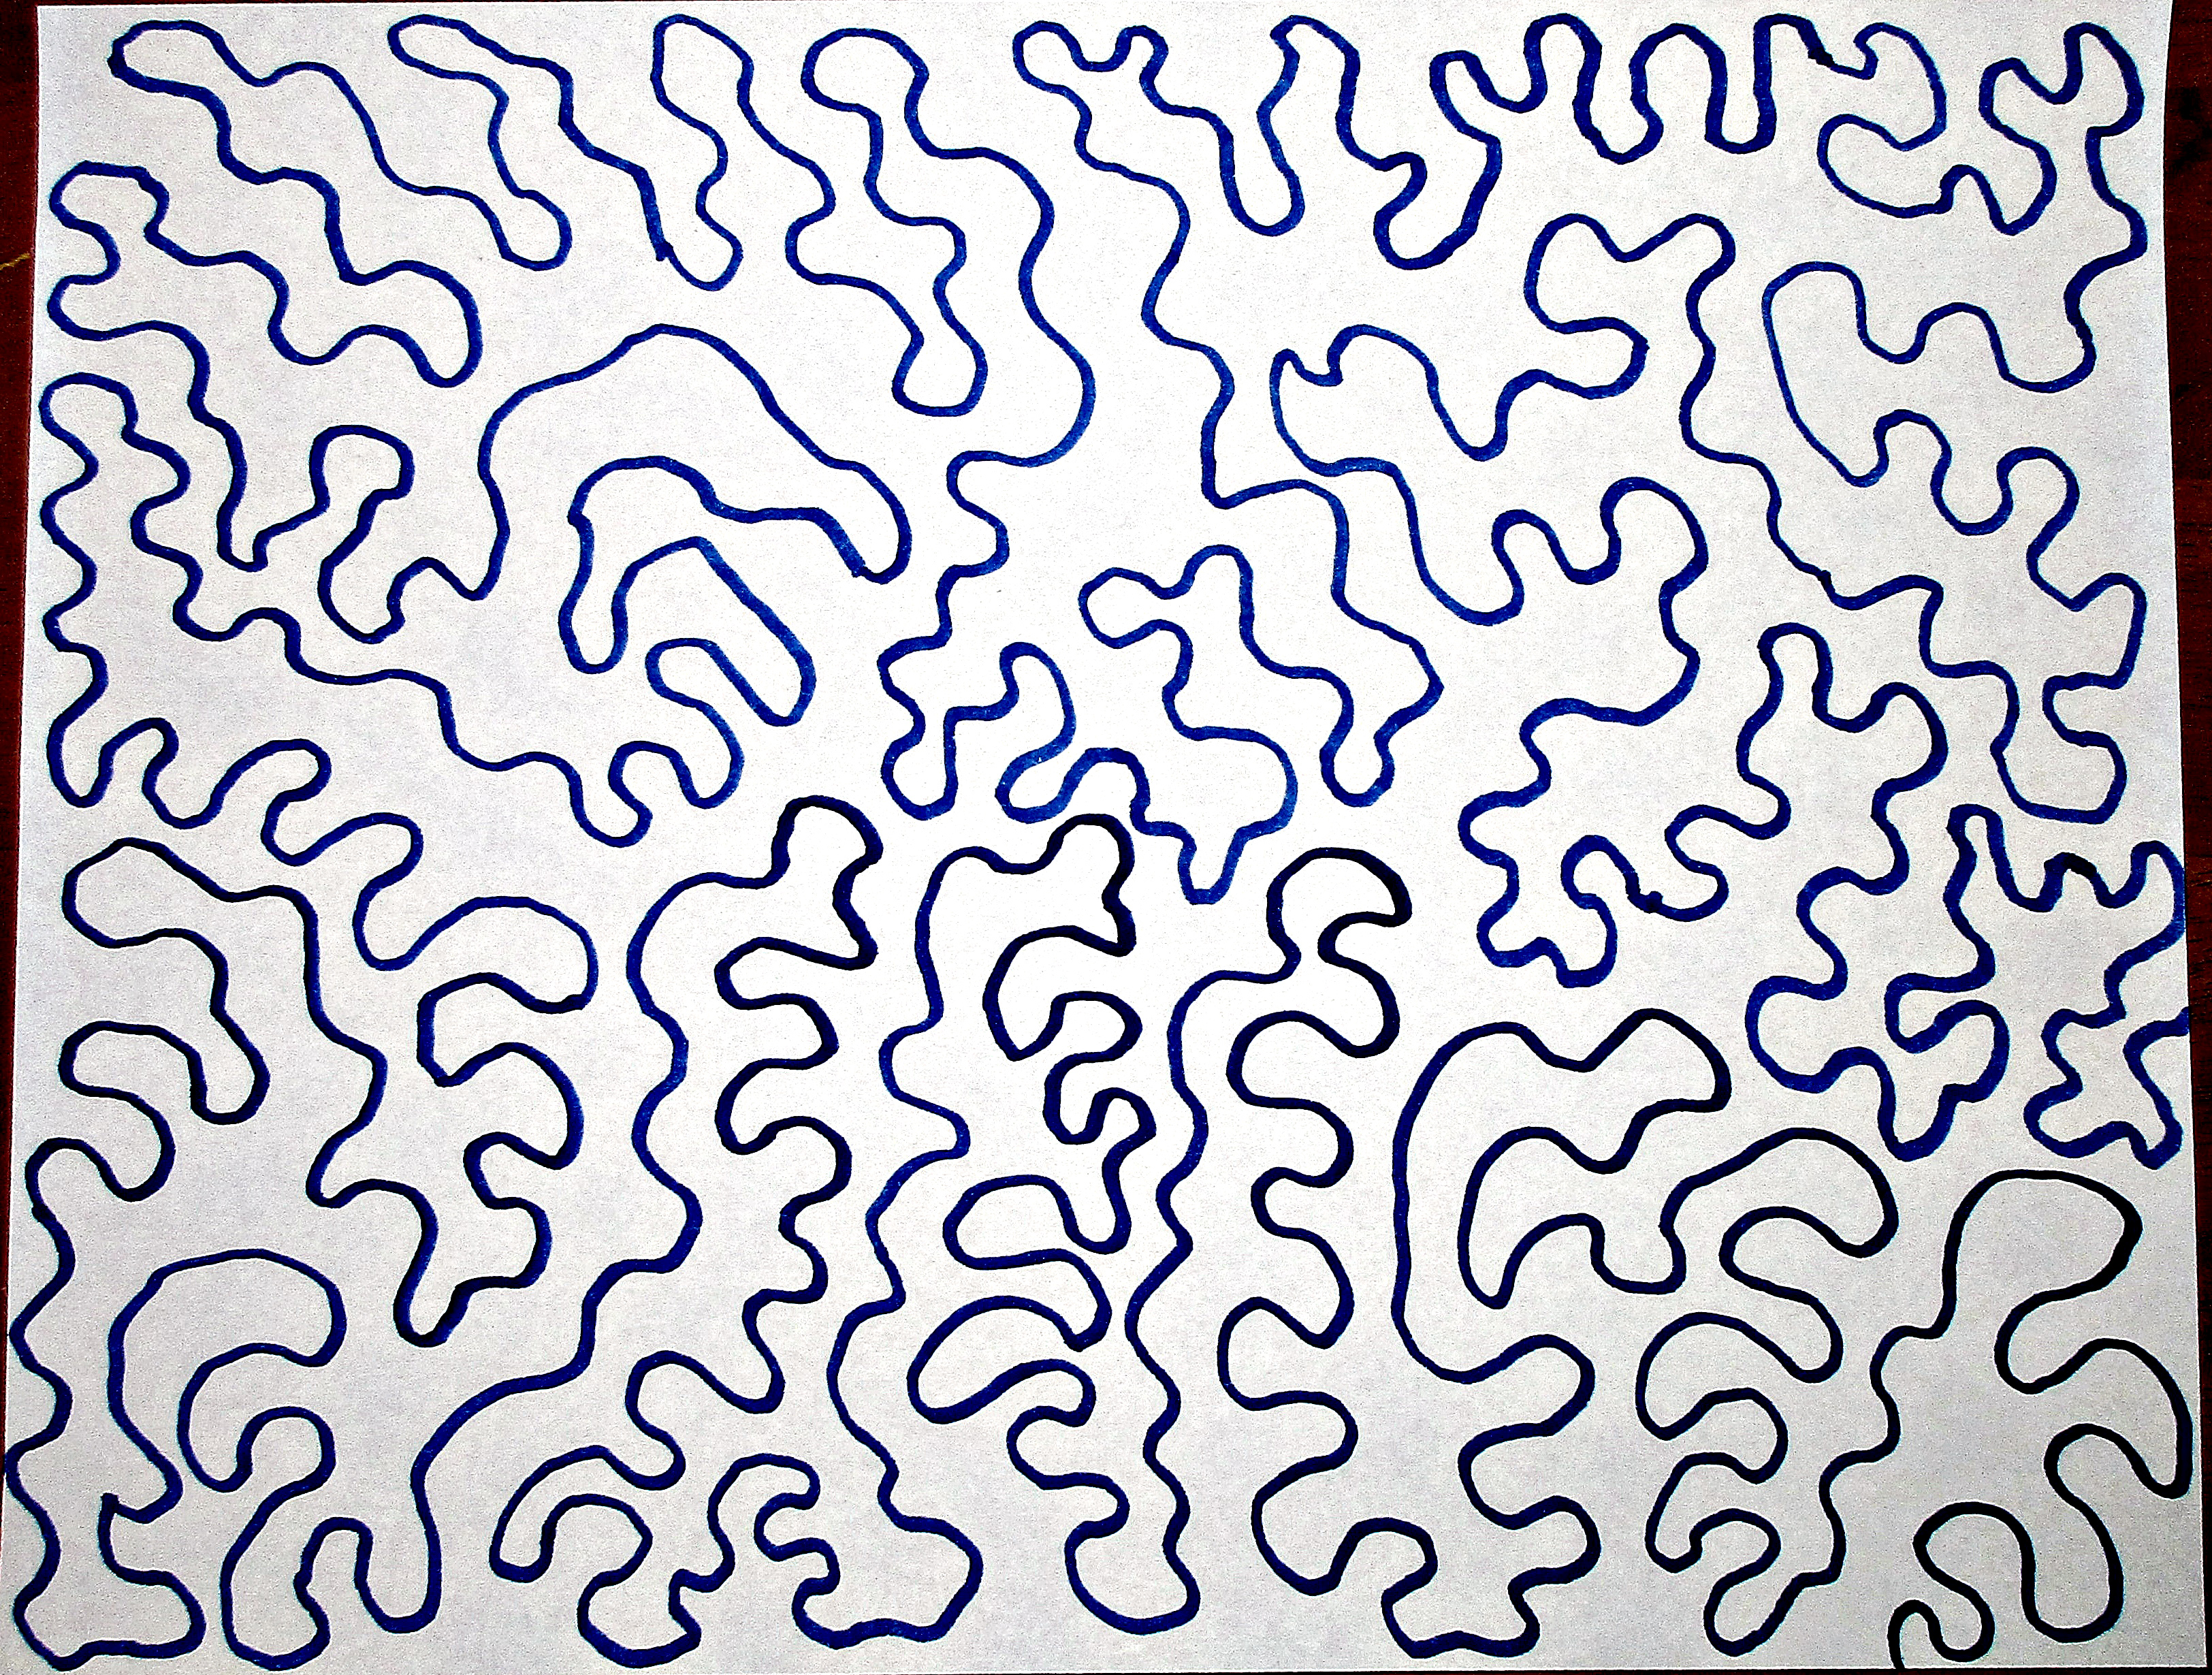
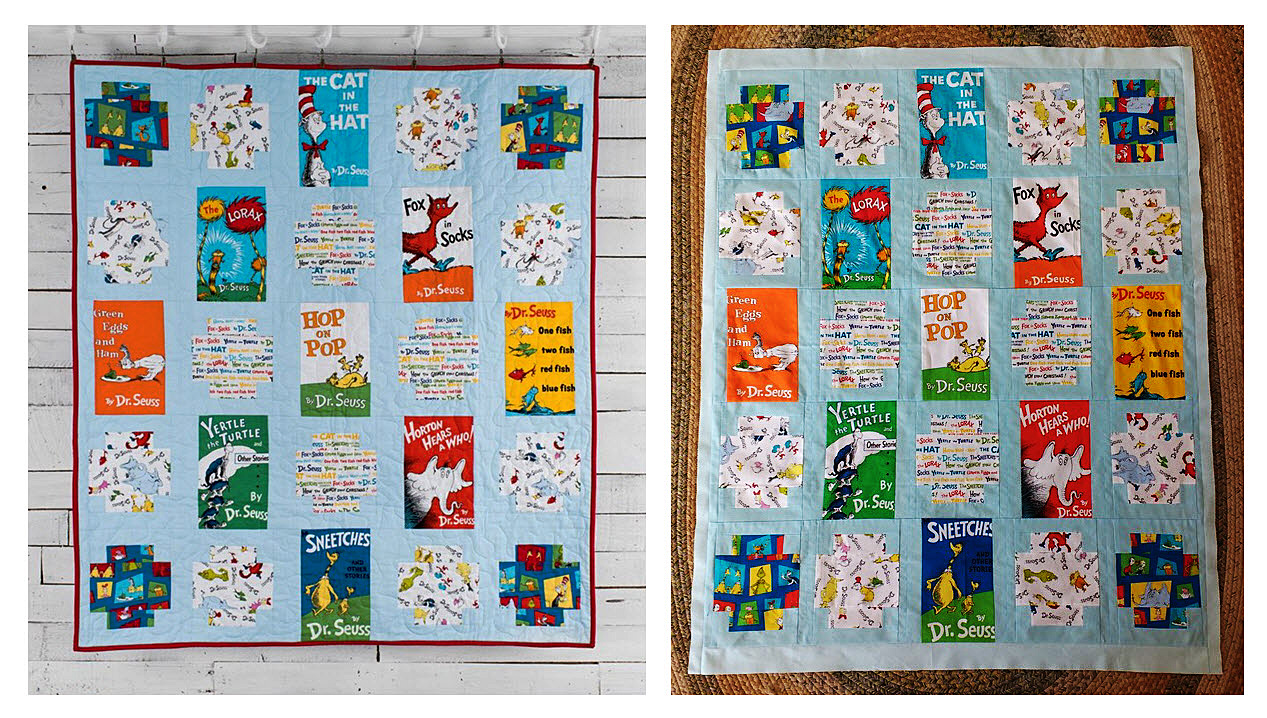
I’m extremely proud of the free motion quilting (FMQ) I did on this quilt. After years of being afraid to try FMQ, I’ve finally embraced the methodology. It took watching a lot of YouTube video tutorials and a lot of practice, but I’m very happy with the results. I used a relaxed, free-motion, jigsaw pattern for this quilt.
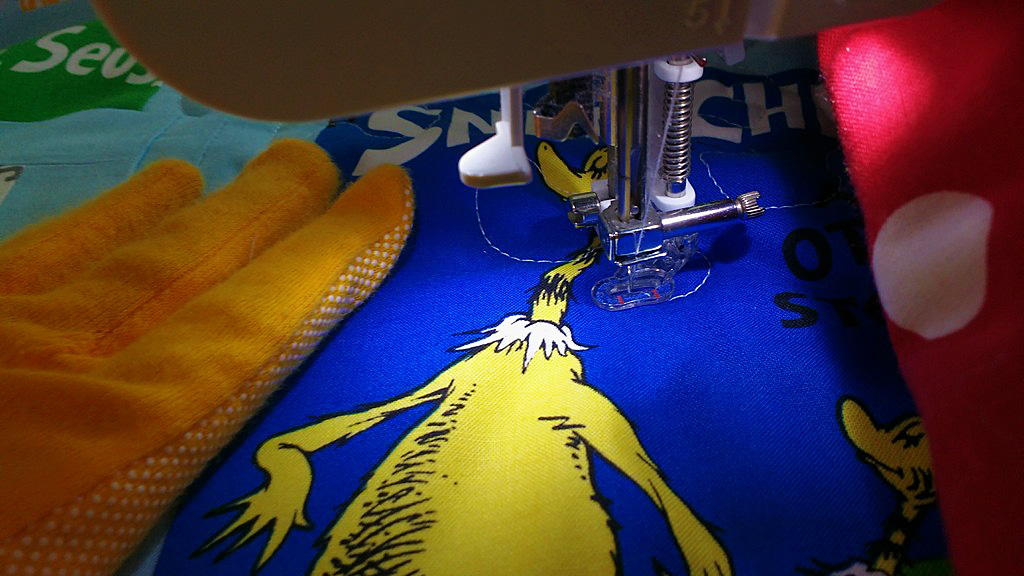
After years of being afraid to try FMQ, I’ve finally embraced the methodology.
Binding Your Quilt
Another way I deviated from the kit was in choosing a different fabric for the binding then what they provided. The true-red colored fabric they sent clashed with the classic orange-red Dr. Seuss colors in the front panel. Instead I chose a cornflower blue and white polka dot fabric.
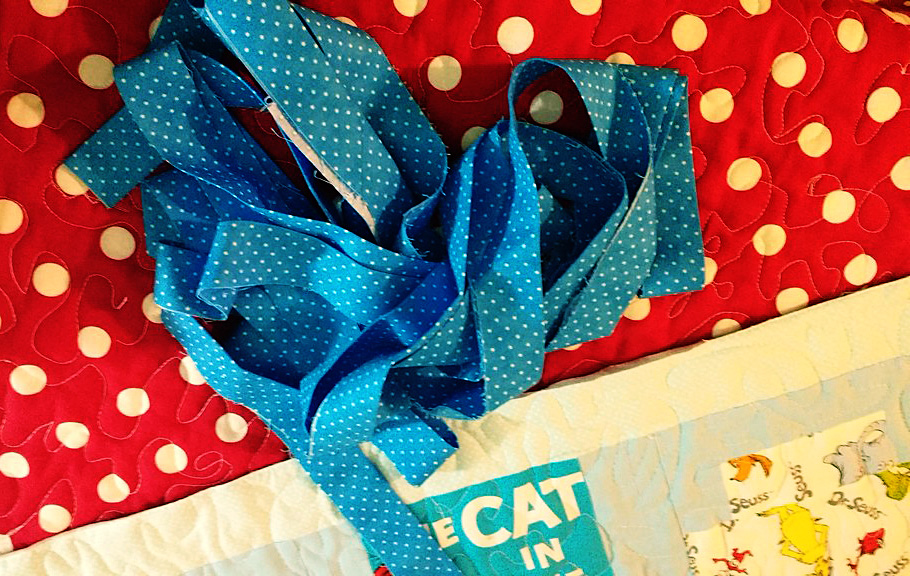
I chose a cornflower blue & white polka dot fabric.
There a numerous ways to bind a quilt. I would suggest learning several methods. I made a 2.75” strip of fabric and then ironed that strip in half and sewed the binding onto the back of the quilt first. I pressed it away from the seam (towards the outside of the quilt) and then pressed it around over the front of the quilt. My 4 year old handed me my favorite red Wonderclips as I clipped the binding in place around the front.
https://www.sewingmachinesplus.com/brew-cl3156.php
I used a decorative stitch to sew the binding to the front.
I used a decorative stitch to sew the binding to the front. Machine sewing your binding is faster and more secure than hand sewing and I recommend it if you know the quilt will get heavy use and washes or be used by children.
When adding your binding, don’t forget to sew in your quilt tag if you have one.
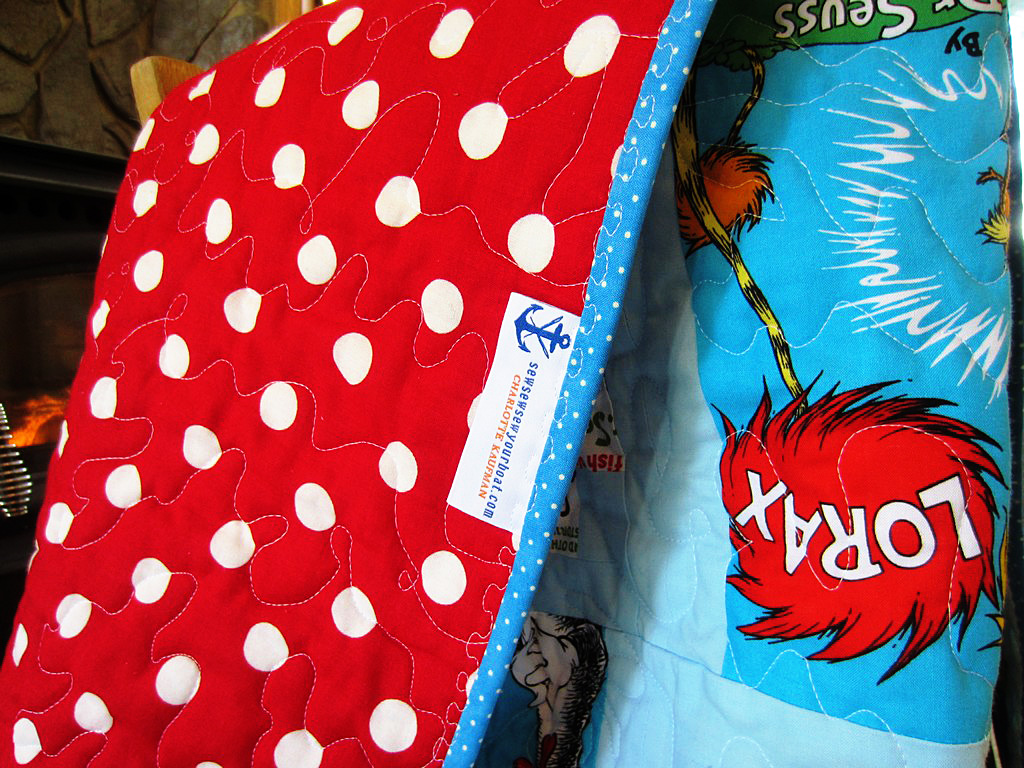
Don’t forget to sew in your quilt tag if you have one.
All in the Details
Here are close ups of the finished quilt and my free motion stitching. SewingMachinesPlus.com has an amazing assortment of sewing machines that do free motion quilting. Check out their machines here:
https://www.sewingmachinesplus.com/domestic-sewing-machines.php


Grand Finale
Taking some final pictures of your finished quilts is worth your effort. Think of how much time you put into each quilt and then grant yourself enough time to wait for the right, natural lighting and find a beautiful location to memorialize your quilts.
A Good Cause
Although it will be hard to part ways, this quilt is being donated to a fundraiser for our local elementary school. Have you ever donated your work to a good cause?
Have you ever donated your work to a good cause?