How to Sew a DIY Mattress Cover

How to Sew a DIY Mattress Cover

My husband and I sleep on a full-sized bed on 4” of high density foam that we bought from Keyston Brothers, a store that specializes in auto and marine foam and fabric (We use density type Q41 for anyone interested in doing the same). We find the foam lasts about five years before we need to replace it and for a full-sized mattress’ worth, it costs about $250. That is loads cheaper than a fancy mattress and we sleep like babies.

Sweet dreams!

Sweet dreams!

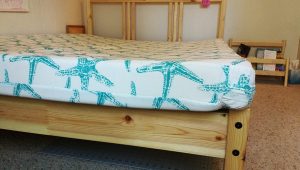
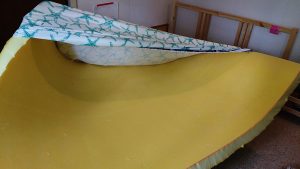
We discovered this foam when we were replacing the cushions in the v-berth of our sailboat. We lived aboard for almost eight years and slept amazingly. When we moved on land we decided to cut costs and stick with the foam. I made a custom cover for it but this frame we recently got from Ikea is smaller than the foam. See how it curves down into the bed and up and over the edges? My husband and I were getting rolled into each other at night so I knew I was going to have to take matters into my own hands.

See how it curves down into the bed and up and over the edges?

See how it curves down into the bed and up and over the edges?

Let’s get started

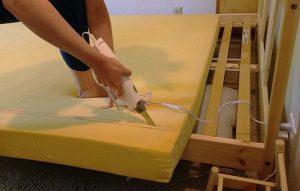
I took off the cover I had made and measured the foam to a size that would fit in the frame. Then I got out my $20 electric cutting knife from Walmart and got to slicing.

Take a deep breath. We're about to slice into our bed. Ready? Let's go!

Take a deep breath. We’re about to slice into our bed. Ready? Let’s go!

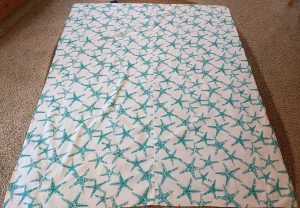
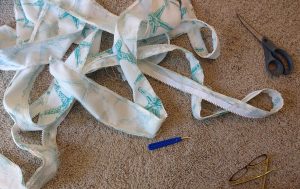
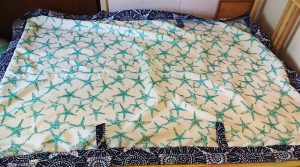
Upstairs, I cut the side piece (zipper piece) off of the top and bottom of the cover. Here are the two main panels laid out.

Here are the two main panels laid out.

Here are the two main panels laid out.

Zipper time!

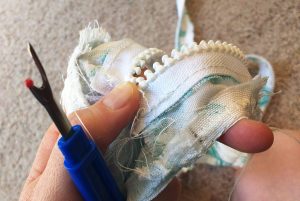
I had finished all my seams with zigzag stitches and there was no way I wanted to take out all those stitches. Instead I saved the zipper by just taking out the straight stitches holding it to the cover.

I saved the zipper by just taking out the straight stitches holding it to the cover.

I saved the zipper by just taking out the straight stitches holding it to the cover.

Zipper saved! Now I didn’t have to buy another one for the smaller sized cover.

Zipper saved!

Zipper saved!

Let’s sketch this out…

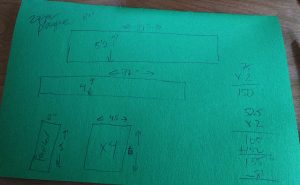
Math time! Here I had to work out the new size of the zipper plaque and the rest of the side facing. Plus I wanted to add handles this time so I measured out those too. I also cut the top and back panels to the same size as the foam that now fit in the bed frame.

Math time!

Math time!

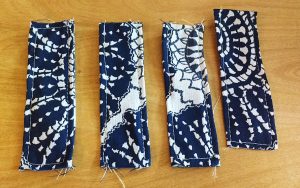
I was all out of the original fabric I had used to make the mattress cover so I used some leftover Sunbrella scraps I had from another project. Here are the parts I’ll need to piece together for the zipper plaque, the rest of the sides and the handles.
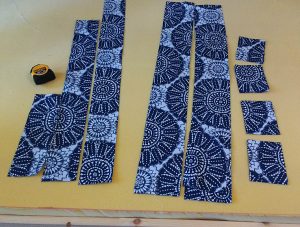
Here are the parts I’ll need to piece together for the zipper plaque, the rest of the sides, & the handles.

Here are the parts I’ll need to piece together for the zipper plaque, the rest of the sides, & the handles.

I made quick work of the four handles and top stitched them for strength. The ends are unfinished as they’ll be sewn inside the cover.

I made quick work of the four handles & top stitched them for strength.

I made quick work of the four handles & top stitched them for strength.

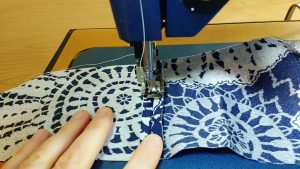
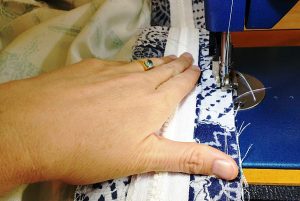
Next I sewed the zipper plaque and side pieces together. I also made sure to zig zag stitch each join to prevent the fabric unraveling.

Next I sewed the zipper plaque & side pieces together.

Next I sewed the zipper plaque & side pieces together.

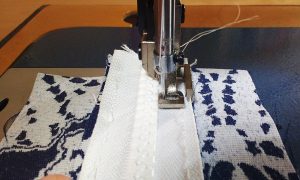
Making the zipper plaque is my favorite part. It means I’m getting close to being done. Here I’ve switched to a zipper foot so I can get super close to the zipper.

Making the zipper plaque is my favorite part.

Making the zipper plaque is my favorite part.

Next I sewed on the handles to one of the large panels.

Next I sewed on the handles to one of the large panels.

Next I sewed on the handles to one of the large panels.

Side facing

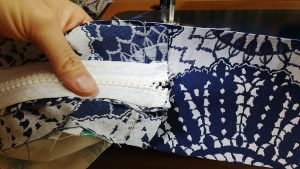
Now it was time to add on the side facing. Yes! I joined one end of the side panel to the zipper plaque and started sewing on the zipper plaque portion first. Then I just transitioned to the side piece and kept going all the way around.

Now it was time to add on the side facing.

Now it was time to add on the side facing.

I stopped several inches before I got back around to the beginning and joined the two ends. Then I trimmed off the excess, zig zag stitched the join, and then sewed that piece onto the bottom panel completely.

I stopped several inches before I got back around to the beginning & joined the two ends.

I stopped several inches before I got back around to the beginning & joined the two ends.

Pro tip: make sure you open up your zipper enough right now that you can get your hand through it to open it completely when turn this right sides out in a few more steps.

You are so close now!!!

You are so close now!!!

You are so close now!!!

Before you begin sewing on the top panel there are still two important things you need to do.

Create match up marks.

Create match up marks.

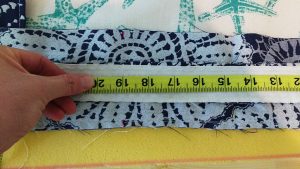
  1. Create match up marks. When you are working with large pieces of fabric, things have a tendency to shift. These marks will let you know you are joining the two pieces together where you should. If you look carefully you will see pink marks on either side of the fabric at the 19” mark. I marked the side pieces and then the top piece so everything should match up when I sew.
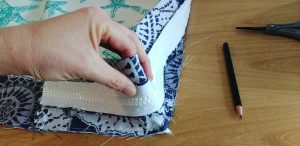
  2. Do your corners!!! This is crucial. Go to each corner and fold it down and back until you are sure the piece is square with each side. Then mark that spot so you know you’re at the actual corner when you get there.
Do your corners!!!

Do your corners!!!

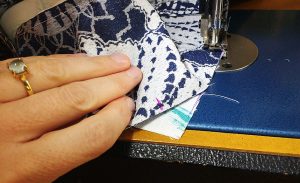
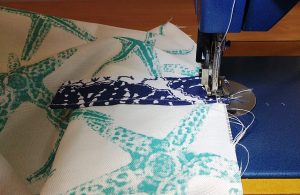
Begin sewing your final panel to the cover. I like to put the panel that is being sewn on the bottom. Here you can see I’ve matched my corners perfectly.

Here you can see I’ve matched my corners perfectly.

Here you can see I’ve matched my corners perfectly.

When you’ve sewn all the way around you are ALMOST done but not quite. There are two things to be done first.

  1. Take the time to carefully inspect ALL seams, fronts and backs. Sew anything you might need to.
  2. Then you need to zigzag stitch both seams in order prevent the fabric from unraveling.
You may think you have finished the hardest part, but the worst is yet to come.

You may think you have finished the hardest part, but the worst is yet to come.

Pat yourself on the back

You may think you have finished the hardest part, but the worst is yet to come. It’s time for cushion Olympics. Yes, wrangling foam into cushions should be an Olympic sport.

Here’s what you need to know:

  1. Go slowly. Do not pull the fabric or you will rip your seams and pop your zippers.
  2. Rather, walk the foam into the cover. I like to fold it on the ends and walk it a little sideways.
  3. Patience, patience, patience. Fit your foam into the pattern just the way you designed it. It you did your math right, it WILL fit.
Go slowly.

Go slowly.

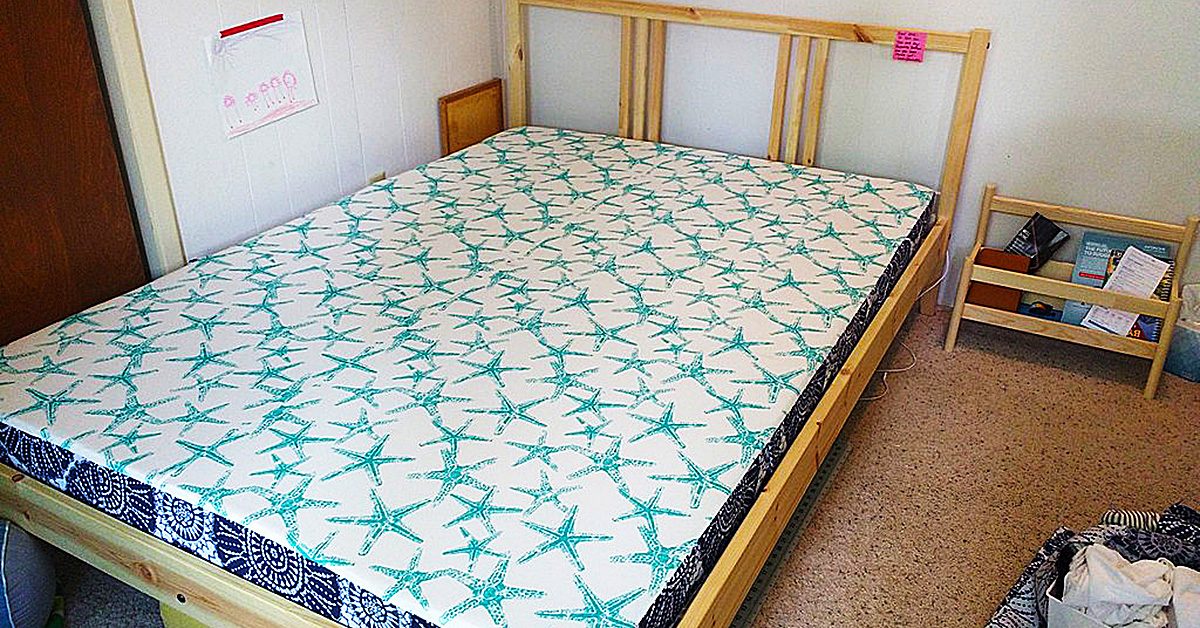
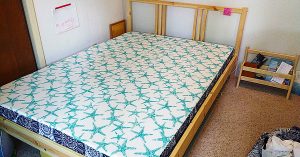
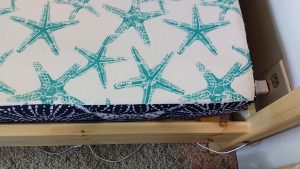
After burning some calories (always a good thing), you will have your new mattress with custom fitting mattress cover that actually fits into your bed frame. Now you may rejoice.

Now you may rejoice.

Now you may rejoice.

Look at those clean lines!

Look at those clean lines!
Look at those clean lines!
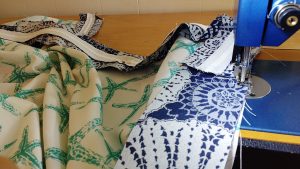
Do you make your own bedding, including mattresses? We’d love to hear about your work.

———————————————————————————–
Charlotte Kaufman is a writer and sewist in Mammoth Lakes, California. She specializes in marine and home interiors and continues to fall more and more in love with quilting. You can follow her at charlottekaufman.com.

Sewing with Your Kids

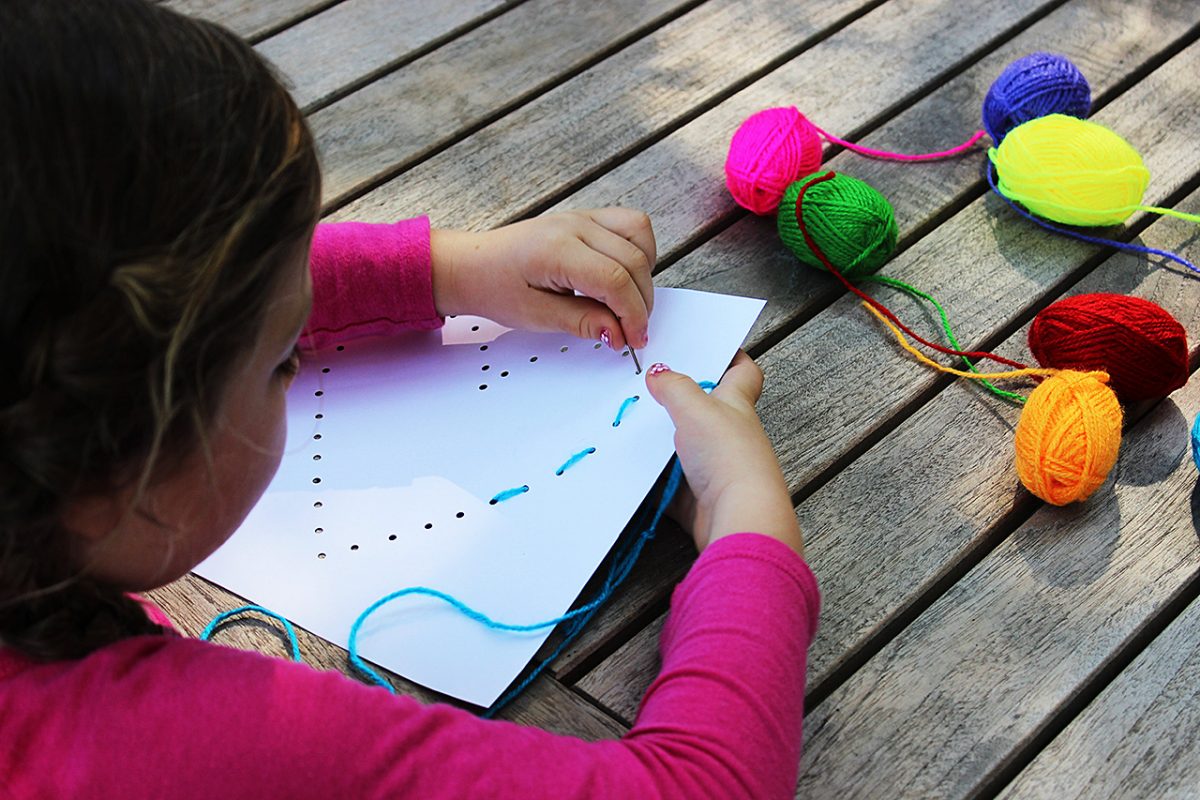
Sewing with Your KidsWhat’s your first sewing memory? For me, it’s when my mom came to nursery school and did a bean bag project with the whole class. We all got to take home a bean bag at the end of the day and I felt super special that my mom came in and shared her sewing machine and skills with my class.

Would you like to give a similar warm feeling to your kids, but you’re not sure how? My mom didn’t work, so she had the time, but many moms are juggling careers and kids and simply can’t take a day to visit nursery school. You can still create great sewing memories with your children.

Kid Sewing Circle

If you can’t go into your child’s school to show the class about sewing, bring the class to you. Pick a weekend and invite your kid’s classmates and their parents over for a kid sewing circle. Set up a bean bag game for them to play while each child has a turn working the sewing machine with you. Add some drinks and snacks to make it a sewing play date!

Doll Dress Up Day

If your child and her friends love playing with their dolls and giving them different outfits to wear, a doll dress up day can be a great way to create some sewing memories. The next time your daughter wants to have friends over to play, ask them all to bring their favorite doll. Let the kids dig through your scrap stash and choose their favorite fabrics. Then, while they play, help each kid create a special article of clothing or accessory for their doll.

Bedroom Spruce Up

Most kids at some point decide they want a “more grown up room.” This is a great time to create some sewing memories. Although making all the items necessary for a bedroom redo is a lot to take on, making a few simple accessories such as throw pillows allows your kid to add their own personal touches to their room while creating sewing memories.

What other ways do you create sewing memories with your kids?

Bunk Bed Privacy Curtains

Bunk Bed Privacy Curtains

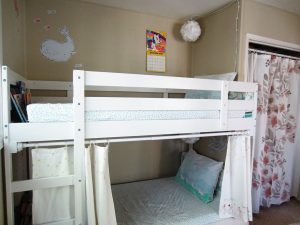
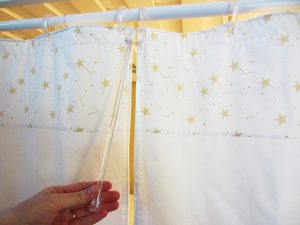
Privacy curtain open.

Privacy curtain open.

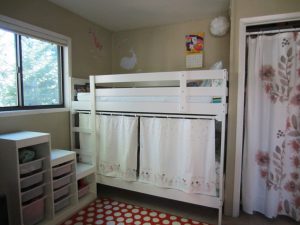
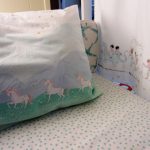
If you’ve ever been on a sailboat you might have seen little panels that draw closed across the sides of berths to give sailors a modicum of privacy. It was this tack I took when figuring out how to make each bunk in my daughters’ bed a small, personal space of their own.

Privacy curtain open.

Privacy curtain open.

Supplies

Here are the items you need to make your own bunk bed privacy curtains:

  1. Tension rod and curtain rod holders. We had to affix two square pieces of wood on either end of the bunk bed in order for the rod to fit.
  2. Shower curtain rings (I used clear).
    3. Fabric for the panels (mine are double-sided).
    4. Batting for structure (if using white or light-colored material).
    5. Drapery wands. These are especially useful for keeping little hands off of white fabric, plus they are a ton of fun. I got mine on Amazon in a mini-size by searching for RV Drapery Wands.
Drapery wands.

Drapery wands.

Put it all together

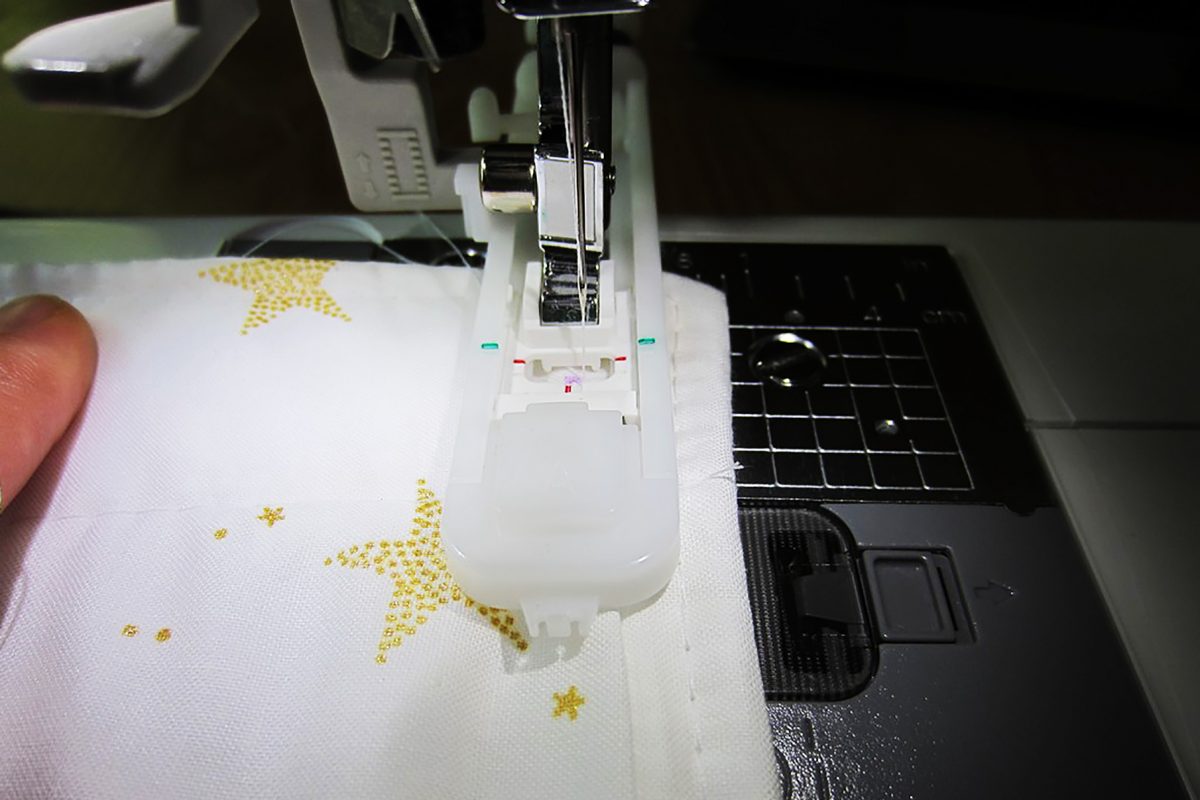
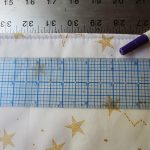
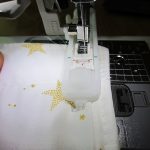
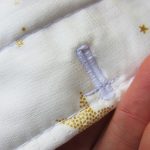
Each panel is 36”x29”. I sewed button holes along the top width and then used shower curtain rings to hang the panels. On my first attempt, I made the buttonhole too close to the top hem.


One of the things I love about sewing is how easy it is to remedy your mistakes. Here I simply sewed across the upper portion of the hole to align it with the others at the correct height. And unless you take a magnifying glass to the finished project, no one is so much the wiser.


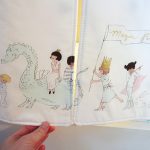
The fabric is from Sarah Jane’s Magic line. I used a mix of Magic Parade Double Border in White Metallic and Lucky Stars in White Metallic.

Ta-da!

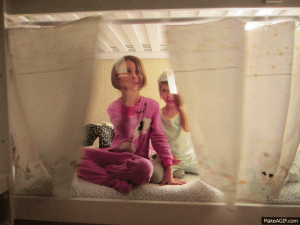
My girls adore these too, as you can see.

My girls adore these too, as you can see.

Projects that come together quickly and look awesome are my favorites. My girls adore these too, as you can see.

What types of quick projects have you done lately that really knocked it out of the park?

—————————–
Charlotte Kaufman is a writer and sewist in Mammoth Lakes, California. She specializes in marine and home interiors and continues to fall more and more in love with quilting. You can follow her at charlottekaufman.com.