This week, I decided I’d write a bit about popular sewing myths. I have my own list but thought I’d do a quick Google search to see what others had written about the subject. This brought me to a few sewing myth lists that I found rather odd, and not at all myth-like – meaning I thought the myths were myths. Do you follow me?
I’m going to start with some things I do believe are myths, and then get the myth myths part.
Myth 1: quilting direction
It’s ok to quilt some rows up and some rows down when quilting a garment.
Not true. There will be less possibility of bubbling or puffing if you quilt all the rows in the same direction. Overall, the whole garment will look better.
Myth 2: smaller underlining
The underlining should be smaller than the fashion fabric, especially on a jacket.
Not always true. It really depends on the fabrics being used. Hair canvas should be slightly smaller to prevent buckling but it will also restrict the give or stretch of a fabric it is joined with. Many tailors cut their canvas on the bias to prevent this.
Myth 3: cutting selvage edge
Always cut off the selvage edge.
Not true. If you think the selvage will shrink, clip the edges so it will lie flat. Otherwise, there is no need to cut it off.
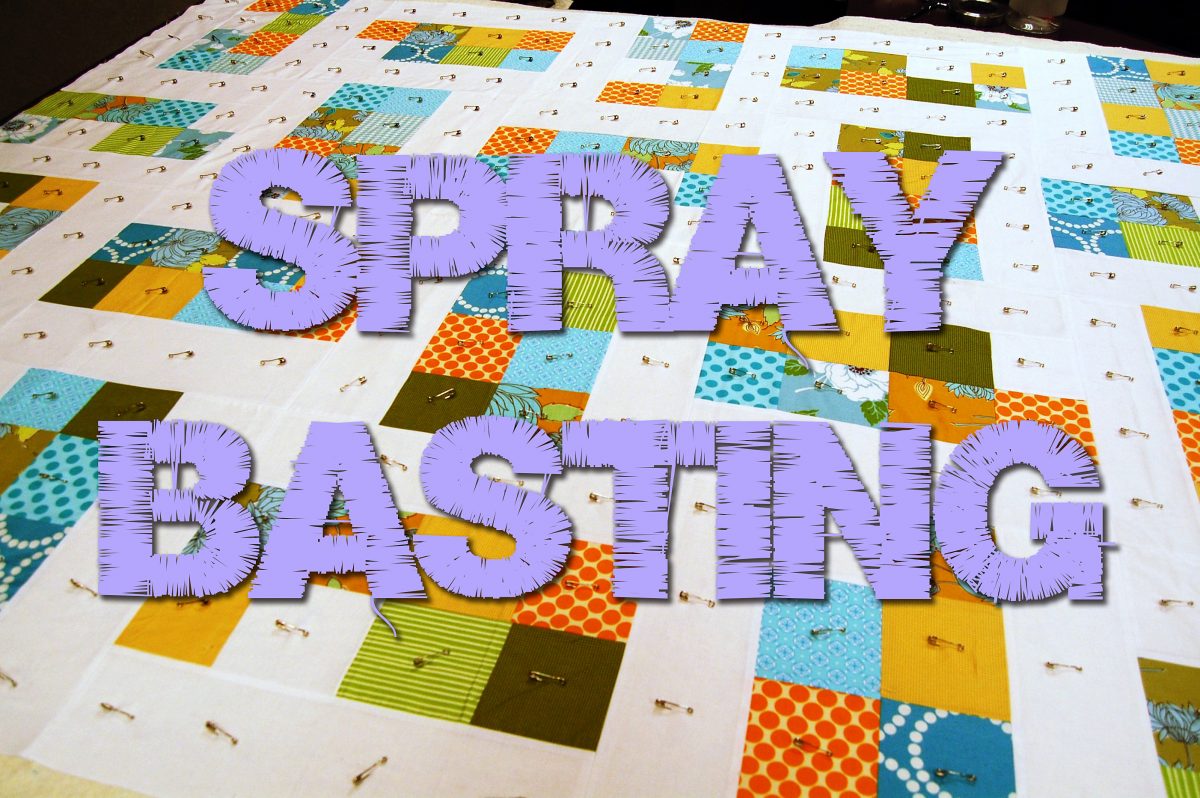
Myth 4: basting stitches
Stitch next to basting stitches when sewing a basted seam lines.
Not true. If you do have the need to baste seams together, always sew right on top of the basted lines for accuracy.
Myth 5: necklines
Machine stay stitch necklines to prevent stretching.
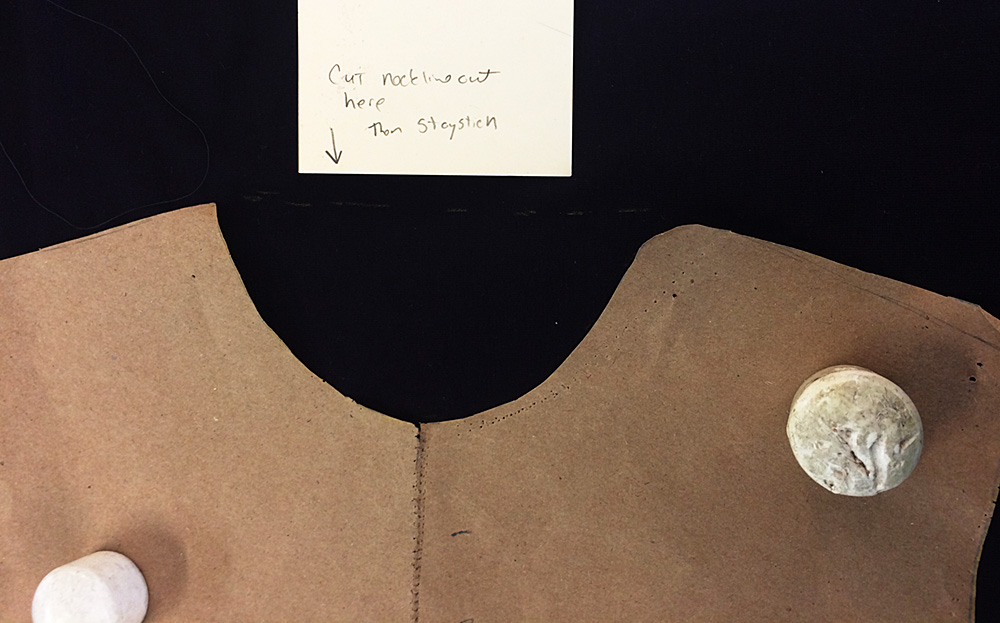
Another, more accurate way to prevent any stretching in your necklines (and arms eyes) is to leave a whole bunch of seam allowance until you’ve done your stay stitching.
Not always true. You can also hand baste your seam line, also called thread tracing. If you do machine stitch your necklines, take special care not to stretch the fabric as you sew. Another, more accurate way to prevent any stretching in your necklines (and arms eyes) is to leave a whole bunch of seam allowance until you’ve done your stay stitching. When it comes to necklines, I usually cut a straight line from shoulder seam to shoulder, leaving all the extra fabric there. If I’m bias binding the neck edge, I attach my bias without trimming anything away too. This prevents any possibility of the neckline stretching.
Myth 6: top = waistline
The top of your pants or skirt is your waistline.
Very often not true. Your waistline is where your body is the smallest, most times an inch or so above your navel. This is why, often, when you measure a pair of pants that is sized as a 27, the waistband of the pants measures more than 27.
And now, for a few sewing myth myths.
Myth myth 1: $ewing cost too much
Sewing is too expensive.
This really depends on how you look at. Sewing is not necessarily expensive but it isn’t cheap either. Especially, most especially, if you are taking into account your time. I earn my living by sewing. And my years of experience and knowledge aren’t cheap. Sewing is a skill. I always ask people what they pay their car mechanic or plumber an hour. Often, it’s somewhere in the 60 to 100 dollar and hour range. If you don’t want to pay that amount of money, you figure out how to do it yourself. The same goes for sewing.
If you’re making something for yourself or as a gift out of love then it could possibly be cheaper than buying the same thing. But remember, nice high-end fabric and supplies are not cheap, nor should they be. If you want cheap, buy clothing made in Malaysia or Bangladesh sold at Old Navy or someplace like that.
Myth myth 2: sewing is the hardest
Sewing is too hard.
Well isn’t not exactly easy, either. To sew really well takes practice. I find it incredibly annoying when someone says something like, “It’s just an easy alteration, it won’t take long.” If you don’t sew, how do you know? And if you do sew, you should know that sometimes you open a thing up to do what should be an easy alteration and find you’ve just taken the lid off a proverbial can of worms.
Myth myth 3: sewing super powers
Sewers have special creative talents.
I believe everyone, if they put their mind to it, can learn how to sew. But saying that sewers (I actually hate that word) do not have special creative talent is ridiculous. I think I’ve said this before, but really good tailors and pattern makers know the language of fabric. I don’t know how else to put it. And that, is indeed, a special talent.