Sometimes I don’t want a big sewing project. If I’m pressed for time or simply need to fill an afternoon or one day out of the weekend, I don’t necessarily want to start a project that will take days, weeks, or months to complete. Nor do I want the hassle and expense of shopping for supplies for a larger project. I just want to sew for a couple of hours and have something to show for it. If that’s ever happened to you, these sewing projects you can do in a day are the perfect solution.
Circle Skirt
Make this for yourself or your daughter…or making a matching mother/daughter pair. This circle skirt can be done in just a couple of hours and it’s perfect for whirling and twirling when it’s done. Unless you have large amounts of the same fabric on hand (cause you just buy fabrics you like when you see them, maybe?) you’ll need to hit the store for material. If you’ve got enough fabric on hand, you’re good to go.
Vendor Apron
Are you the one they ask to help out with bake sales, garage sales, and other school fund raisers? You need this vendor apron to keep your notepads, pens, and other supplies close at hand. It’s super simple to make with an old pillowcase or one you fell in love with at the thrift store and now need a use for. Make a bunch so the whole PTA will have one.
Trendy Fashion Tank
With this awesome pattern there’s no need to spend your hard earned money on brand name t-shirts and tanks. The trendy fashion tank is patterned after a popular JCrew top, but made by you. You’ll need jersey sheets or another source of that same material to make this pattern. Flat jersey sheets can be bought at discount stores for around $7, so it’s well worth the investment to make this shirt yourself.
Hair Bows
Not only do these work up fast, they’re a great way to use up your scraps. Hair bows never really go out of style, so make a bunch. Give them as gifts or sell them at craft fairs. Depending on the material you choose they can be vintage, modern, or anything in between. No matter what, they’re sure to be a hit!
The next time you’re looking for a quick project, try one of these projects. They take a day (or less in most cases) and leave you with a great finished piece, a feeling of accomplishment, and instant gratification. Many of these projects are also great for sew sewers since they can quickly see the results of their efforts.
Sometimes it is hard to think of a great gift to sew for dad. It might seem like endless project options come to mind for most any other recipient, but gift ideas to sew for men don’t come quite as easy. Between the holidays, his birthday, and Father’s Day, you need a few good gift ideas each year—and that’s if you only have one dad to sew for!
Gifts to Sew for Dad
To help solve this perennial problem, here’s a long resource list of ideas to sew for men, including your dad, your children’s dad, or any other dad you might love.
Pillowcase
I seem to list pillowcases in every gift idea post I write! That’s because they are easy to make in a hurry, everyone uses them, and none are as nice as those that you make. So they make a nice gift to sew for dad, too. My dear always loves a gift of a new pillowcase, especially for his jumbo XL long pillow. Last year, I made him one with Star Trek fabric, it is covered with line drawings of the Enterprise. I used a vintage yard I’ve been saving and some vintage trim, too, and made him a new one today.
I think he’ll love this for his jumbo pillow. I love the extra bit the sparkly trim adds to this.
Pajamas
Simplicity and other pattern makers make super easy to follow patterns for pajama pants. Or you can trace a favorite pair to make a pattern, or you can follow an online tutorial. Make them extra nice by adding pockets and drawstring waist. My dear prefers these cut quite loose and made from plaid flannel shirting; these look great on him, too.
Handkerchiefs
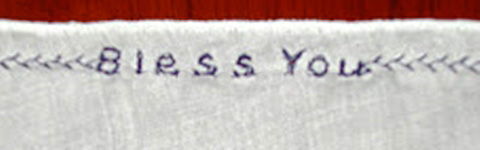
Make these from soft cotton; they are nice in flannel, or even knit. Use a serger to finish all sides. For knit fabrics, you don’t even have to hem them at all. To save a step, buy these pre-made and make them more fun with tie-dye or personalize them with embroidery.
Handkerchief detail.
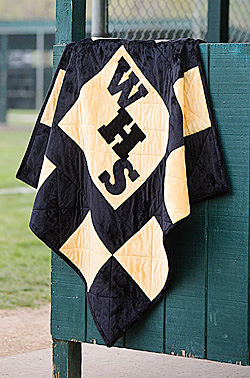
Quilt
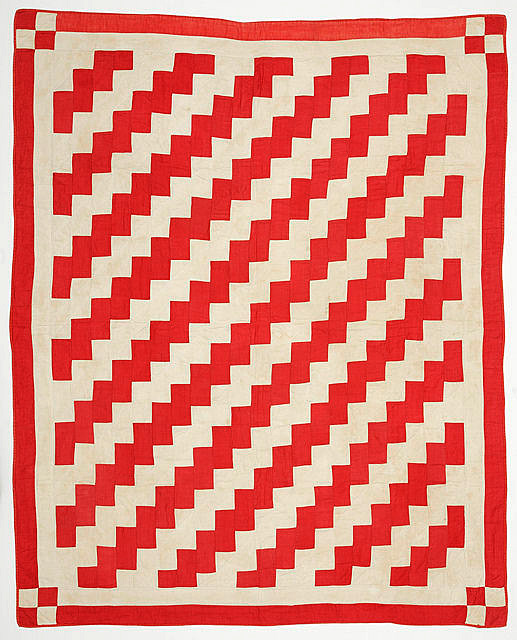
A quilt is a perfect gift to sew for dad. Make him a lap sized or larger quilt in his favorite colors if you know them. If not, you know he loves his college or pro team’s colors, or go with a muted and manly collection of scrap fabrics. My favorite quilt I made for a man was a corduroy scrap quilt, with brightly colored squares alternating with khaki squares in a Streak of Lightning pattern. Choose a high quality, super soft cotton flannel for the quilt backing, and use cotton batting for maximum comfort quilts.
Streak of Lightning quilt, Ashley Van Haeften, from Flickr.
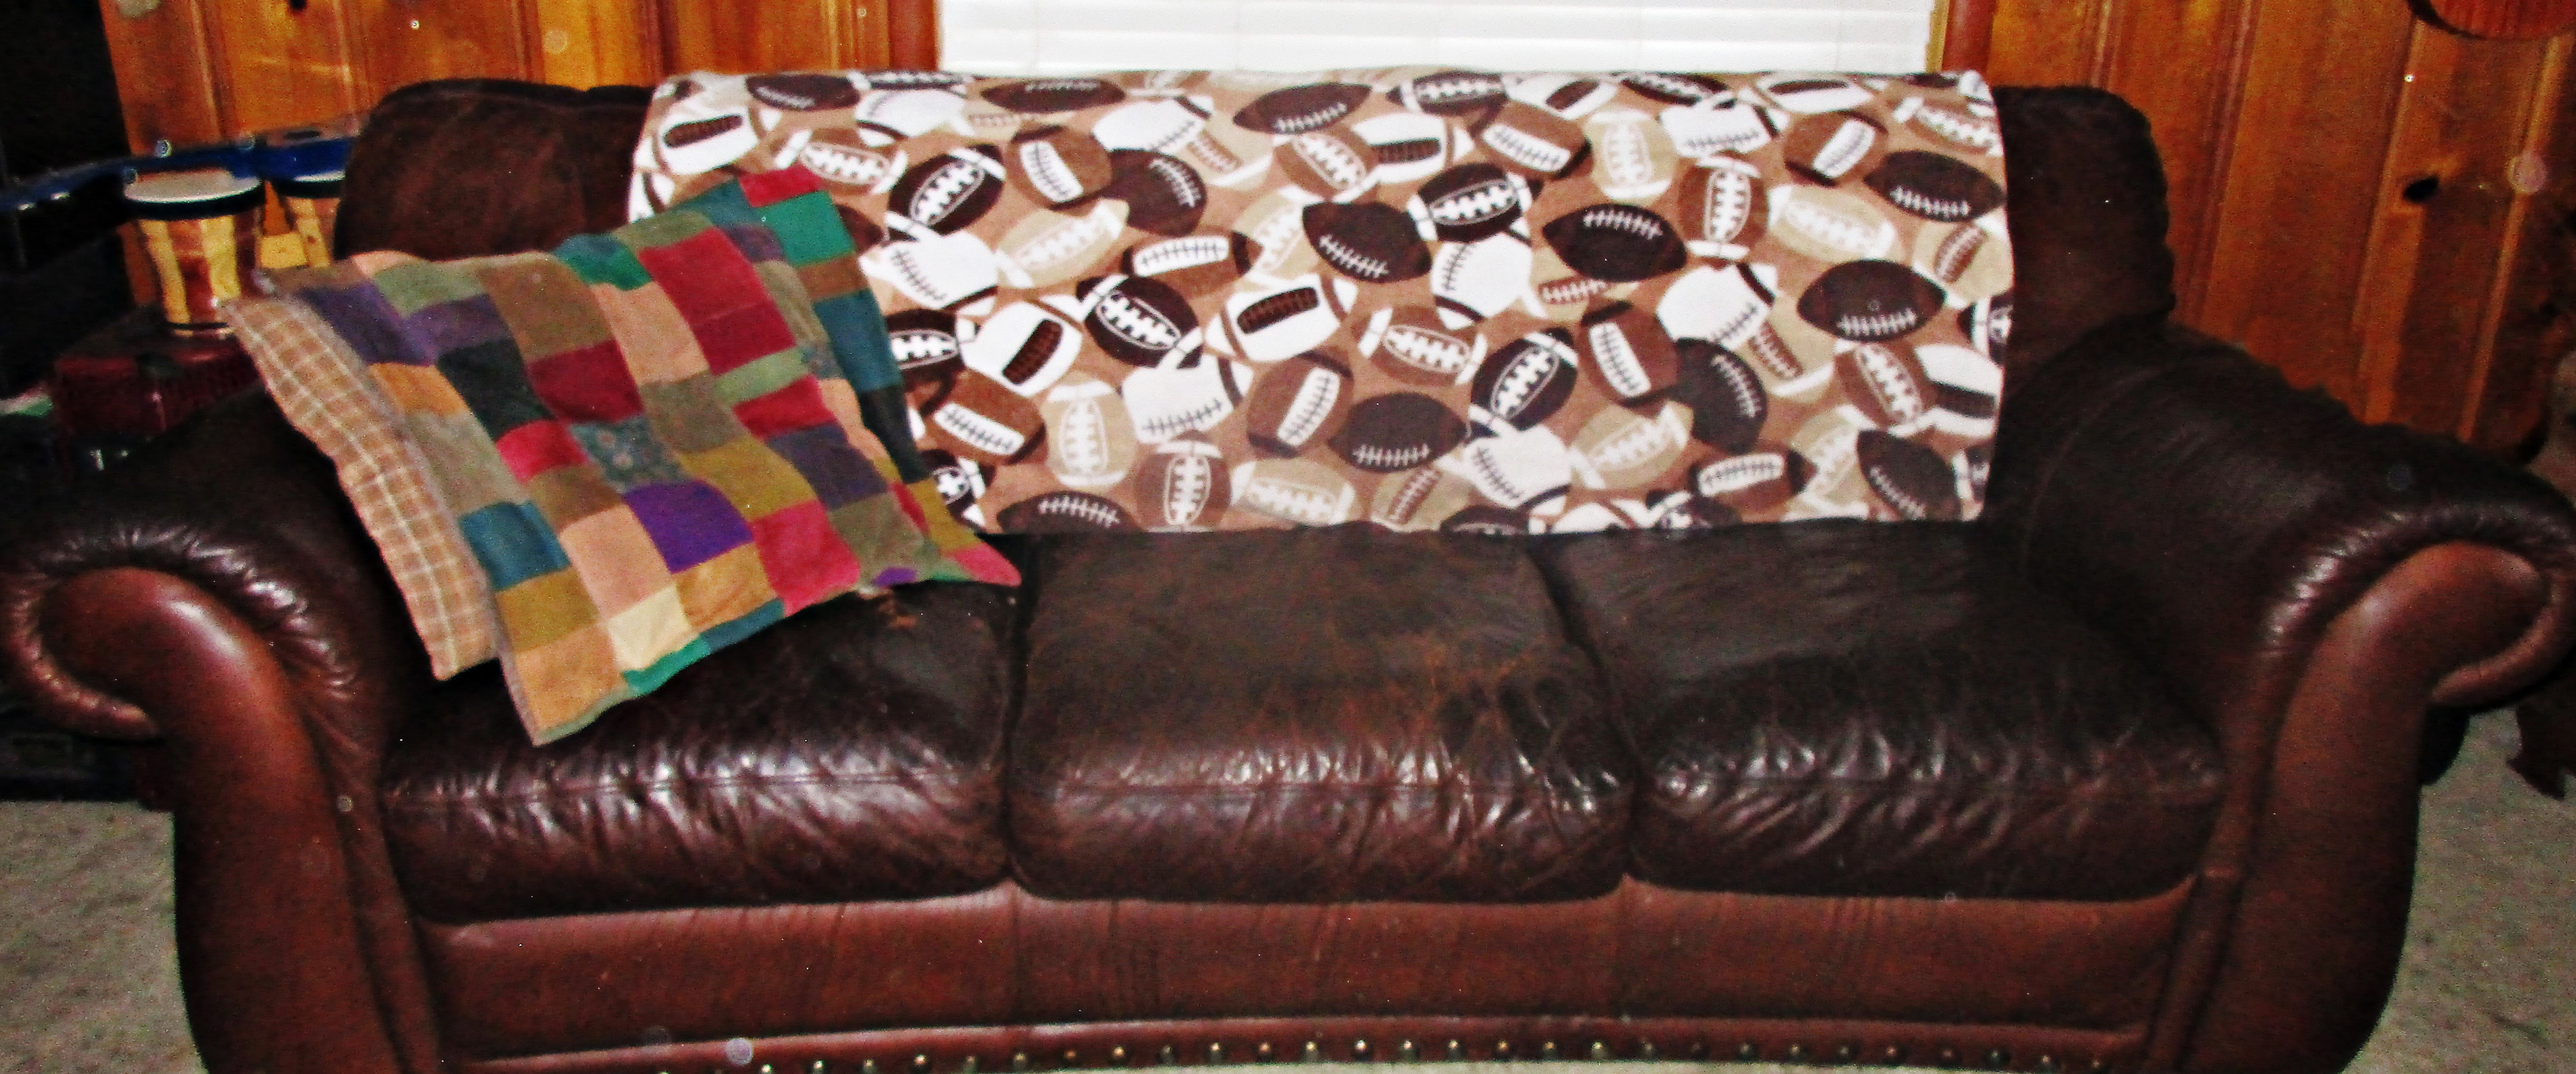
Besides making a quilt, you can make his couch even cozier with custom cushions, perhaps one which includes pockets for his remote. Or make him a cuddly plush sofa blanket.
Two layers of Cuddle Plush fabric make an ultra cozy sofa blanket.
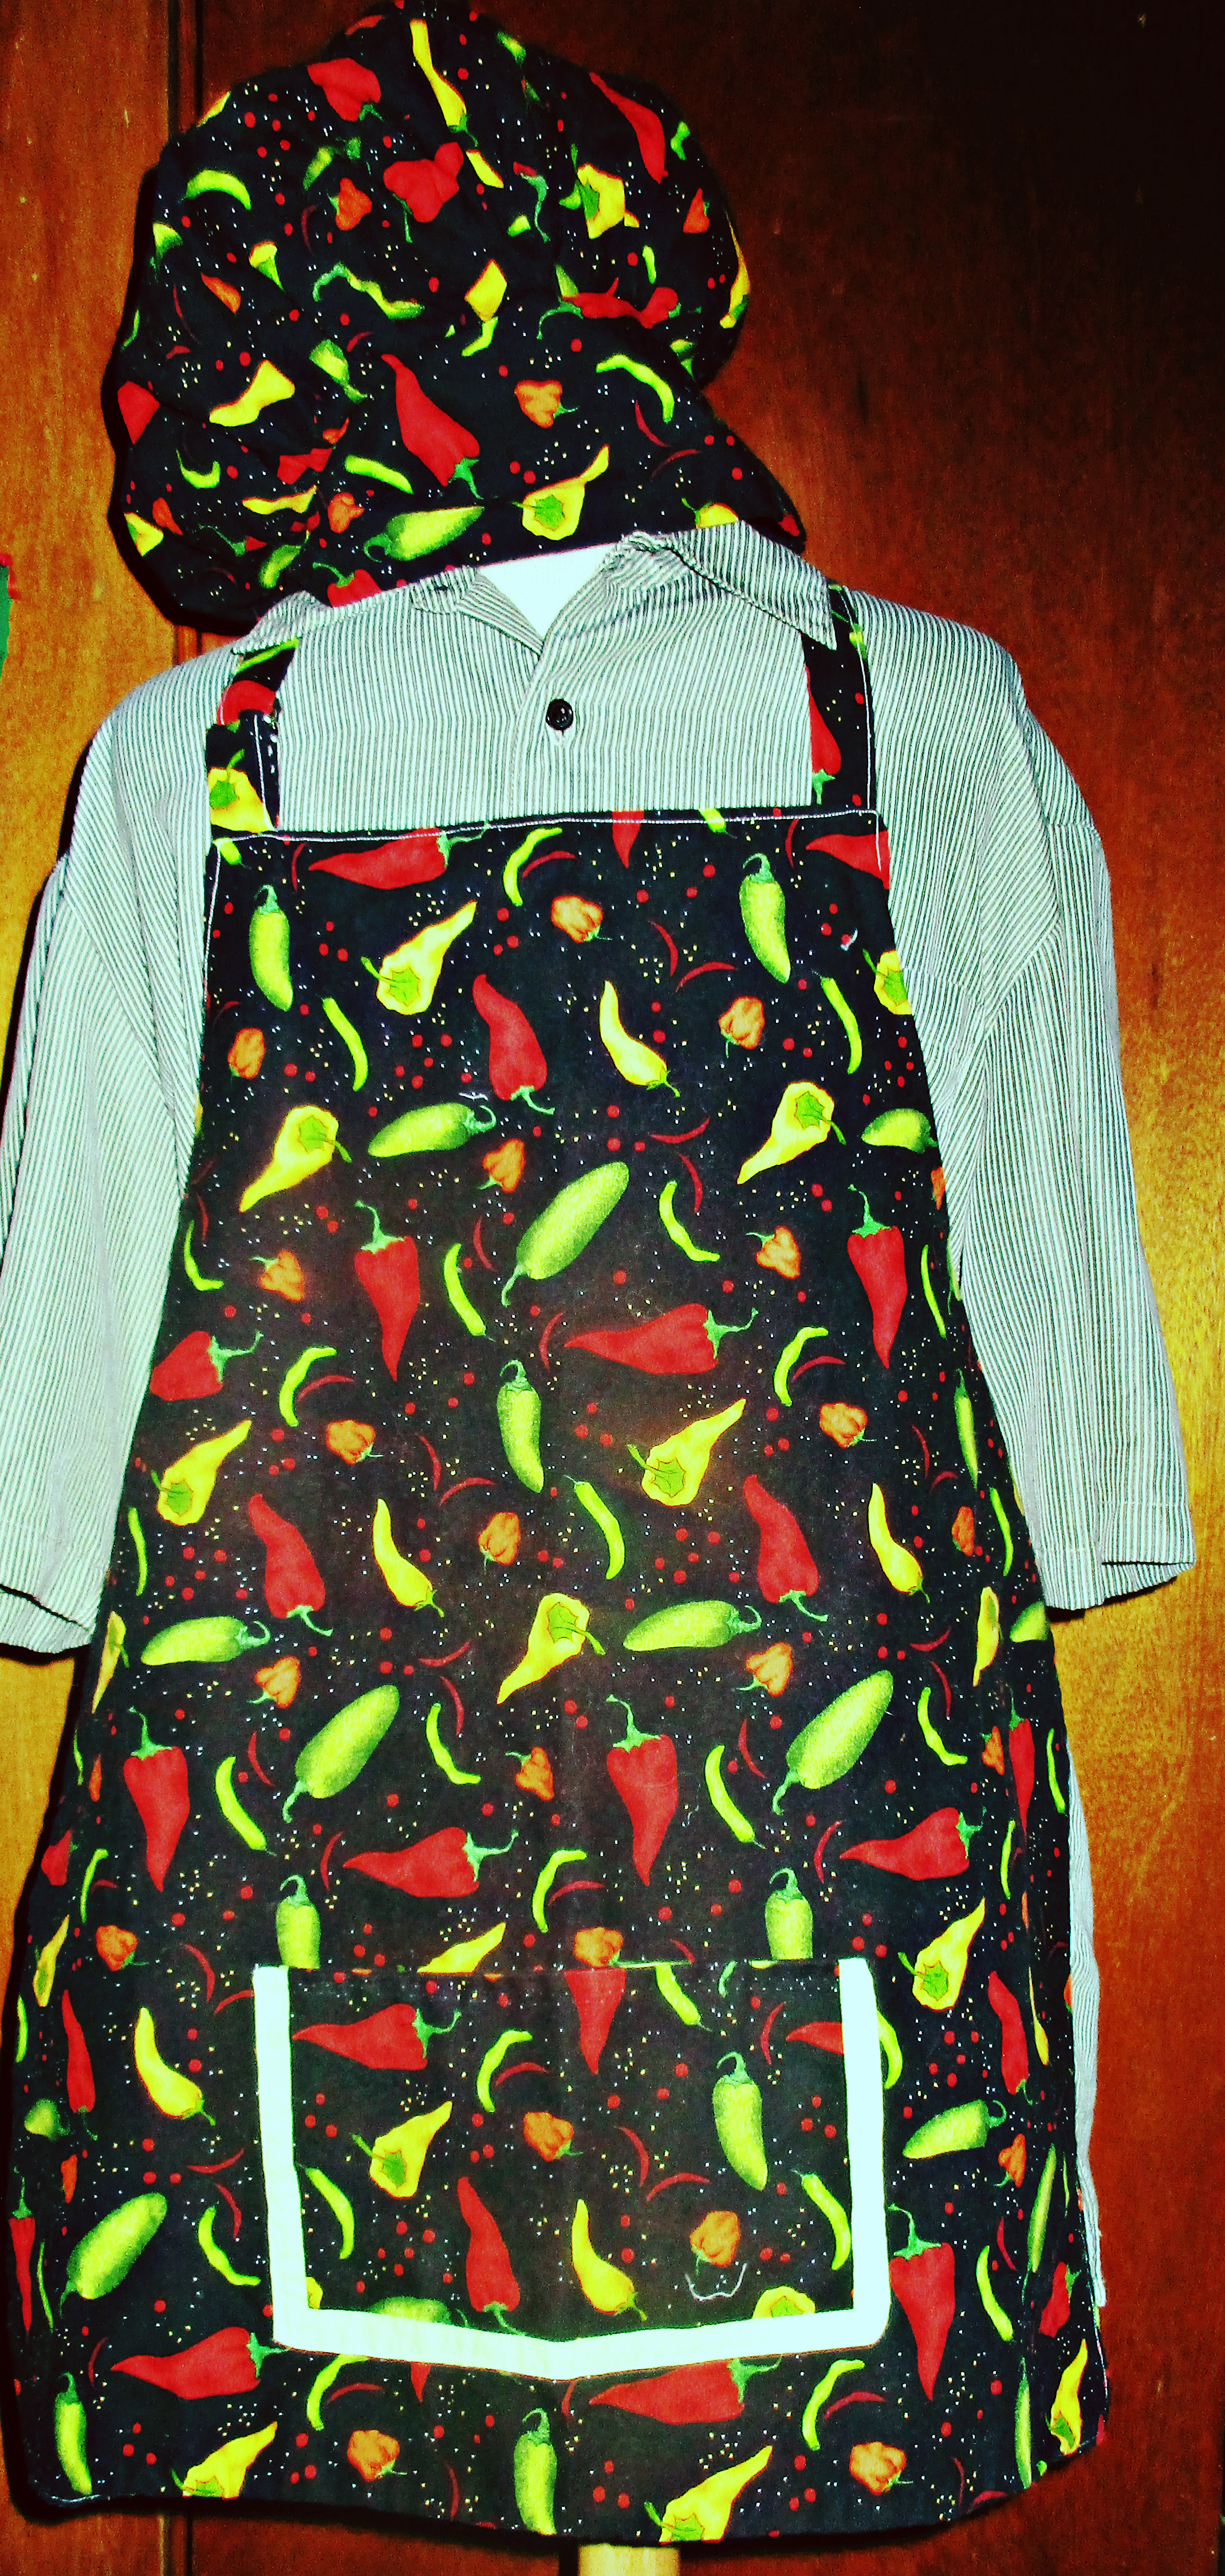
BBQ Apron / tocque / oven mitts
Use appliqué or a fun novelty fabric to make and personalize an apron just for him. I like this reversible pattern from Michael Miller fabrics best. Make the gift even nicer by pairing it with an easy-to-make, matching chef’s hat (tocque is the proper name for these) or an oven mitt.
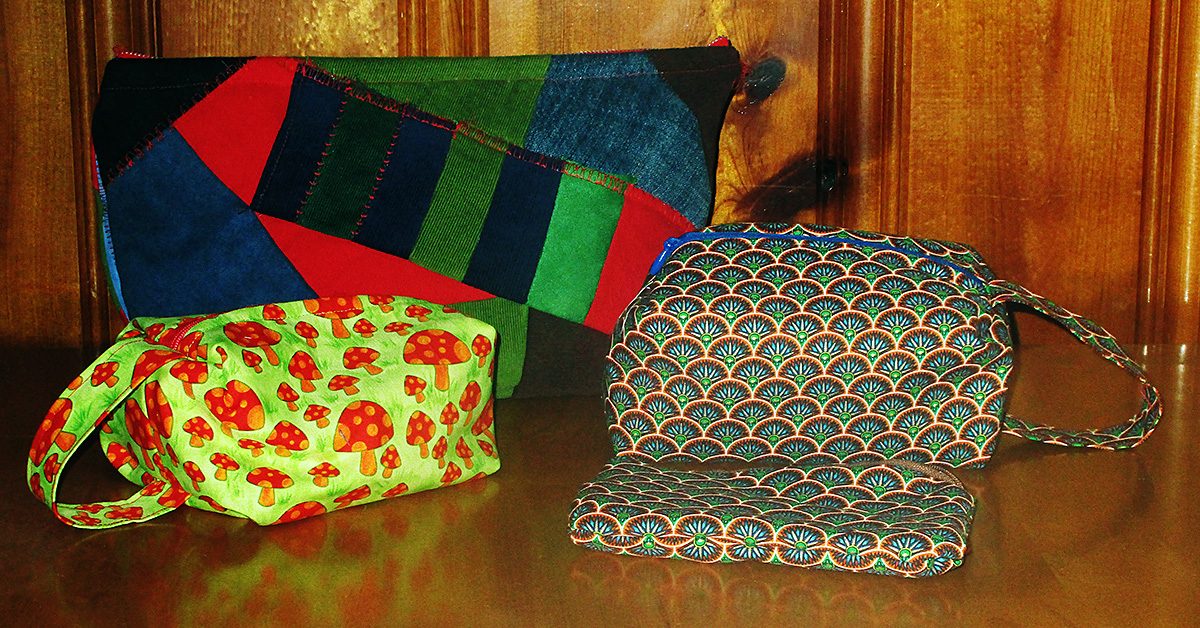
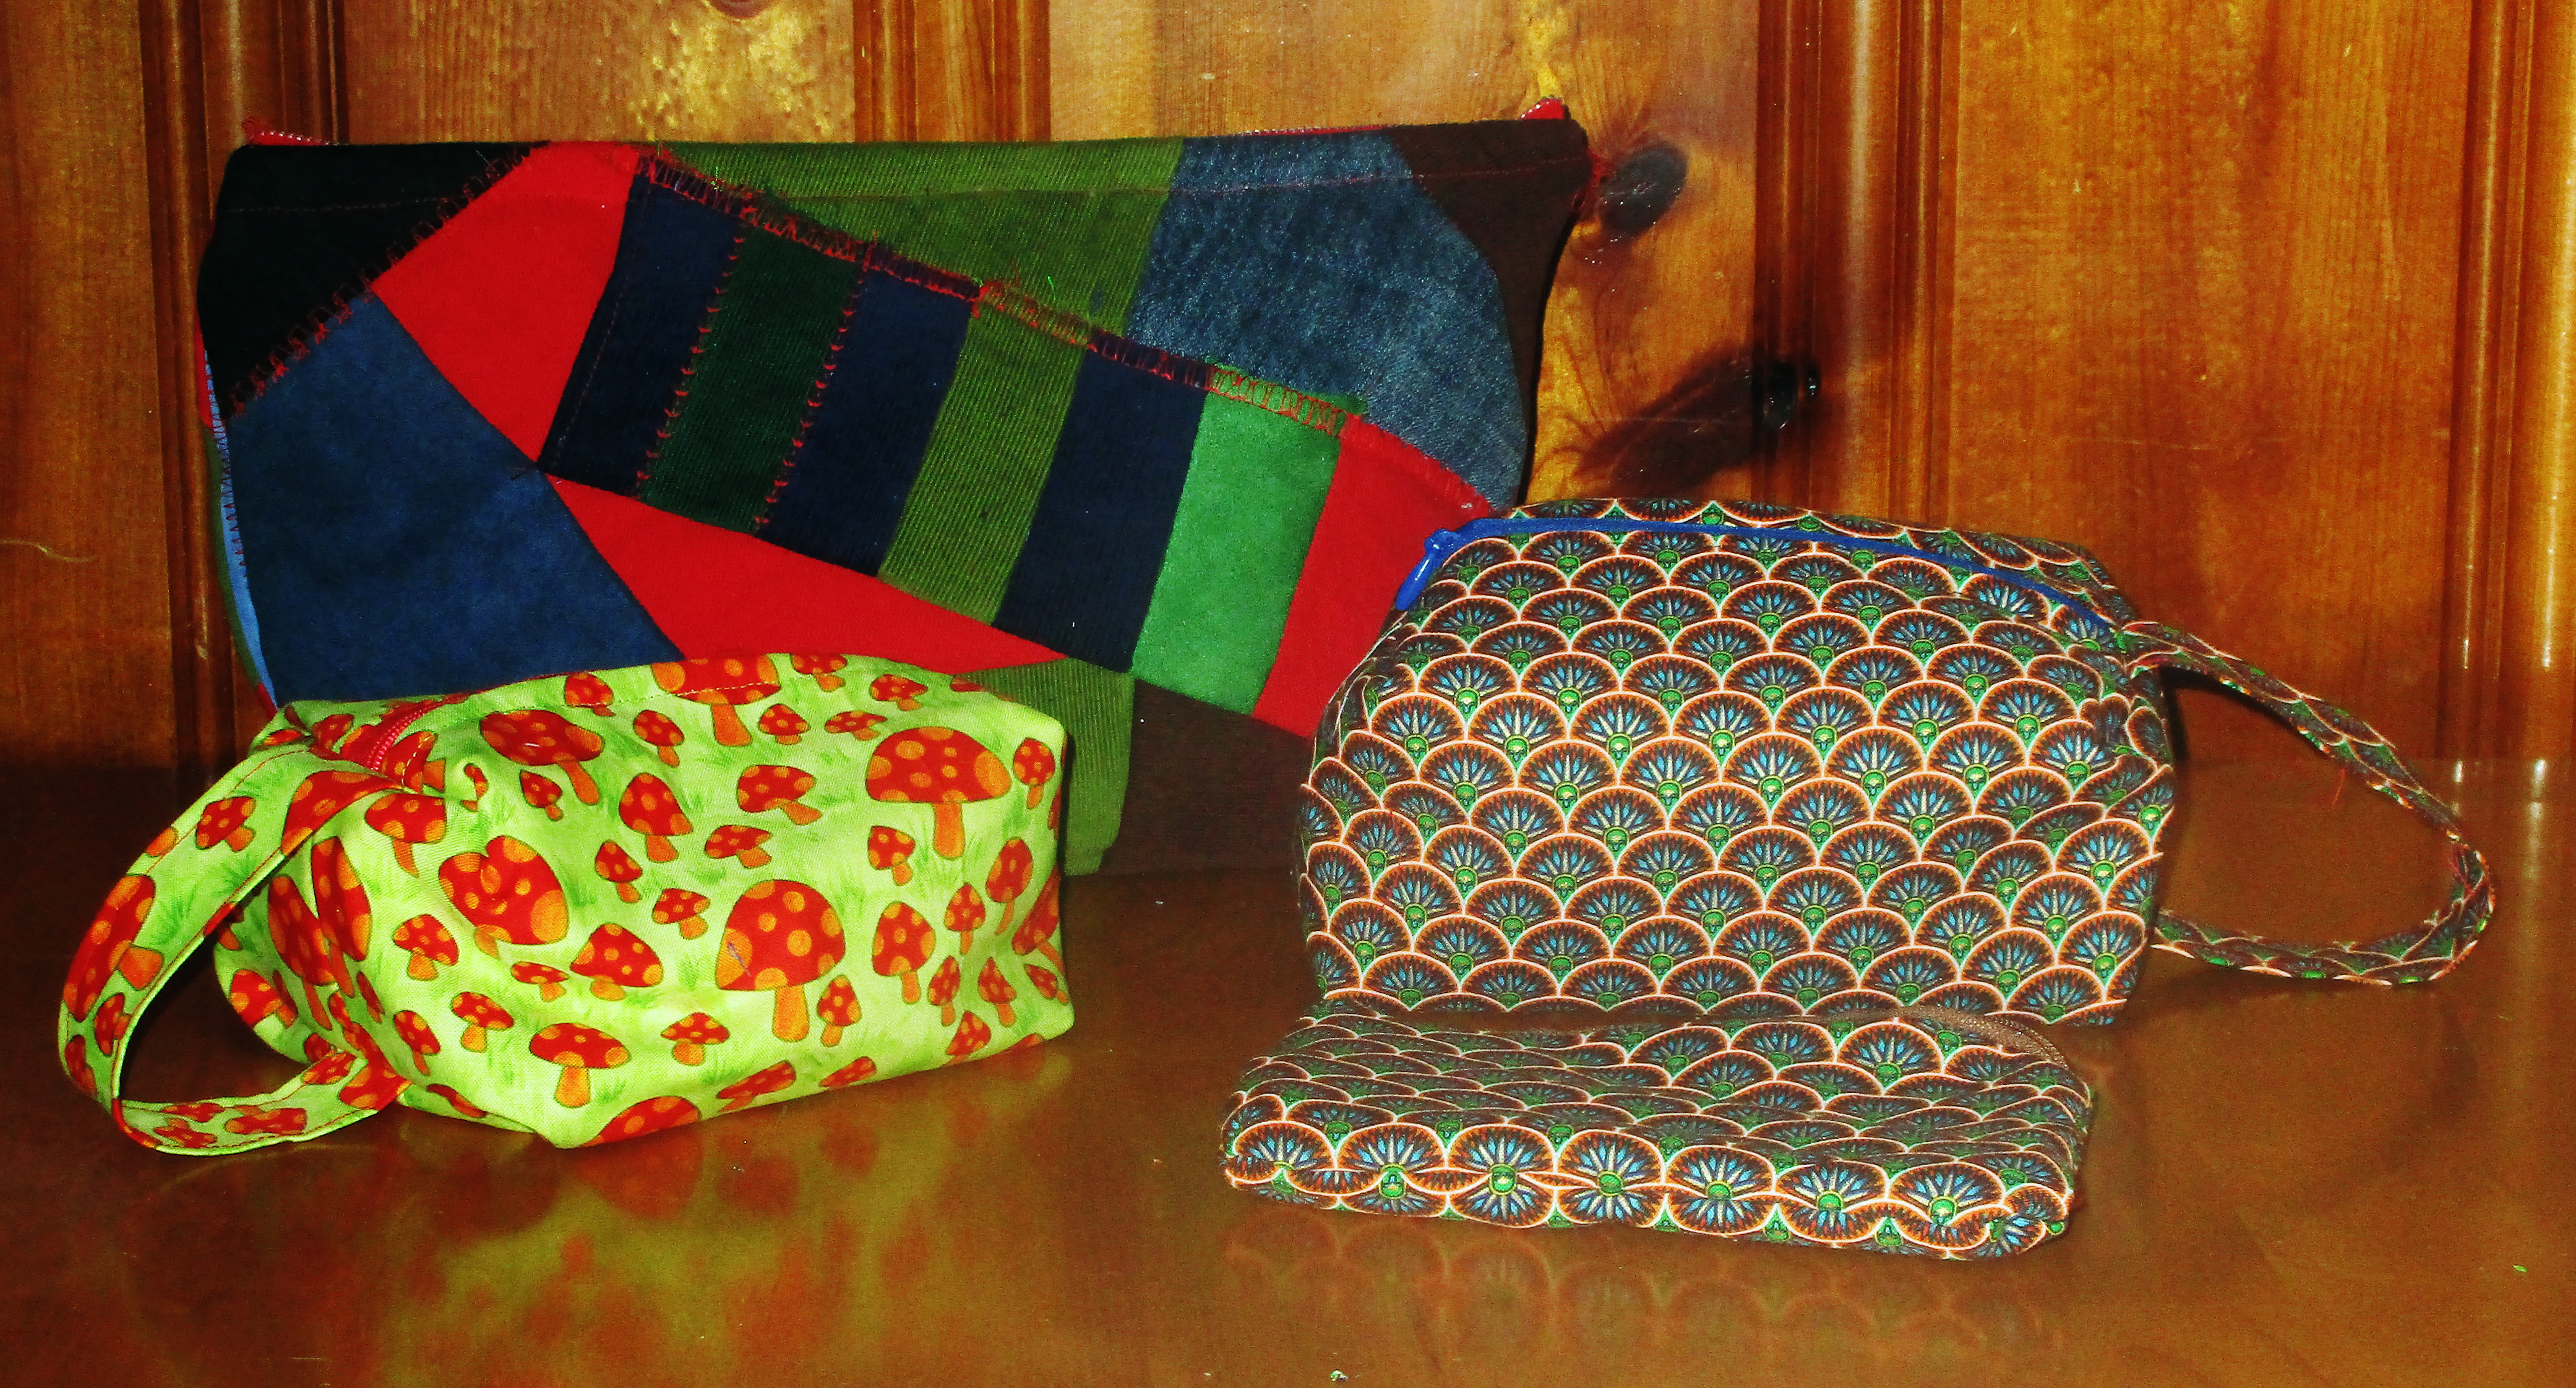
Make him a small and simple zippered pouch for holding his cufflinks and jewelry, sketching pencils, or other small items. For something a bit roomier, here is a tutorial for a boxy toiletries bag that will work well to sew for dad.
You can sew an easy zip bag in 15 minutes, or less.
This one is really easy to make; scroll down to see a manly looking option. The iPlaid is a good choice for a guy, or you could make one from scrap jeans.
Laptop sleeve or bag
If you can get your hands on his laptop to take measurements, then you can make this easy laptop sleeve in an hour or less. For something with a strap, make him a messenger style bag to fit his laptop.
Lunch bag
He’d probably rather not carry a cutesy lunch sack, so here’s how to sew a reusable brown bag with waxed canvas.
Make a tool roll or tool bag, a cord roll, a battery bandolier organizer, a monogrammed suede bag for his liquor bottle if he carries one to go, a shoe bag for travel. I’m making a patchwork quilted ukulele bag and a drumstick bag for my hubby this year. A soft padded guitar bag is a great idea, too.
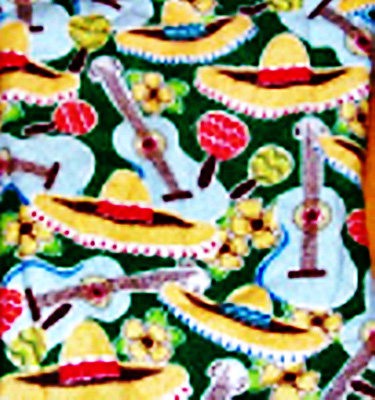
This fabric is perfect for lining his ukulele case.
Plenty of dads still keep their music on CD. If yours does, you can sew him a place to hold them on his car visor. I made one with a patchwork dive flag and ocean blue fabrics for my diver dad. You can also use felt to make pocket pages and sew a folder or book for holding CDs.
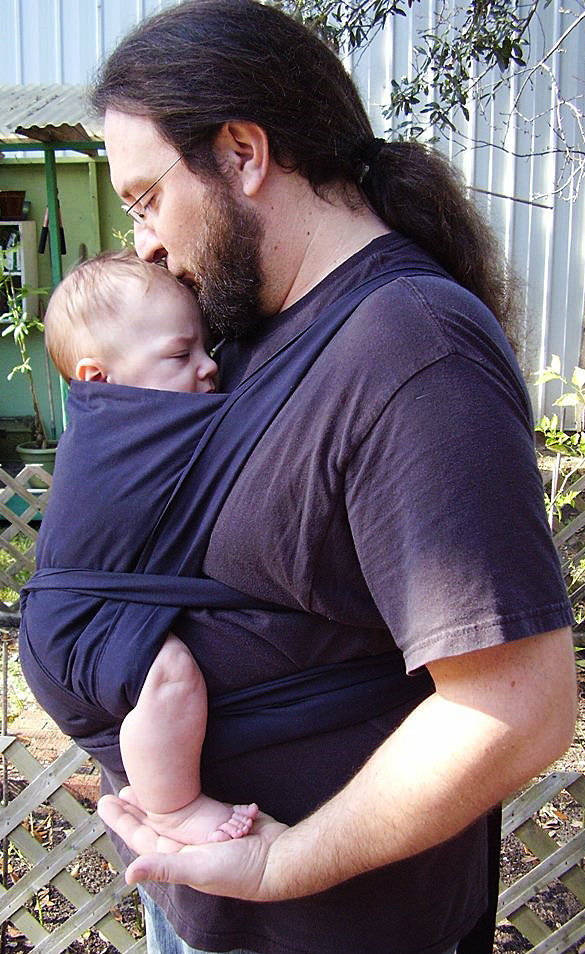
Baby carrier
Dads love to wear babies, and babies love it when they do. For a new dad, make a sling type, mei-tai, or a toddler sized soft structured carrier in a manly color or fabric.
A mei-tai style baby carrier is super easy to sew and comfy for both dad & baby.
Buy a simple pattern, or use my 10-minute way to make shorts. You can make the bandana style shorts in that link for men using four bandanas instead of two. Just use two bandanas instead of one for each leg, and add side seams to sew these together. Add length at the rise with a matching or coordinating fabric, or cut a couple more bandanas in half and sew these at the top. Or choose a funky fabric and whip up some board shorts for him.
Unless you live in the Southern Hemisphere, you probably won’t want to give dad a scarf for Father’s Day. But for winter holidays or birthdays, a scarf or cowl makes a great gift.
Do you have other ideas?
I am sewing all my Father’s Day gifts this year. What about you? Which of these ideas will you sew for dad? If you know any good gifts to sew for dad or men that aren’t on this list, please add them by commenting below.
Moms come in all types. But most appreciate handmade gifts, especially the ones you make. Whether your mom is glitzy or sporty, a homebody or a world traveler, we’ve got you covered.
For Mother’s Day, her birthday, holiday gifts, or just because you love her, here are lots of fun project ideas you can sew for mom.
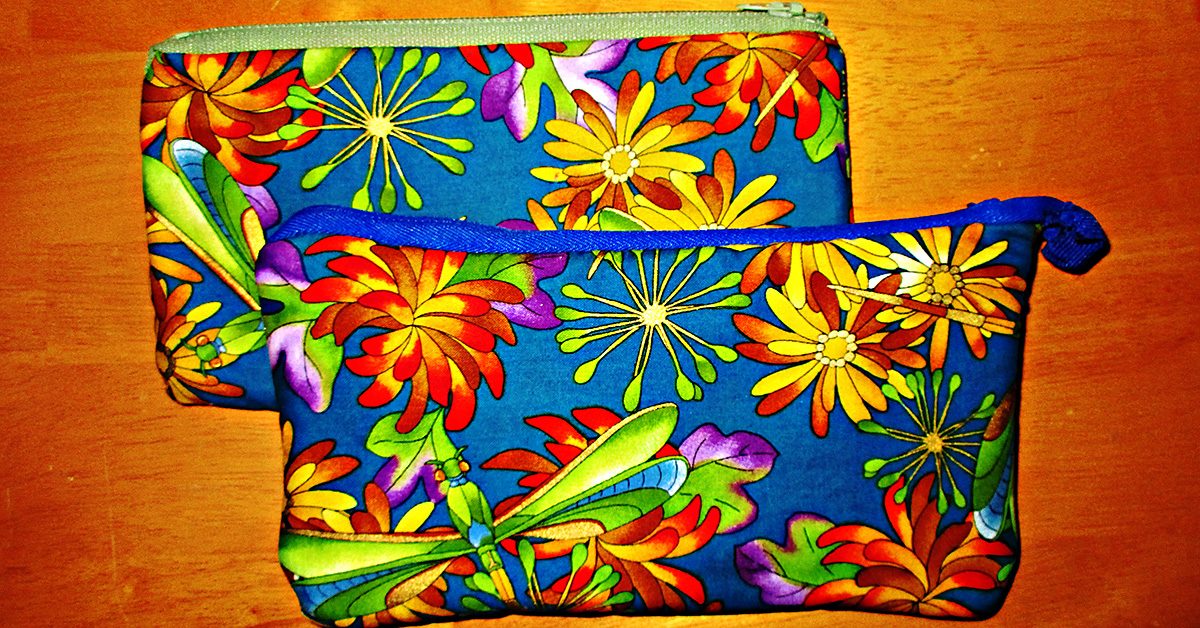
Zip bags
There are so many uses for these that zippered cases are always a good gift idea. She can use one for a cosmetics bag for her purse or travel, to hold pencils or art supplies, or anything else. I once made a matching set of these in several sizes for a gift for my mom.
She can use these to hold anything.
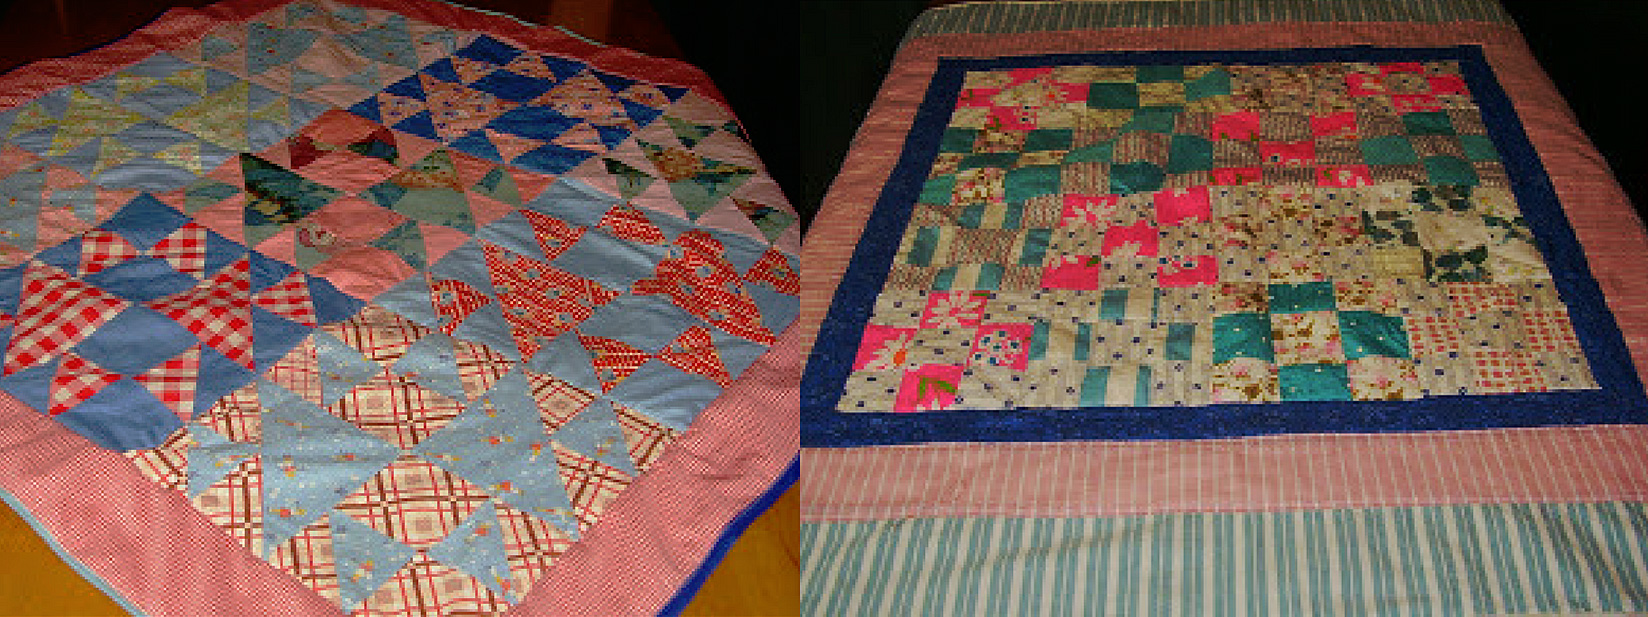
Quilt
Whether she likes to get comfy in her favorite chair or she babysits grand-babies, a lap quilt is a perfect choice to sew for mom. Make one in her favorite colors, to match her décor, or choose a special pattern.
The blocks in these quilts were pieced by my mother’s and my husband’s grandmothers. I found them in their sewing boxes & put them together with borders to make these lap quilts for our moms to share with their grand babies.
And speaking of grand kids and special quilt patterns, you could get the kids involved and make a handprint quilt for their grandmother. You can make a handprint quilt using washable fabric paint and the kids’ hands as stamps. Or you can have them trace and then cut out their hands and use these as appliqué patterns.
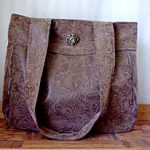
Handbag
Most ladies will appreciate a beautiful new handbag. Depending on your mom’s style, you could make her a clutch, a wristlet, a structured bag, or a casual cross-body purse or messenger bag.
The possibilities are endless here. Choose suede, an elegant stamped faux leather or other fancy fabric, a distinctive or wildly patterned print, or build her a bag based on a small piece of patchwork created just for her.
You can also make a gift set of a pretty purse with a matching zippered bag and/or glasses or cell phone case tucked inside.
Tuck a matching bag inside for the special touch.
Totes
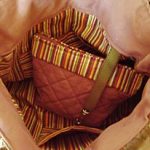
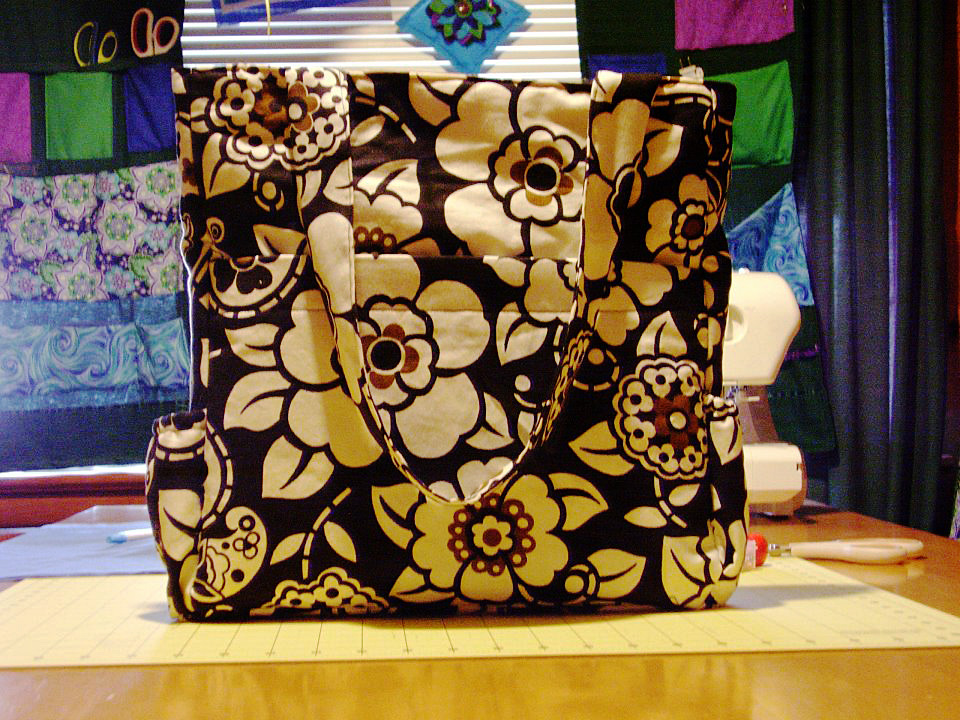
She can’t have too many tote bags since these are endlessly useful.
She can’t have too many tote bags since these are endlessly useful. Make her a stylish and sturdy tote bag for her library books, groceries, or other shopping and she will appreciate it endlessly.
Make a gorgeous XL tote in a special fabric and she will be thrilled to use it as a stylish everyday bag. Especially if you add in ample pockets and/or smaller zip bags for organizing contents.
You can make a reversible tote bag in any size and give her two bags in one. Make a canvas tote with ample pockets inside and out to create a custom beach bag she will love. Or make her a few of these cute shopping bags that collapse into their own pocket.
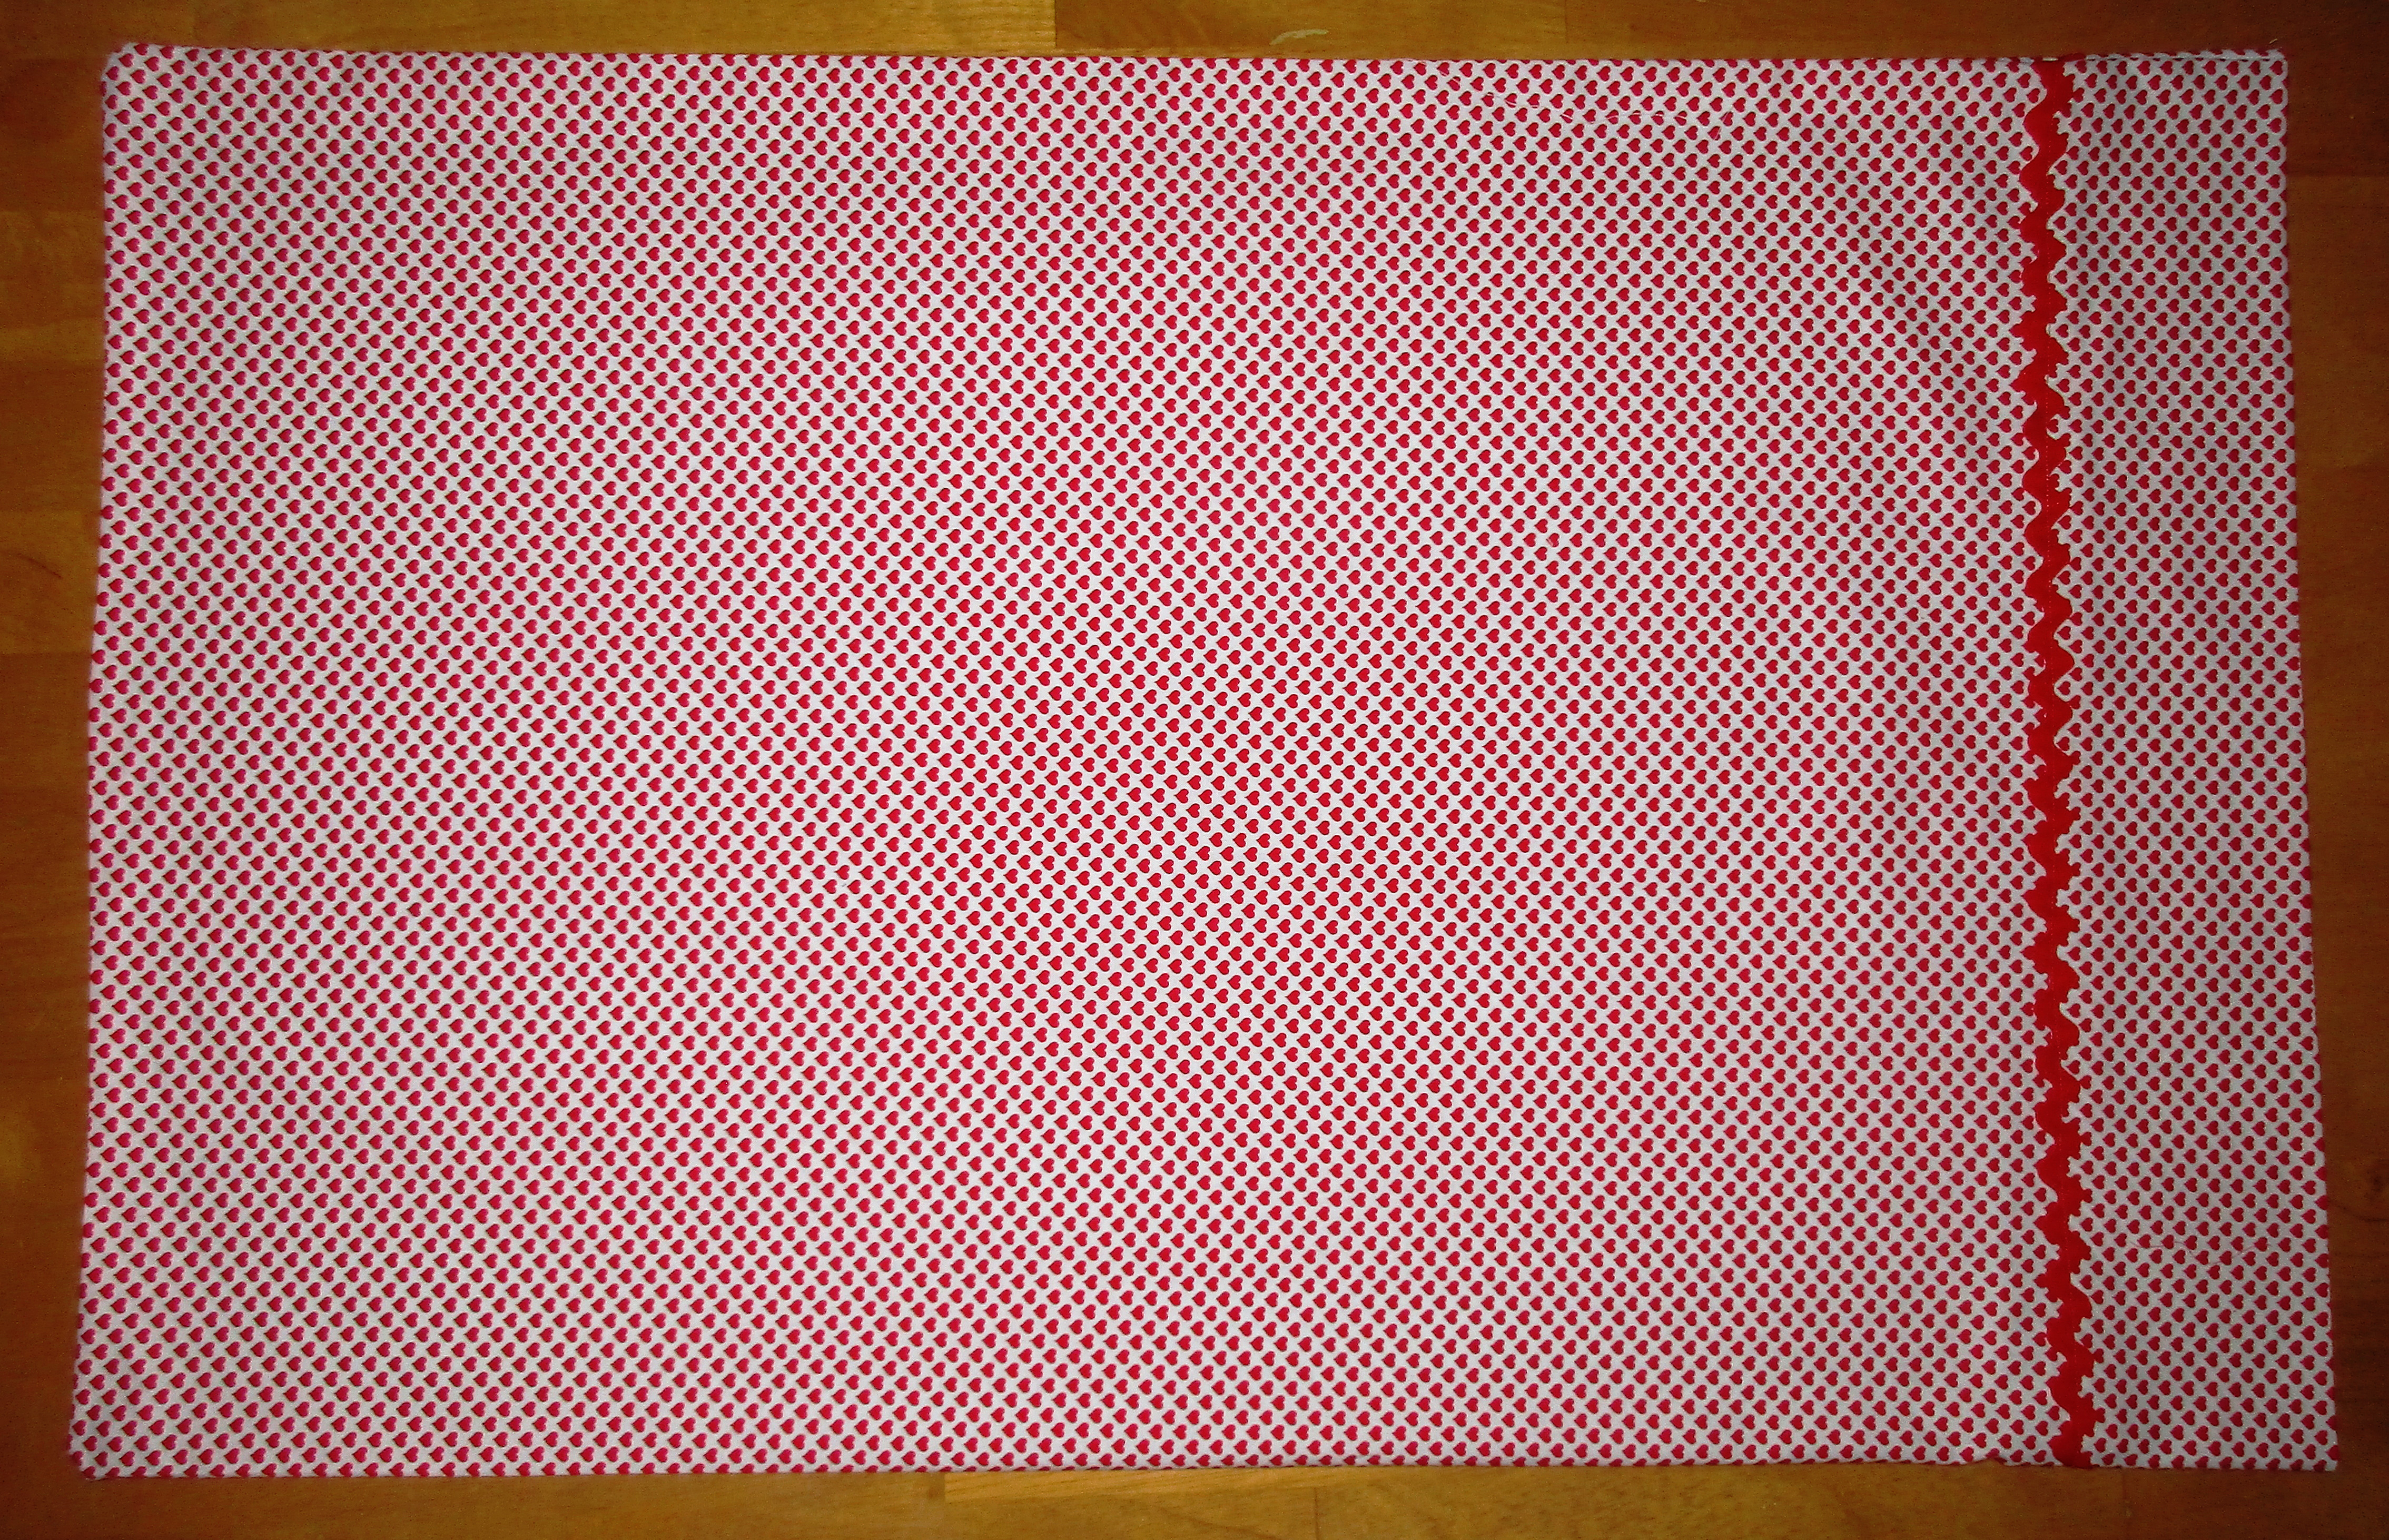
You can’t buy pillowcases as pretty as the ones you can sew. Make her a luxe pair trimmed in vintage lace. Choose a colorful patterned fabric to dress up her bed or a special motif she adores. Whether she loves owls, Star Trek, or her favorite sports team, you can make her a pillowcase from a yard of any novelty print.
You could make a pillowcase covered in hearts to remind her how much she is loved.
Sew a bouquet
A bouquet of flowers is a standard Mother’s day gift. You can sew her a bouquet of flowers that will never wilt and fade away.
Here are a lot of different ways to make fabric flowers.
Rice Pack
Whether she suffers from pains in the neck, back, tummy, or general monthly pains, an oversized microwavable rice pack heating pad will be a welcomed gift of comfort.
You can sew cozy pajamas from silk, cotton, flannel, or fleece. Make them ultra feminine with batiste and lace, or pure fun in a funky print. Start with an easy pattern from Simplicity, McCall’s, or Butterick, or use one of these tutorials.
Easy robe
Like pajamas, you can sew a robe from a lightweight or dressy fabric or from something heavier and more cozy. Robes are easy to sew. You can buy an easy robe sewing pattern or here’s a great tutorial showing how to make your own pattern using rectangles.
Apron
There are so many ways to sew aprons. You can make her a pretty half apron from just a fat quarter of fabric plus trim, a full coverage bbq style apron from a yard, a reversible apron, or a garden or craft apron.
An apron made from a fat quarter.
This one is reversible.
Cloth napkins neatly presented.
Oven mitts/ pot holders
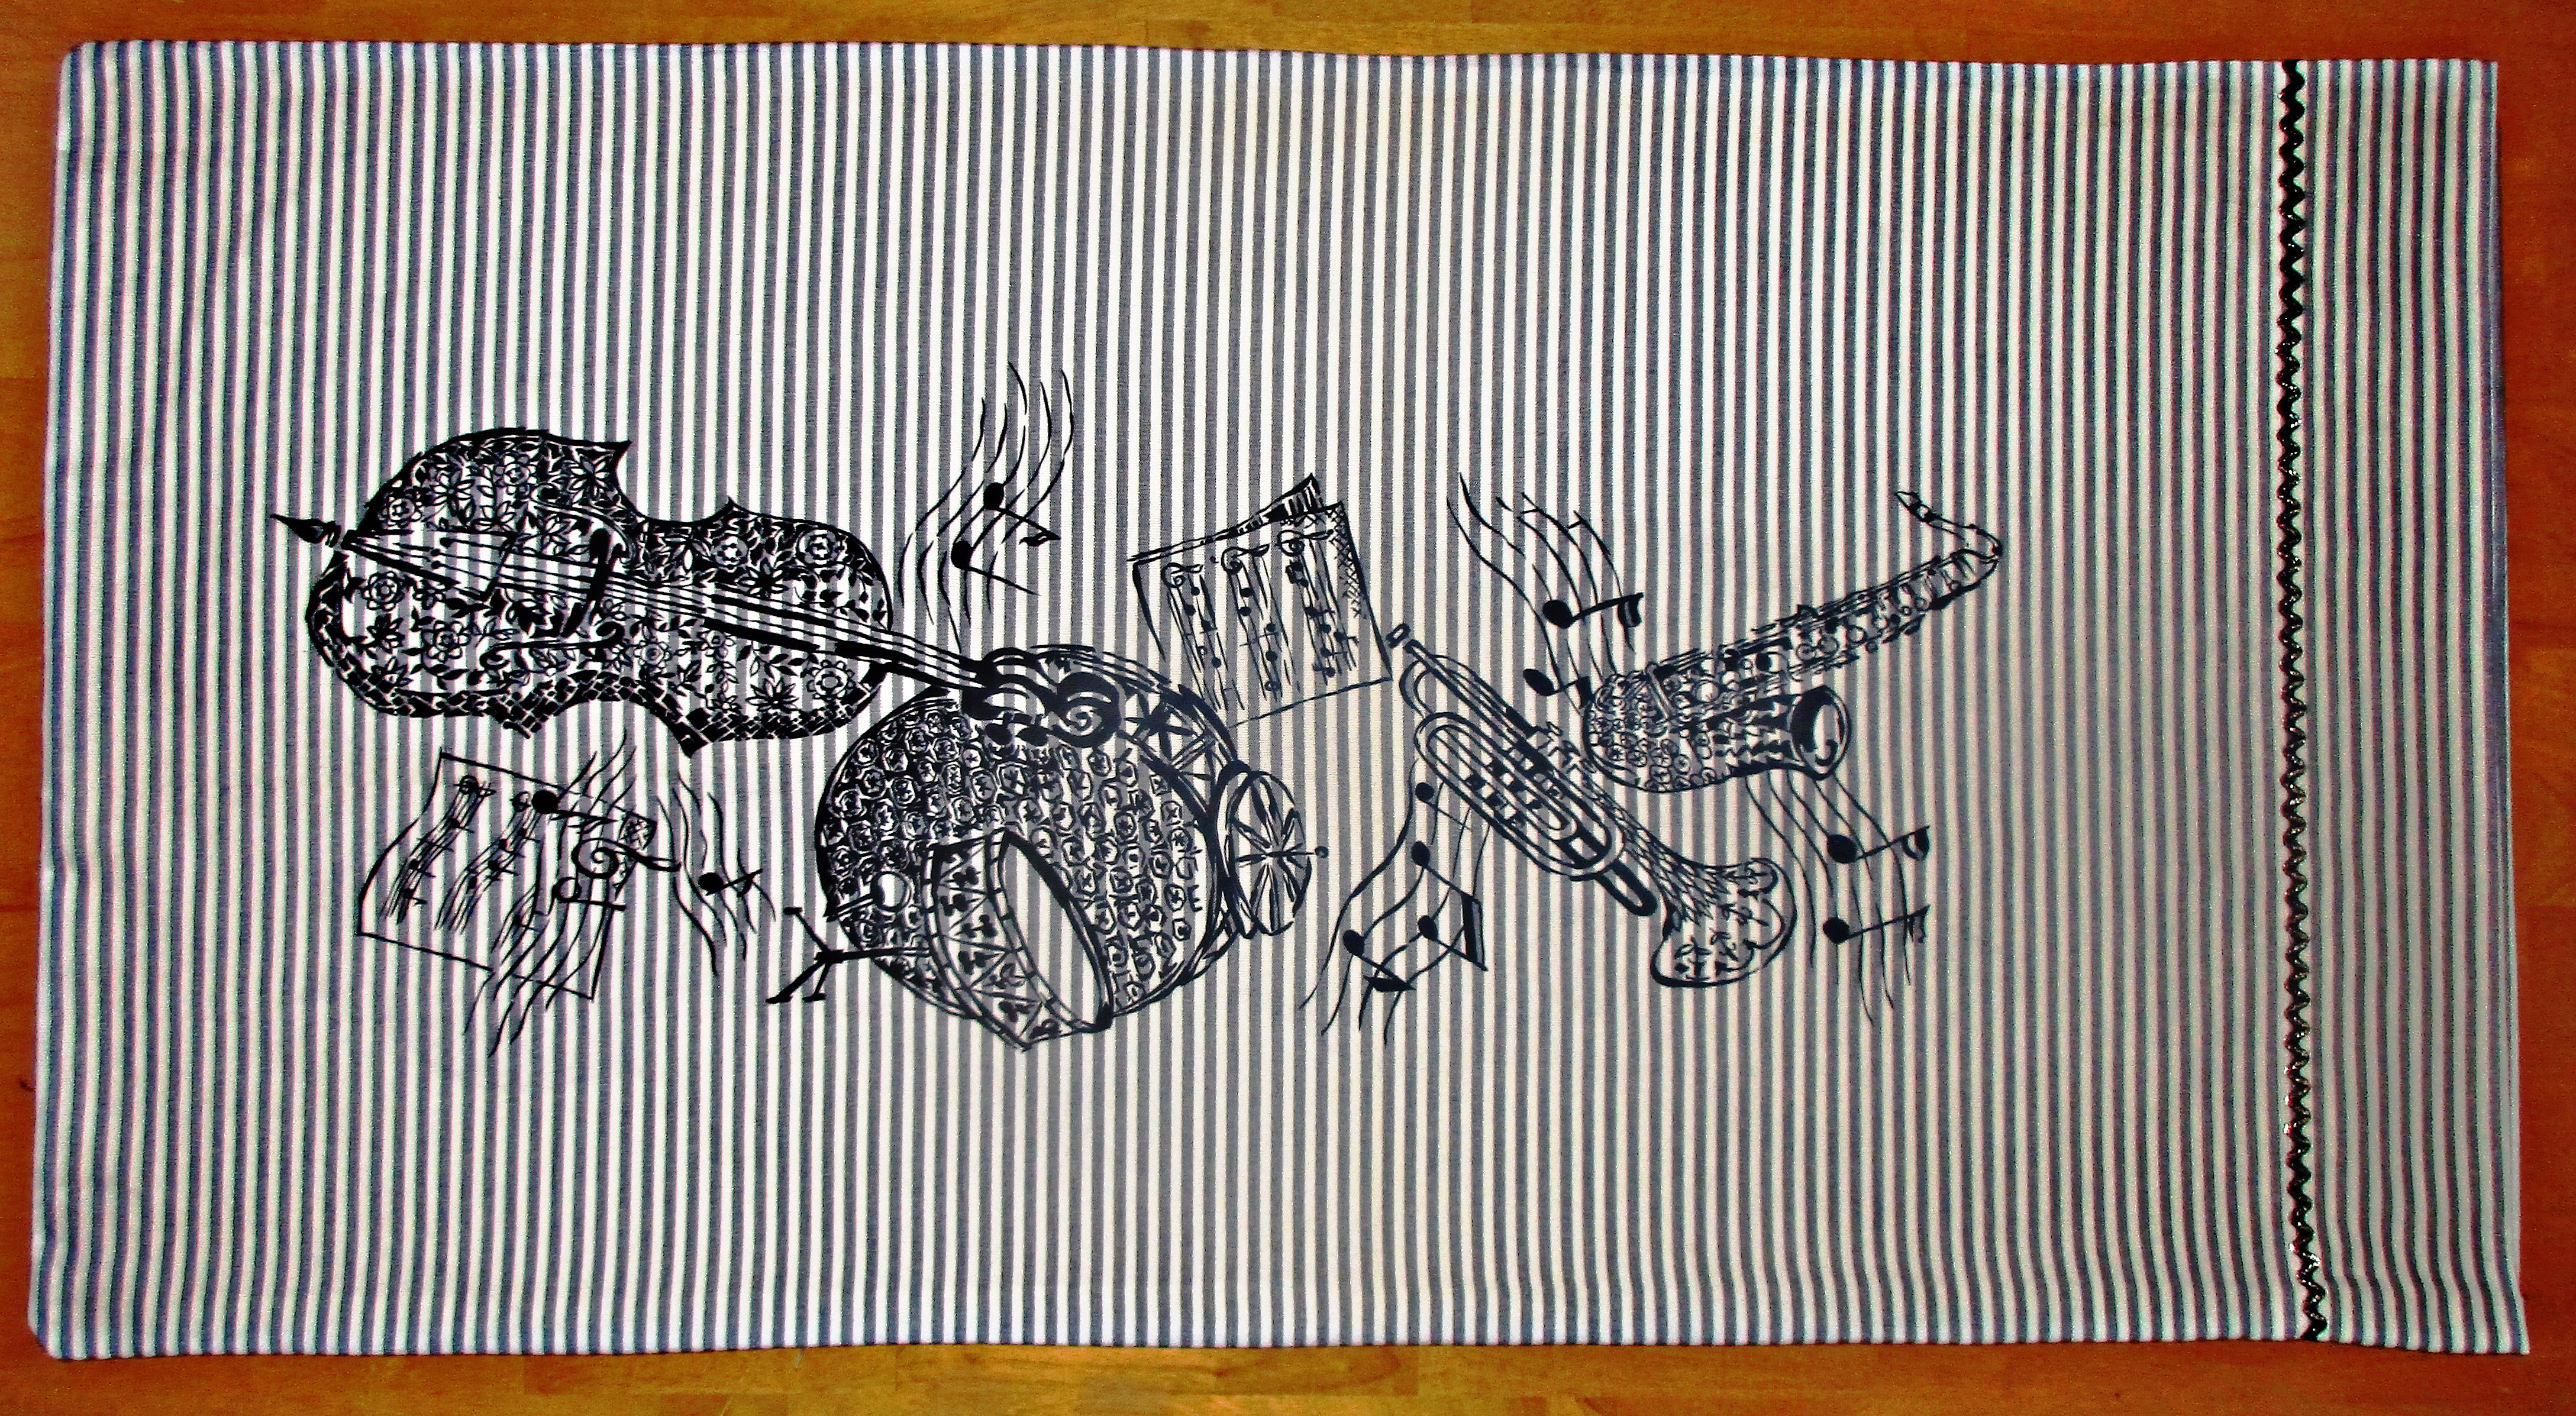
Table runner
Placemats
Napkins
Travel bags
If your mom travels a lot, there are a lot of great gifts you could sew to help her
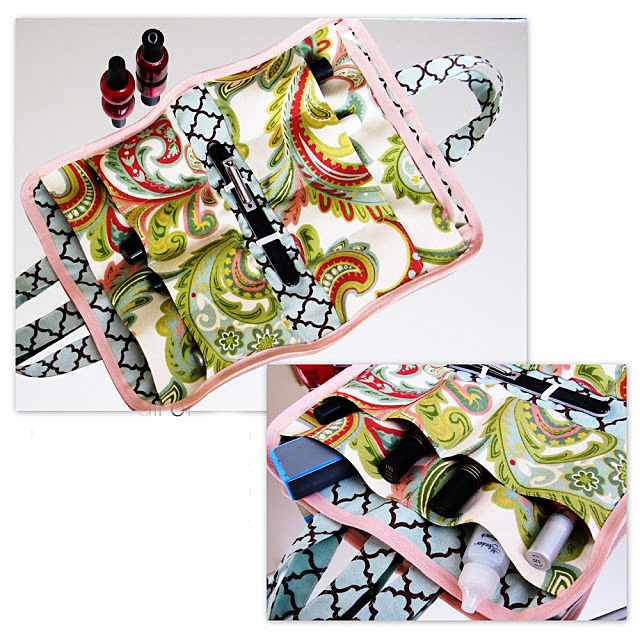
Mani/Pedi kit- Amy at Positively Splendid made this free step-by-step tutorial for making a manicure/pedicure roll-up kit to go. And a different way to make it as a pretty mani/pedi tote. You can buy mom a pretty new polish or two, too.
I got this idea from the book Travel Gear and Gifts to Make, by Mary Mulari. She says that a pareu (pa-ray’-oo) is actually a colorful Polynesian wrap skirt. But it can also be used as a shawl, head cover, scarf, swimsuit cover up, light blanket, picnic blanket, or even a knapsack for carrying stuff.
This is probably the most used and loved gift I have ever made for my mom, and it is also the simplest. She travels a lot as a car passenger, and she likes to nap with a light blanket while riding.
A pretty pareau works perfectly for that plus more.
To make one, you just hem a square or rectangle. You can make one from a 44″ or a 60″ square. Since I knew she would use it as a blanket, I made my mom’s in the larger size. And I sewed a small matching tote with a strap, for storing the pareau rolled up while not in use. I bet it has been over ten years since I made it for her, and she still raves about and uses this gift all the time.
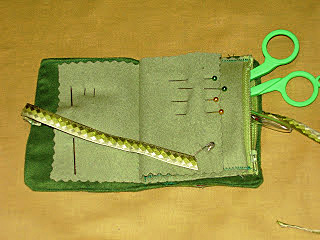
Needlebook
If your mom sews a lot or even just a little, she will certainly treasure a needle book you make with love just for her. You can make a simple one from felt or create a patchwork cover and include a zippered “page” for holding small scissors and other supplies.
I like to make needle books with a zippered page inside.
Fabric necklace or bracelets
Jewelry is another go-to gift for moms, but have you ever sewn jewelry? Here are some ideas you could try:
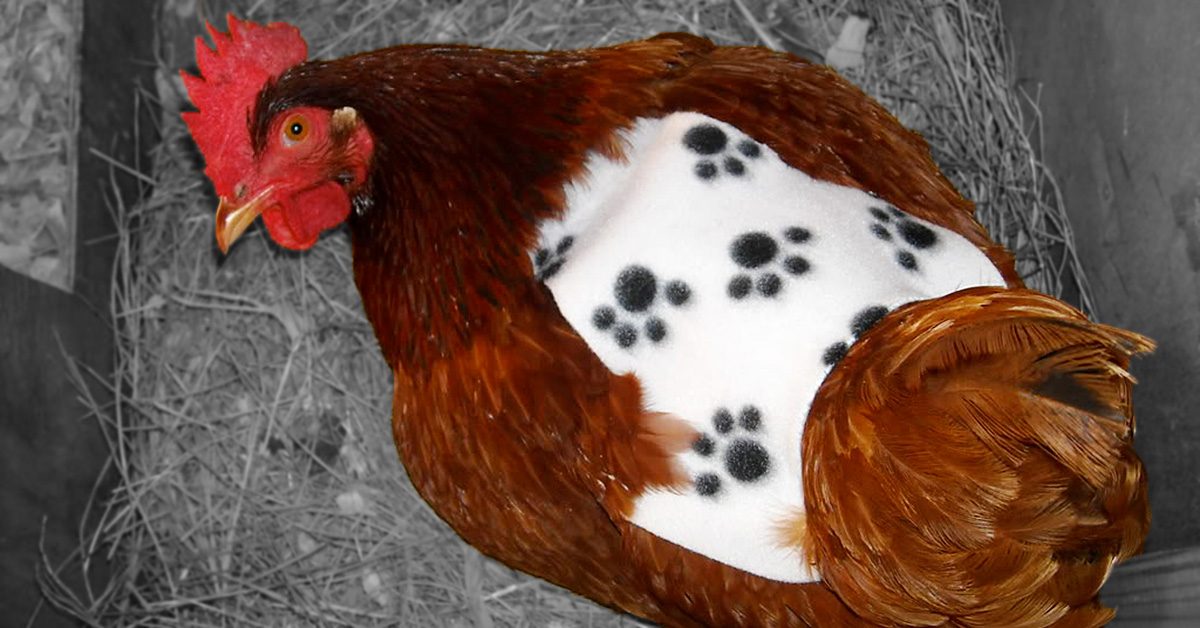
When my girlfriend, Ella, asked me if I could make her a ‘chicken apron’ I thought perhaps she meant something like a heavy duty cover for when she is out in her yard working with her chickens. I of course said yes, but she quickly corrected me and explained that the aprons in questions were actually for her chickens.
Who knew chickens wore clothes?
It turns out that other chickens can be mean and may pick on or peck a member of their brood (even to death). Additionally, roosters can sometimes be too aggressive with hens. Chicken aprons, also called chicken capes, or hen saddles, can protect their backs from the claws of the roosters.
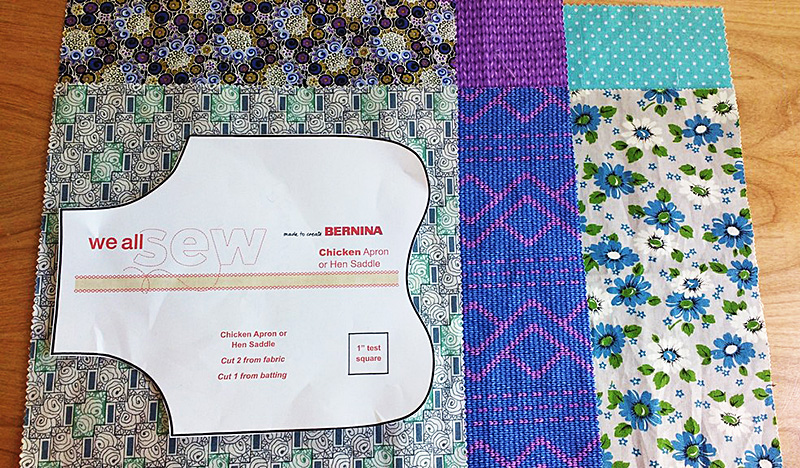
While I often create my own patterns when I sew, creating something like this for Ella’s chickens was beyond me. She found me a free pattern, which you can also follow here, and I got to work.
Heads up that this project is perfect for any pre-cut layer cakes (10″ x 10″ squares) you may have on hand.
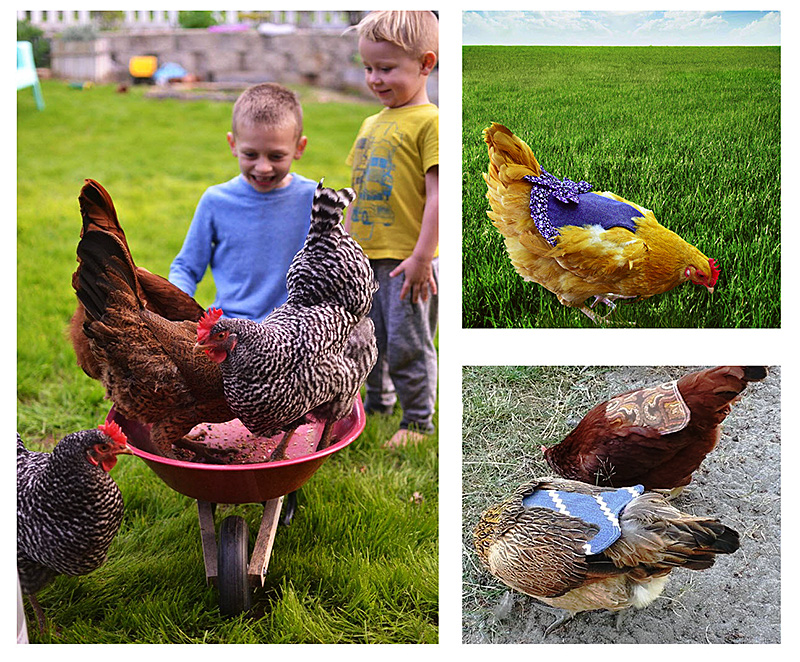
Photo credit, left to right: Ella Sherman, MyPetChicken.com & WeAllSew.com.
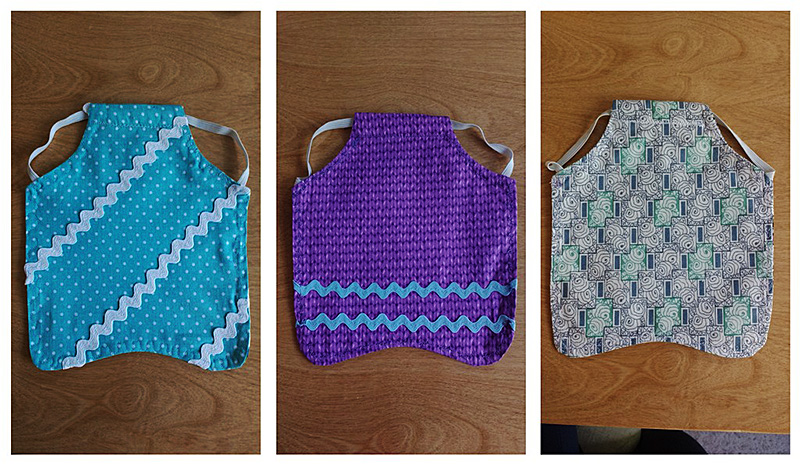
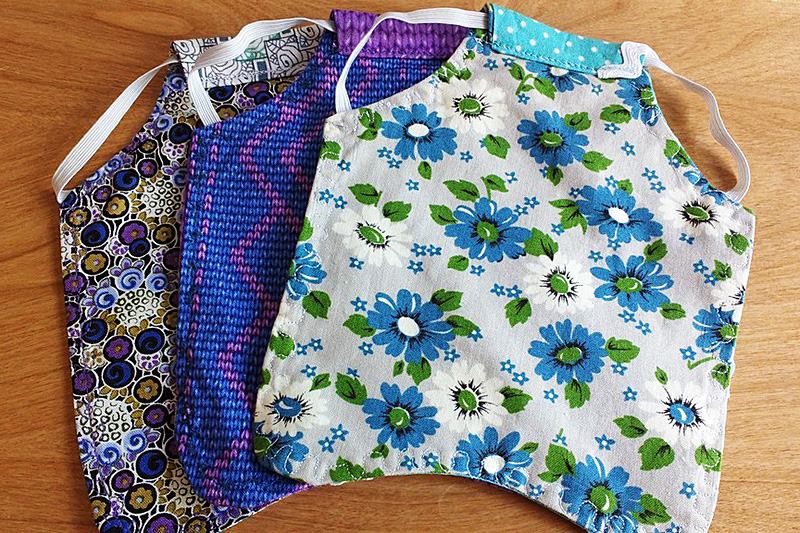
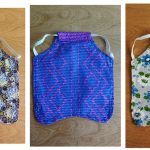
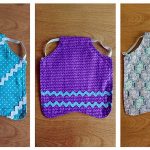
My oldest daughter helped me pick out some fabrics and we sent a picture for Ella to choose from. I planned to make her three reversible aprons.
Here’s another interesting thing we learned
Never dress your chickens in pink, or red; it brings out their cannibalistic instincts and could result in the chicken getting pecked to death. Red & pink = no no.
Beware of chicken scratch. Red & pink = no no.
Sketch it out
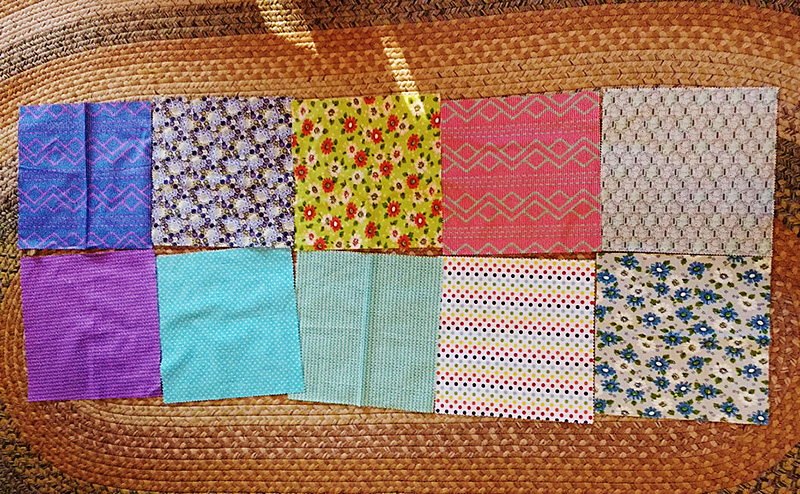
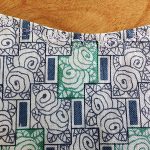
With my six fabrics decided, I drew out a pattern on each one. All of these are layer cakes squares I had in my fabric stash.
All of these are layer cakes squares I had in my fabric stash.
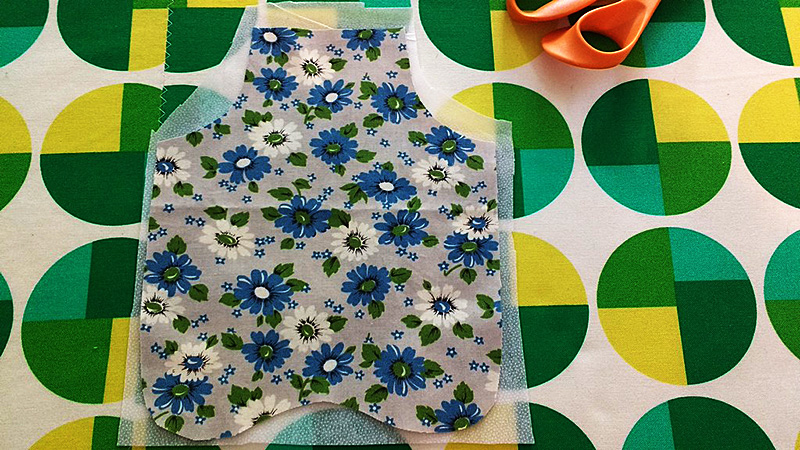
Ella lives in Southern California so she didn’t need any type of warmth or real thickness for batting. Still, I wanted them to be crisp, so I added a layer of Pellon 931TD, Fusible Midweight Interfacing to one side of each apron.
I wanted them to be crisp, so I added a layer of Pellon 931TD, Fusible Midweight Interfacing to one side of each apron.
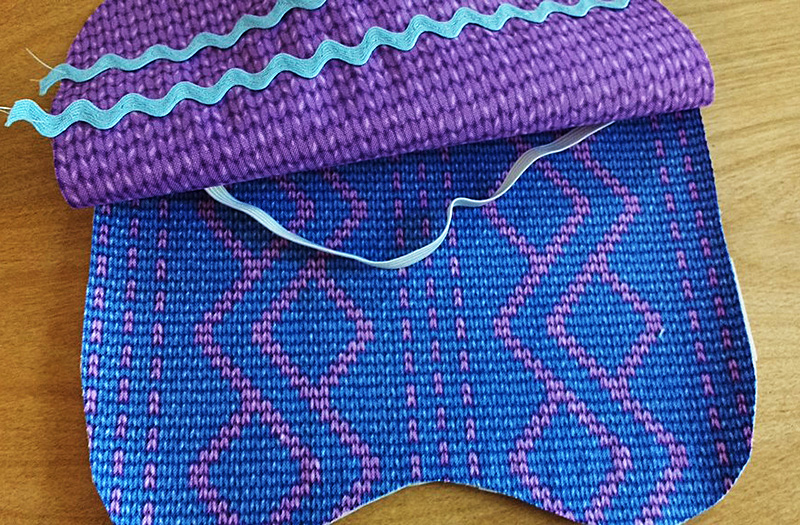
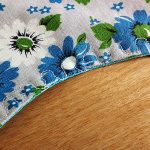
Once three of the sides had interfacing, I turned to decoration. If you plan to add rick rack or bows, do it before you sew the sides together.
Once three of the sides had interfacing, I turned to decoration.
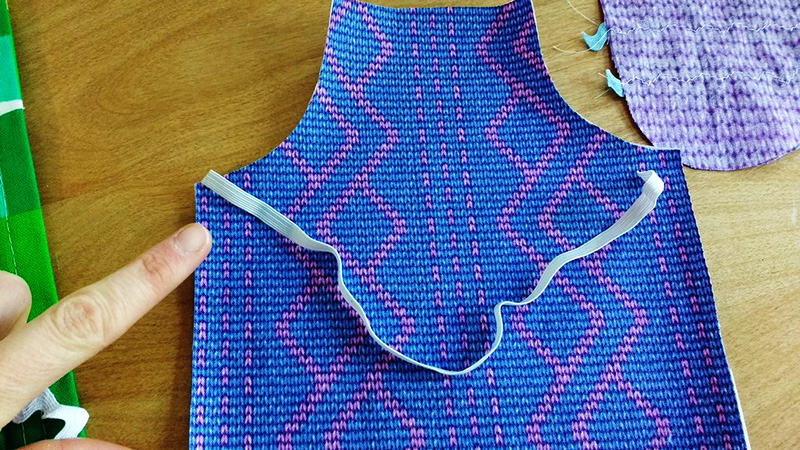
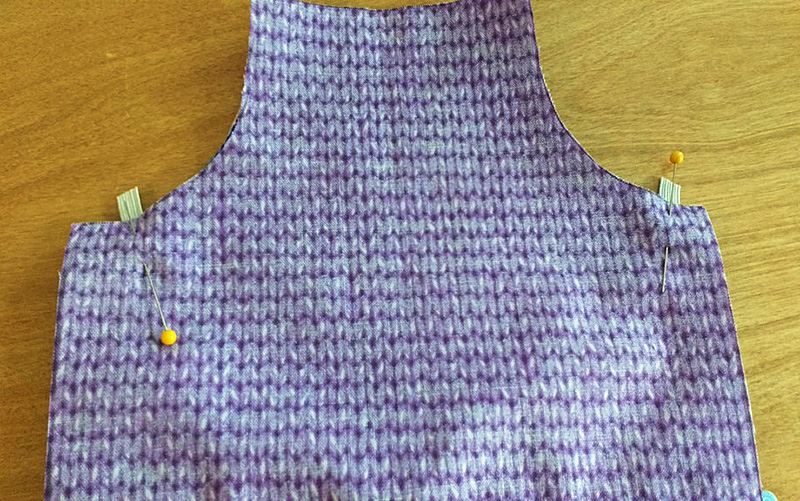
Cut out a 10.5″ piece of elastic for each bib. You will pin each end where the arm (wing?) holes would be.
You will pin each end where the arm (wing?) holes would be.
Place the layers, right sides together and pin (here you can see the elastic sandwiched between the layers).
Here you can see the elastic sandwiched between the layers.
Ok, here we go…
This is how it should look before you begin sewing. The pattern I used called for a ½” seam allowance, probably because it also called for thick batting. Choose your own seam allowance and sew all the way around, leaving only the neck hole completely open.
This is how it should look before you begin sewing.
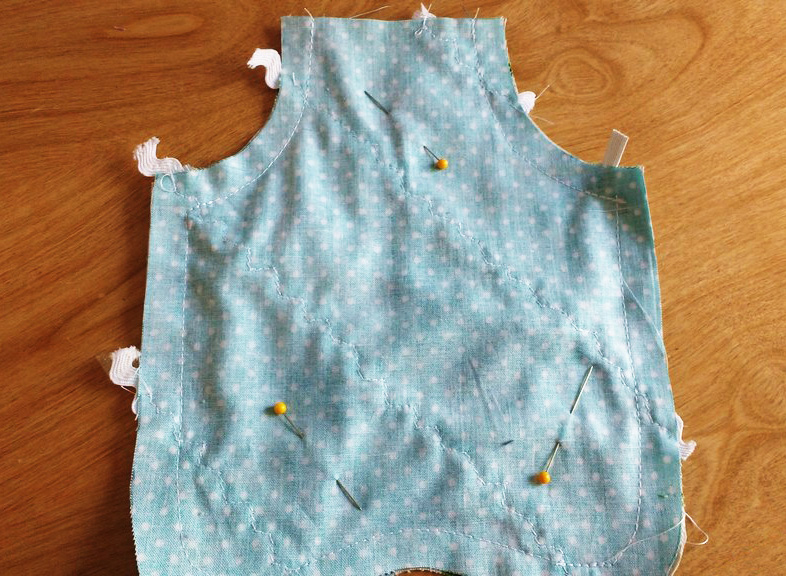
Here’s how mine looked after sewing all the way around. I trimmed away the excess fabric and made small snips around the inner and outer curves so they would lie flat once I turned the fabric right sides out.
Here’s how mine looked after sewing all the way around.
Two important things to do once you’ve turned the fabric
Take your time and run your fingers along the inside seam, popping the fabric out so it shows a great shape.
Iron! I both ironed and starched mine once I had turned them.
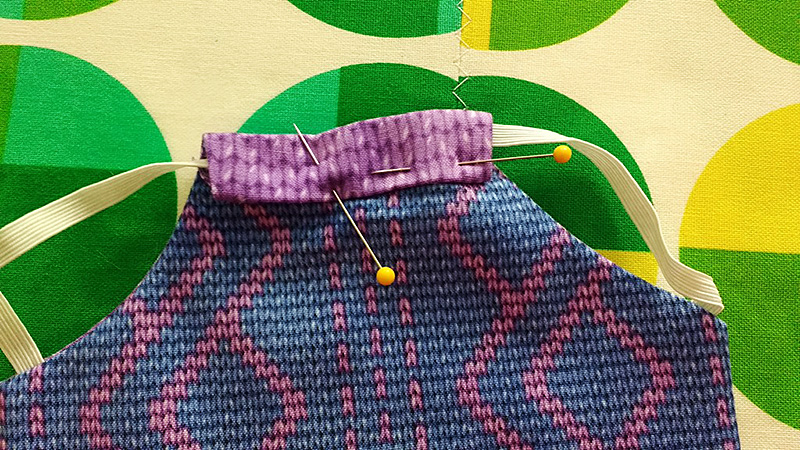
Next, turn the neck hole down first a ½ inch then another ½ inch. Tuck the piece of elastic into where you’ve turned it, creating a casing. You will sew across the bottom of the folded fabric, taking care not to catch the elastic. When you are done, you should be able to move the piece of elastic freely back and forth in the casing.
When you are done, you should be able to move the piece of elastic freely back & forth in the casing.
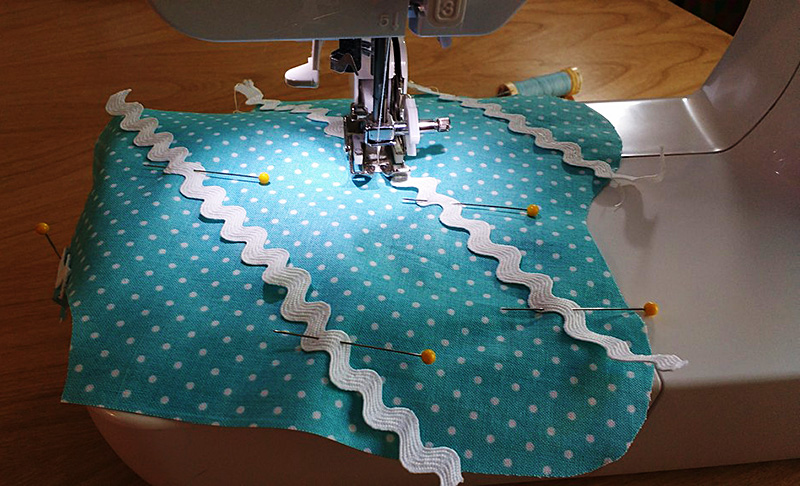
Top stitch!
Have fun with your top stitching. I used a different decorative stitch on each apron.
Have fun with your top stitching.
I used a different decorative stitch on each apron.
And there you have it
This is easily a 20 minute project if you have all your supplies at hand. It’s wonderful for layer cakes and if you have friends who own chickens, these would make great handmade gifts.
It’s wonderful for layer cakes & if you have friends who own chickens, these would make great handmade gifts.
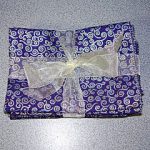
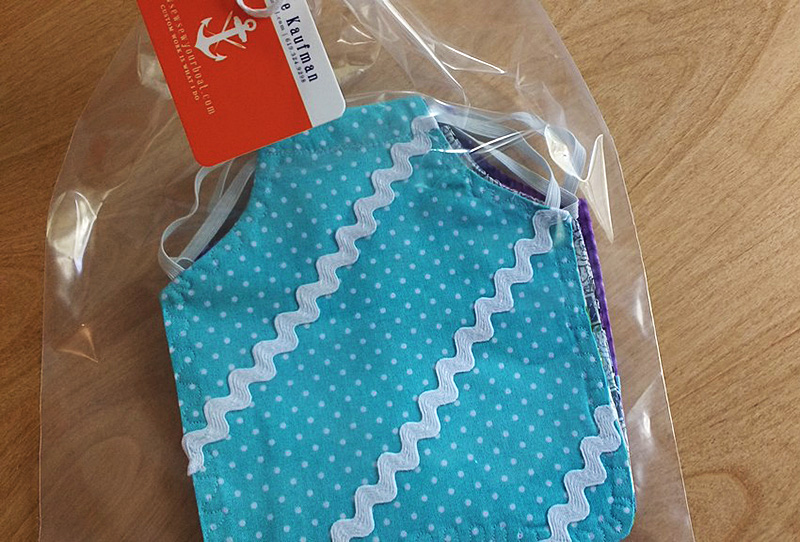
Pop your presents in some pretty wrapping and send them off to be wild with some hens!
Pop your presents in some pretty wrapping and send them off to be wild with some hens!
Have you ever made chicken aprons or a unique piece of clothing for an animal? Tell us about it in the comments!
Have you ever made chicken aprons or a unique piece of clothing for an animal?
Tell us about it in the comments!
———————————————————————————– Charlotte Kaufman is a writer and sewist in Mammoth Lakes, California. She specializes in marine and home interiors and continues to fall more and more in love with quilting. You can follow her at charlottekaufman.com.
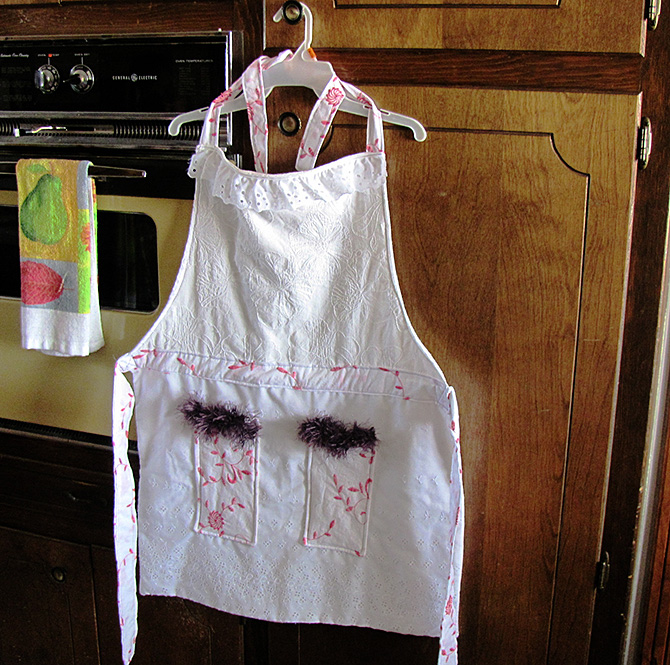
A cherished friend gifted me some very beautiful, elegant materials. She purchased them long ago with the intention of making an apron but never got around to it. I thought, “How wonderful, I’ll surprise her by making it for her!” I designed this apron to be elegant and classy while also being functional. This Elegant Upscale Apron really hit the spot. She adores it and I hope you will too!
***ProTip: When making clothes of any type, washing and ironing before sewing are extremely important!! Measurements are based on material already washed. If they aren’t washed before sewing, they may shrink by an inch or more when washed later on, resulting in the clothing being too small to wear.
Level: Beginner Time to Complete: In A Weekend Sewn By Machine: 3/8″ straight stitch unless otherwise specified Sewn By Hand: Purple thread to sew pocket accents
**Tip: Iron cut pieces before sewing and in between each step. This helps in the sewing process as well as setting the stitches to lessen unraveling with age. And the extra bonus-the end results tend to look more professional as a result.
Materials:
These fabrics are relatively thin. Aprons generally require a thicker material to help resist staining of clothing underneath. I used a piece of thicker off-white fabric as the backing to keep the elegant style while serving as an effective apron as well. The thicker backing also eliminates the need for a middle layer of batting.
Top:
Measurements for Top – 14″ W<
Measurements for Bottom End – 23″ W
Length at middle – 18″ L
Skirt:
1 – 23″ W x 18″ L – Lace Fabric
1 – 23″ W x 18″ L – Backing
Neck Ties:
2 – 3″ W x 20″ L – Same material as used for Pockets
Waist Ties:
2 – 4″ W x 23″ L -Same material as used for Pockets
Neck Accent:
– 13″ W
Waist Accent:
1 – 23″ W x 3″ L Accent-Same material as used for Pockets
Pockets:
2 – 5″ W x 14″ L – Same material as used for Waist Accent
2 – 5″ W x 14″ L – Backing
Pocket Accents:
2 – 5″ W – Snazzy Boa
Purple Thread:
To sew pocket accents (boa) on by hand
Cut fabric pieces.
**Tip: When I’m ready to cut my fabric, I place the line to be cut at the end of my cutting board. I use the end of the board to guide the scissors. This results in a straighter, cleaner cut.
Instructions:
I recommend using fabric scissors instead of a roller when cutting these materials. I found the embroidery and embellishments in these materials are a little too much for the roller to cut through with one or even two strokes.
These are my favorite fabric scissors. Great slicing with minimal fraying.
Wash and iron all material except pocket accents unless you use a washable material for pocket accents.
Cut out all material using the above measurements.
I cut the boa accent pieces a couple of inches longer than needed, about 7 in. in case the hand sewing with the clear thread makes it a little shorter. When done, I cut off the extra.
After I measured the top section of the apron, I used a pencil to trace the curve from top to bottom. Then I folded the top in half and cut the curve on both sides so they would be symmetrical.
Skirt
Pin and sew with the lacy fabric and backing right sides together, leaving a couple inches on one end to pull the fabric right side out after sewing. Cut diagonally outside the corners to help create more well-shaped corners after turning right side out. Turn right side out and iron.
Top
Pin and sew fabric and backing for top, right sides together. Leave an opening to pull the top right side out. Trim corners. Turn right side out.
Top stitch around the top part of the apron, making sure to stitch closed the opening used to pull the fabric through.
Top and skirt sewn into one piece.
Sew the top and skirt together, right sides together. Iron with the seam pointed down.
Pockets
Pin and sew with 1/8″ seam the fabric and backing for the two pockets right sides in. Leave an opening in the top of the pockets. Trim corners, turn right side out and iron.
Top stitch with 1/8″ seam the top of the pockets only, making sure to sew the opening closed.
Waist Accent Piece
Fold accent piece in half, right sides together. Iron to make crease for accurate sewing. Sew with 1/8″ seam the length or the strip, leaving one end open. Trim corners and turn right side out. Iron to create flat strip. Top stitch with 1/8 in. seam the open end closed. **DO NOTtop stitch around strip yet. That will be done when sewing the accent piece to the apron.
Waist and Neck Ties
Fold all 4 waist and neck straps in half, right sides together. Iron to make crease to help with accurate sewing.
Sew 1/8″ the length of the strip, leaving one end open. Trim corners and turn right side out. Iron to create flat straps.
Top stitch 3/8″ around each strap.
Time to put all the pieces together. Yay!!
Place the accent strip on top of the apron over the seam where top and bottom pieces were joined.
Place one of the waist ties at the same spot but on the underside of the apron.
Sew the accent strip and waist tie with the X box often found to be used for ties since it creates a stronger hold.
Pin accent strip over the seam of the apron, making sure it is straight and level. Iron.
Top stitch the accent piece to the apron.
Sew the other waist tie on back of apron. Top stitch accent strip with waist tie behind, the same as with the other, using the X box to secure the waist tie.
Putting it all together.
Sew neck ties onto the top corners of the apron using the same X box.
Hand sew boa pieces onto pockets. If you have a material more suited for machine, sew them on.
I couldn’t find clear thread anywhere, which is what I prefer to use with embellishments like these. So instead I used a purple thread closely matching the color of the boa.
Sew both pockets on the apron using 1/8″ seam.
Pre-heat the oven. Put on your new Elegant Upscale Apron. Time to bake!
Stacey’s Stitches
Hi all! I’m Stacey Martinez 🙂
I love to design imaginative custom items for my active, crazy family. Bright
colors and beautiful fabrics sing “Stacey, Stitch Me!”
Let your imagination inspire you to breathe personality into every stitch!
Please feel free to post comments, questions, and pictures of your own Elegant Upscale Aprons. I can’t wait to see your creations!
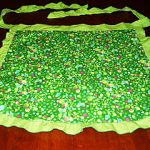
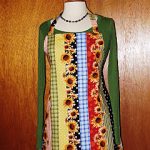
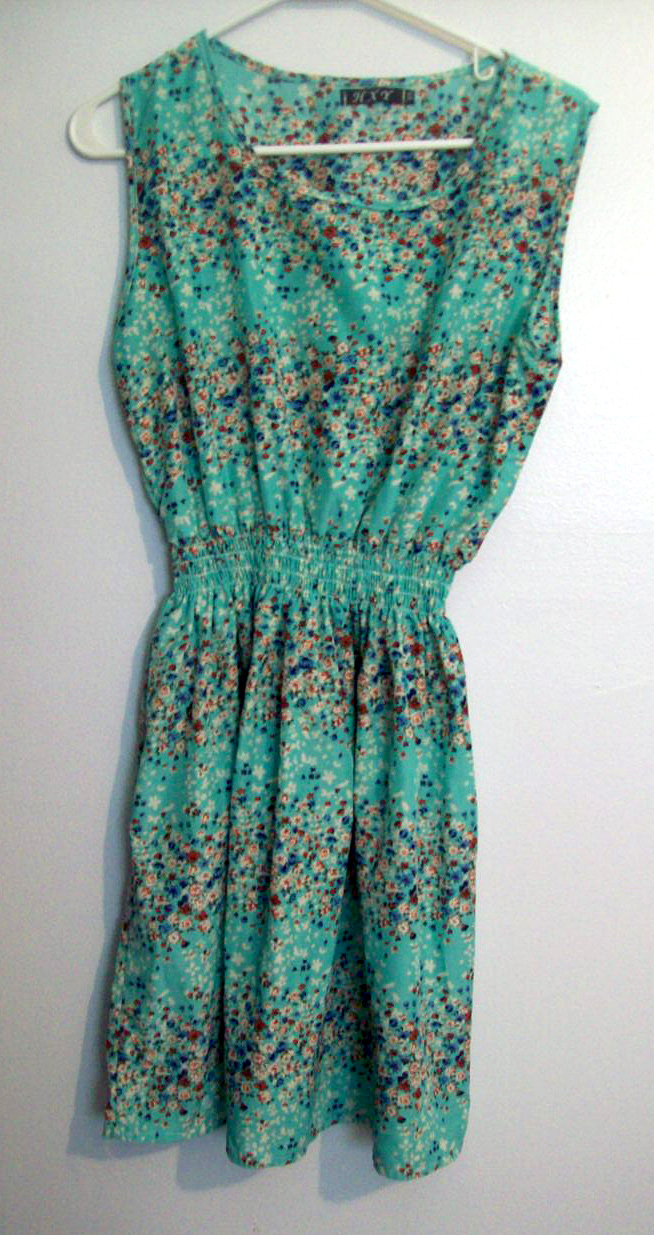
I had this piece of clothing that really wasn’t my style.
I’ve heard stories about my grandmother recycling material and such for the sake of future sewing projects. And, no, I’m not going give you a how-to of how to cut up your couch for the reusable material and filling! But the overall idea is a part of the general theme of today’s post: Reusing material for a new purpose.
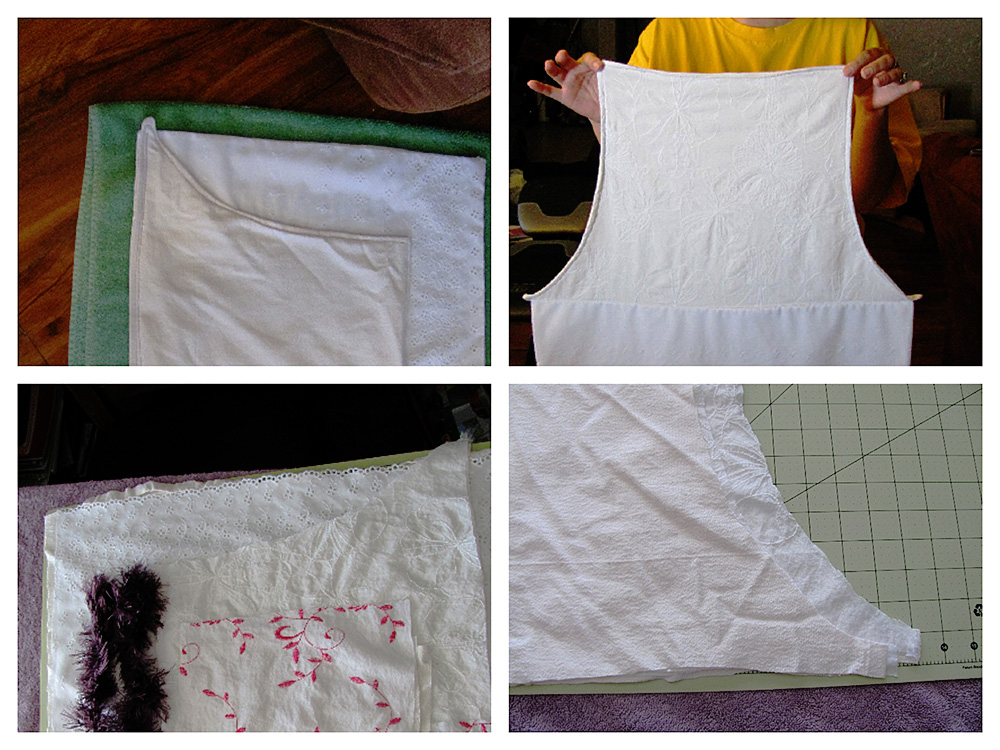
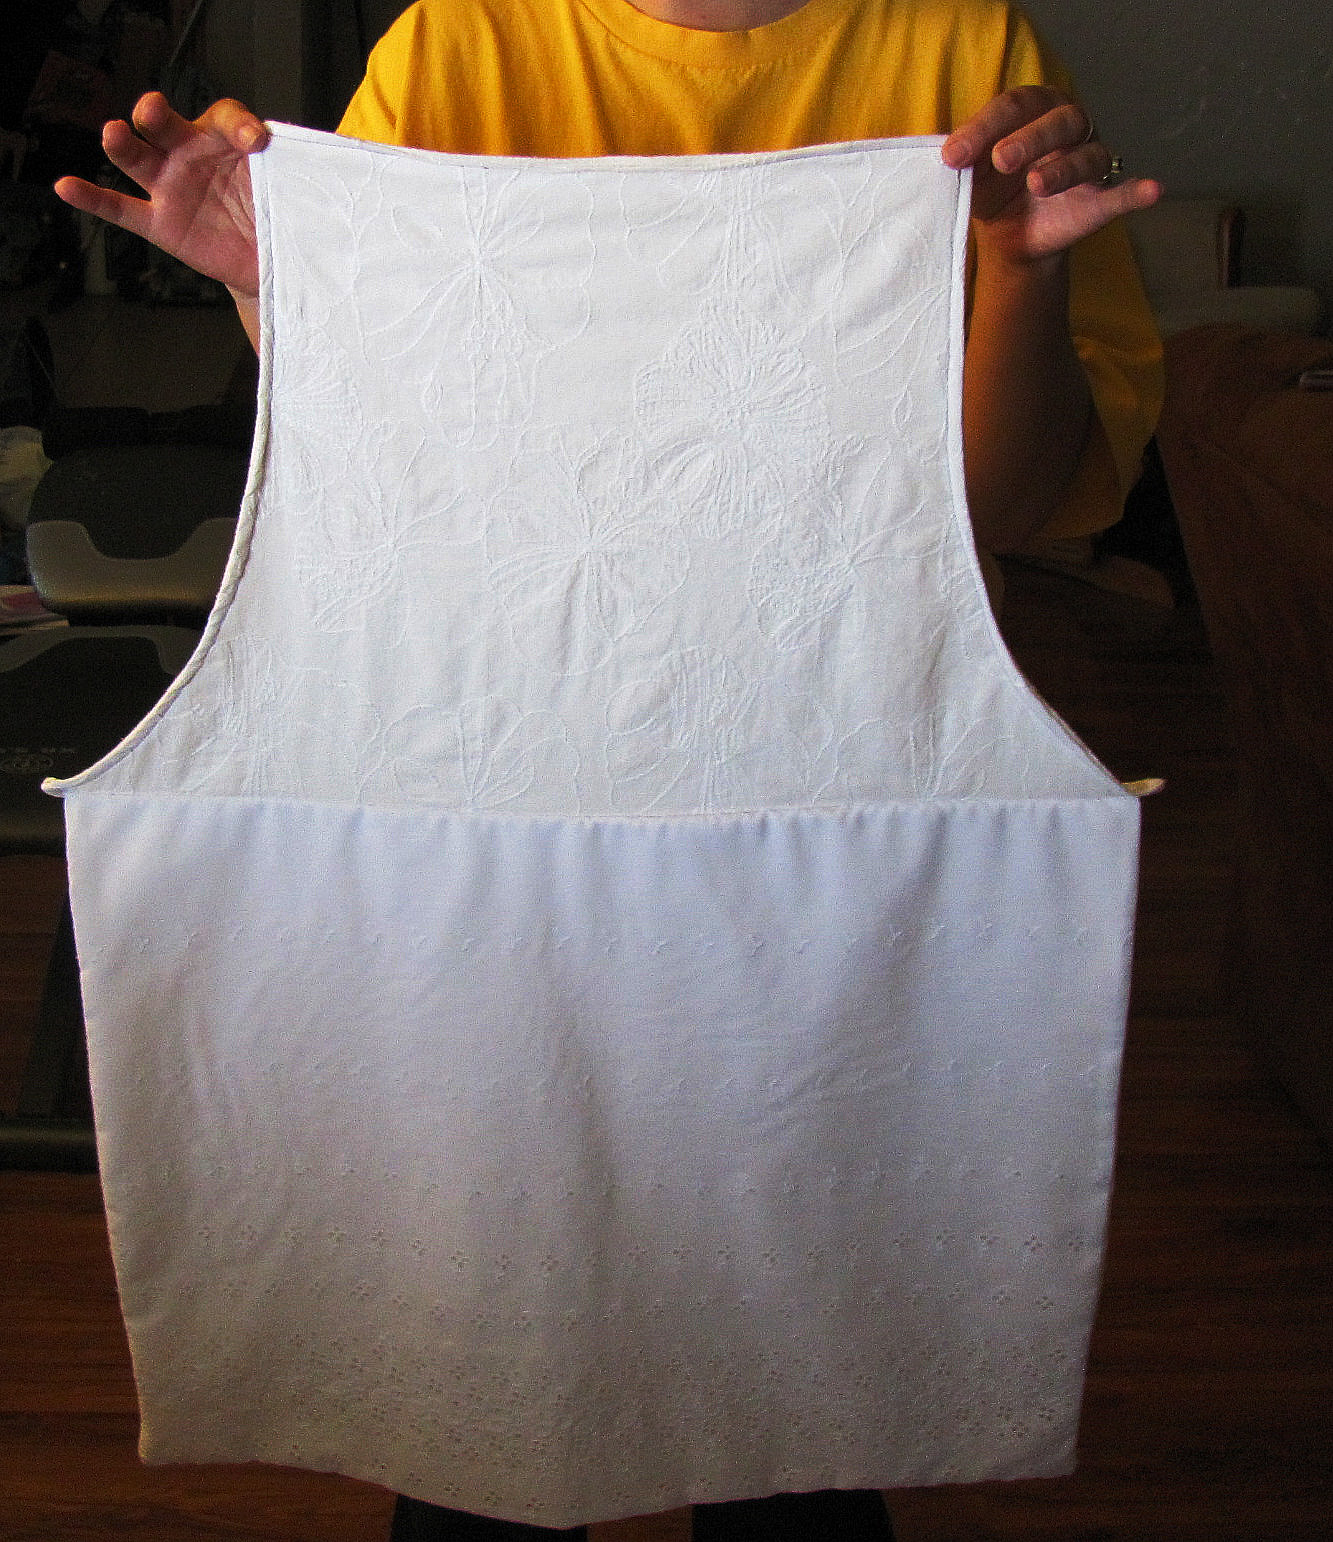
I had this piece of clothing that really wasn’t my style. It’s the green, flowery one in the picture, and it wasn’t something I felt was *me* enough to wear in public. BUT, it did get the gears in my head turning with possibility. Even though I didn’t want to wear this as a top or a dress, I was convinced it could make a fairly good apron. I decided to keep the material for future cutting/sewing use.
I think it was last week that I got around to working on the project, and the process wasn’t all that difficult. In fact, there’s a tip for new sewers: Keep an eye open for projects that wouldn’t be overly difficult to build your sewing skills. What I had in the beginning with this piece of material just looked like it could be an apron, with the style and the fabric. And, when thinking through how I’d go about turning the clothing into an apron, I realized the steps wouldn’t be that numerous. If you can catch enough finds like this one—things you might have around your house that you’re maybe planning on throwing away—you can reuse material, make projects for little to no money, and improve your sewing with what could amount to baby steps! Sounds like a win to me!
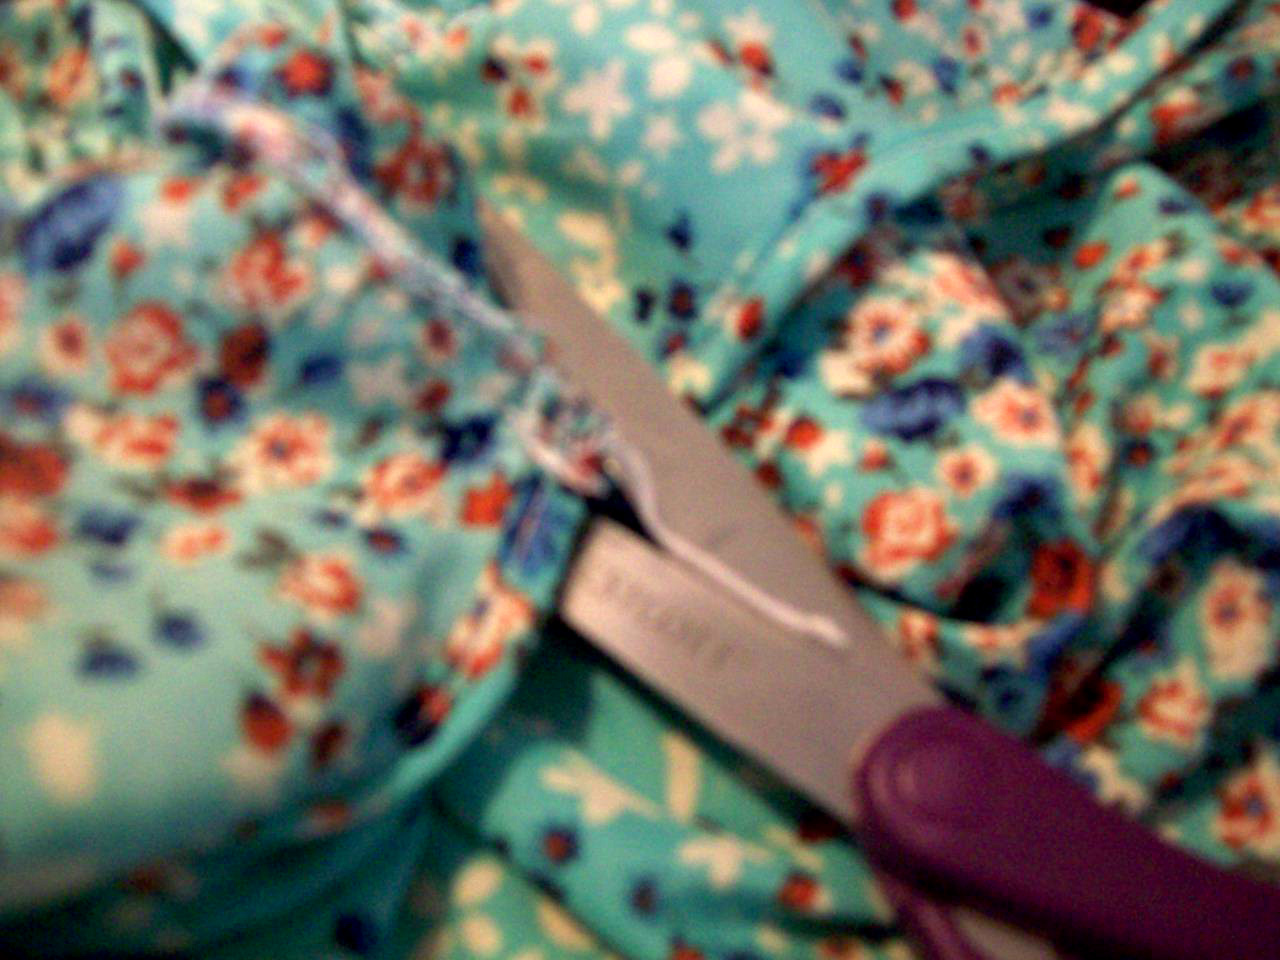
One side of the clothing had the seam along it, so I only had to follow the outline there.
So what were the baby steps for this project? Well, they started with cutting, since I don’t know that I’ve ever seen an apron with a full back on it. One side of the clothing had the seam along it, so I only had to follow the outline there. The other side depended more on my judgment, but I do have a sewing mat and a rotary cutter now to hopefully help make more accurate cuts. Yay, sewing tools!
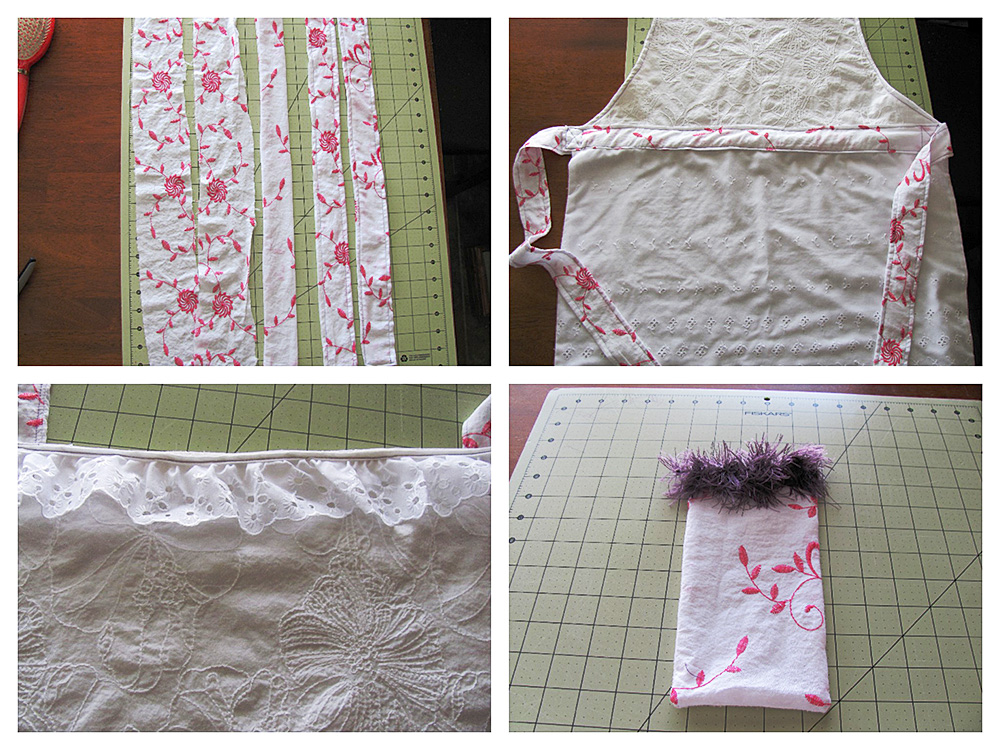
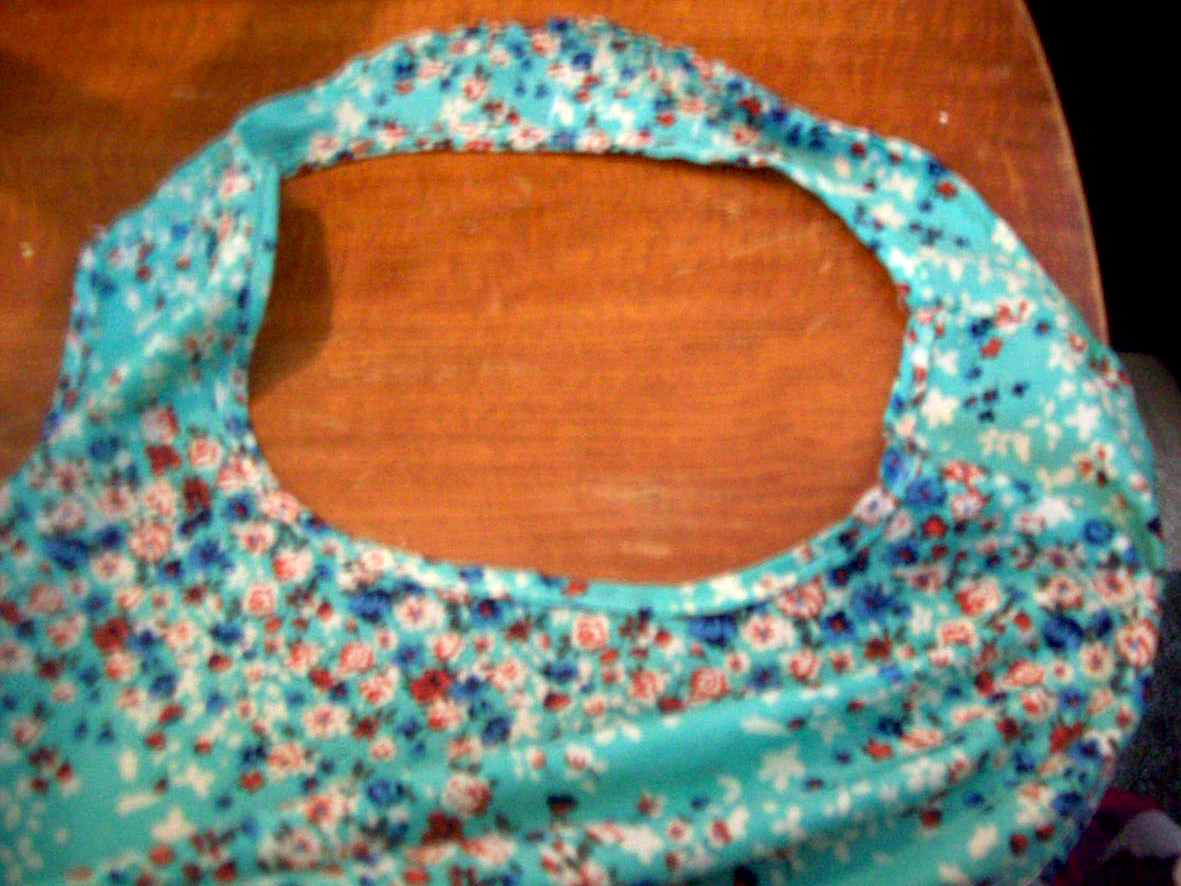
The material circling the neck could stay in place though, since aprons attach there anyway. That particular curve required a secondary round of cutting, which I’ll blame on my lack of experience with apron-making. I don’t usually have to make the right-place cuts for loops to go around my neck, so I won’t think too harshly about myself for going overboard on the first try. In the end, if you try for an apron, remember the loop should probably be no more than one inch thick once your sewing is finished, and make sure you’re keeping with the same general width range throughout your cutting. Otherwise, your backing might seem bulky overall, or just in parts. Neither is necessarily a good option!
Remember the loop should probably be no more than one inch thick once your sewing is finished.
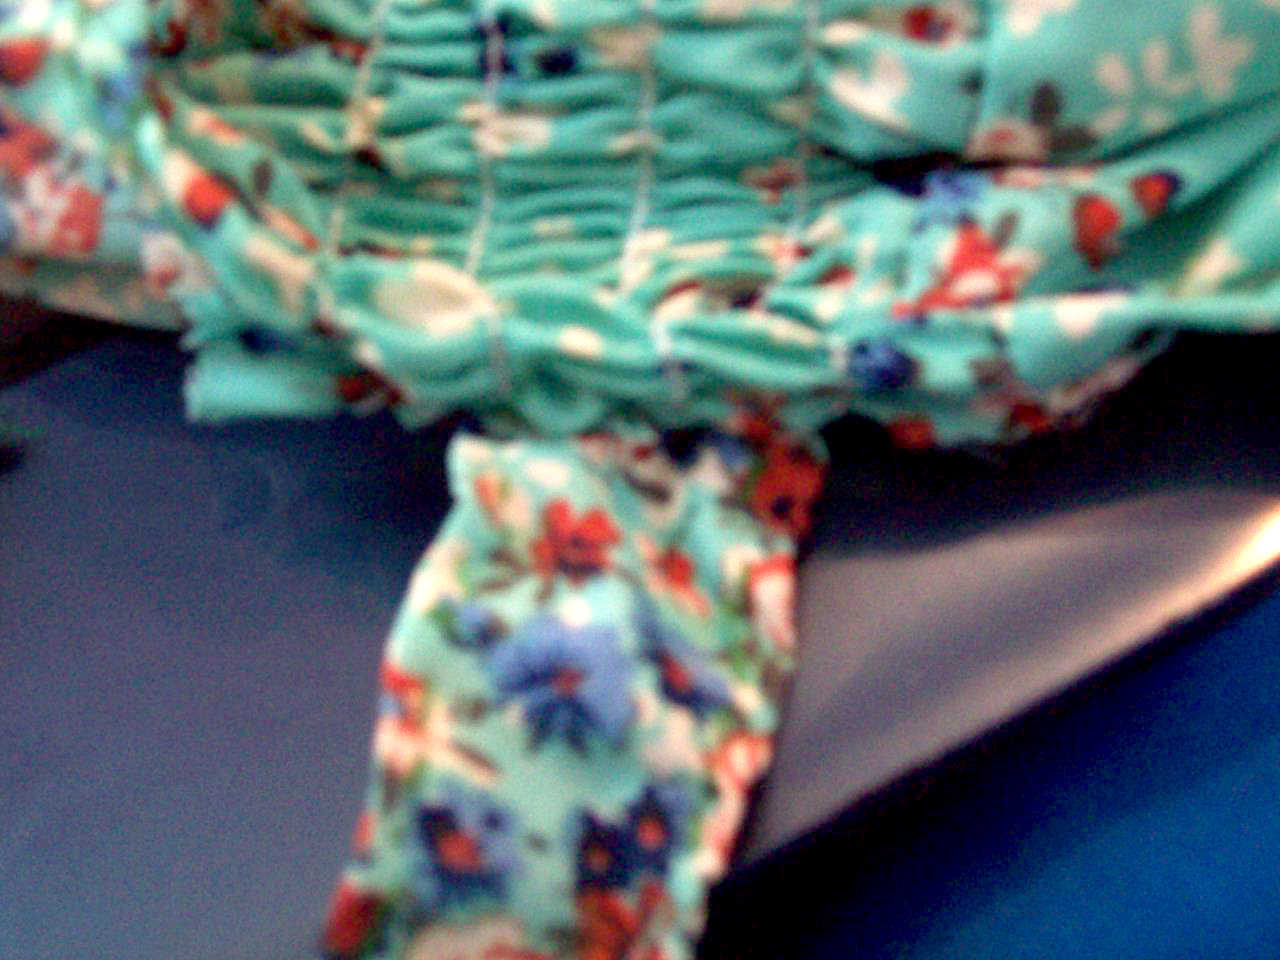
Once I was finished with the cutting, I sewed hems along the edges where I’d cut, and used some of the material I’d cut off for straps that I could use for the ties to attach to the waist. Honestly, that task was kind of frustrating since the straps were so small, and the thread kept bunching or wrapping around the fabric. Lesson I could potentially take from this experience: Tiny material should maybe be reserved for later use, like after I’ve gained more experience with sewing!
I sewed hems along the edges where I’d cut, and used some of the material I’d cut off for straps that I could use for the ties to attach to the waist.
Possible lesson you could take from this experience, if you’re an early sewer: If you’re going to make an apron, start with thicker straps to go around the waist—maybe two inches or a bit more. As far as appearance goes, it might be better for those straps to be a little bulky than for them to have confusing thread patterns. As far as process goes, saving yourself the annoyance of fighting with your thread might be worth the extra material.
One more tip for the road: If you do a project like this one, make sure that when you can, you make use of the hem on the original clothing. It might seem like cheating, but saved effort and thread is saved effort and thread!
All in all, keep an eye out in your own house for things to recycle into sewing projects. You can learn to be a better sewer without breaking your bank account!