Dishes everywhere! I’ve been learning how to cook from scratch. I also made the wonderful journey into the world of baking bread. Yay, so much fun! Boo, so many dishes that must be hand-washed. Oh no, can’t just throw them in the dishwasher! My beloved husband’s coffee pot may only be moved upon threat of death, so I created a dish mat to fit our small, unique space.
Viola! The Dashing Dish Mat!
Before:

Impossible dish counter space.
After:

Beautiful organization, bright space.
Level: Beginner
Time to Complete: In an hour
Sewn By Machine: 1/4 in. straight stitch except where indicated
**Tip: Wash all new materials prior to use to avoid shrinkage when you wash it later on.
**Tip: Iron cut pieces before sewing and in between each step. This helps in the sewing process and the end results will look more professional.
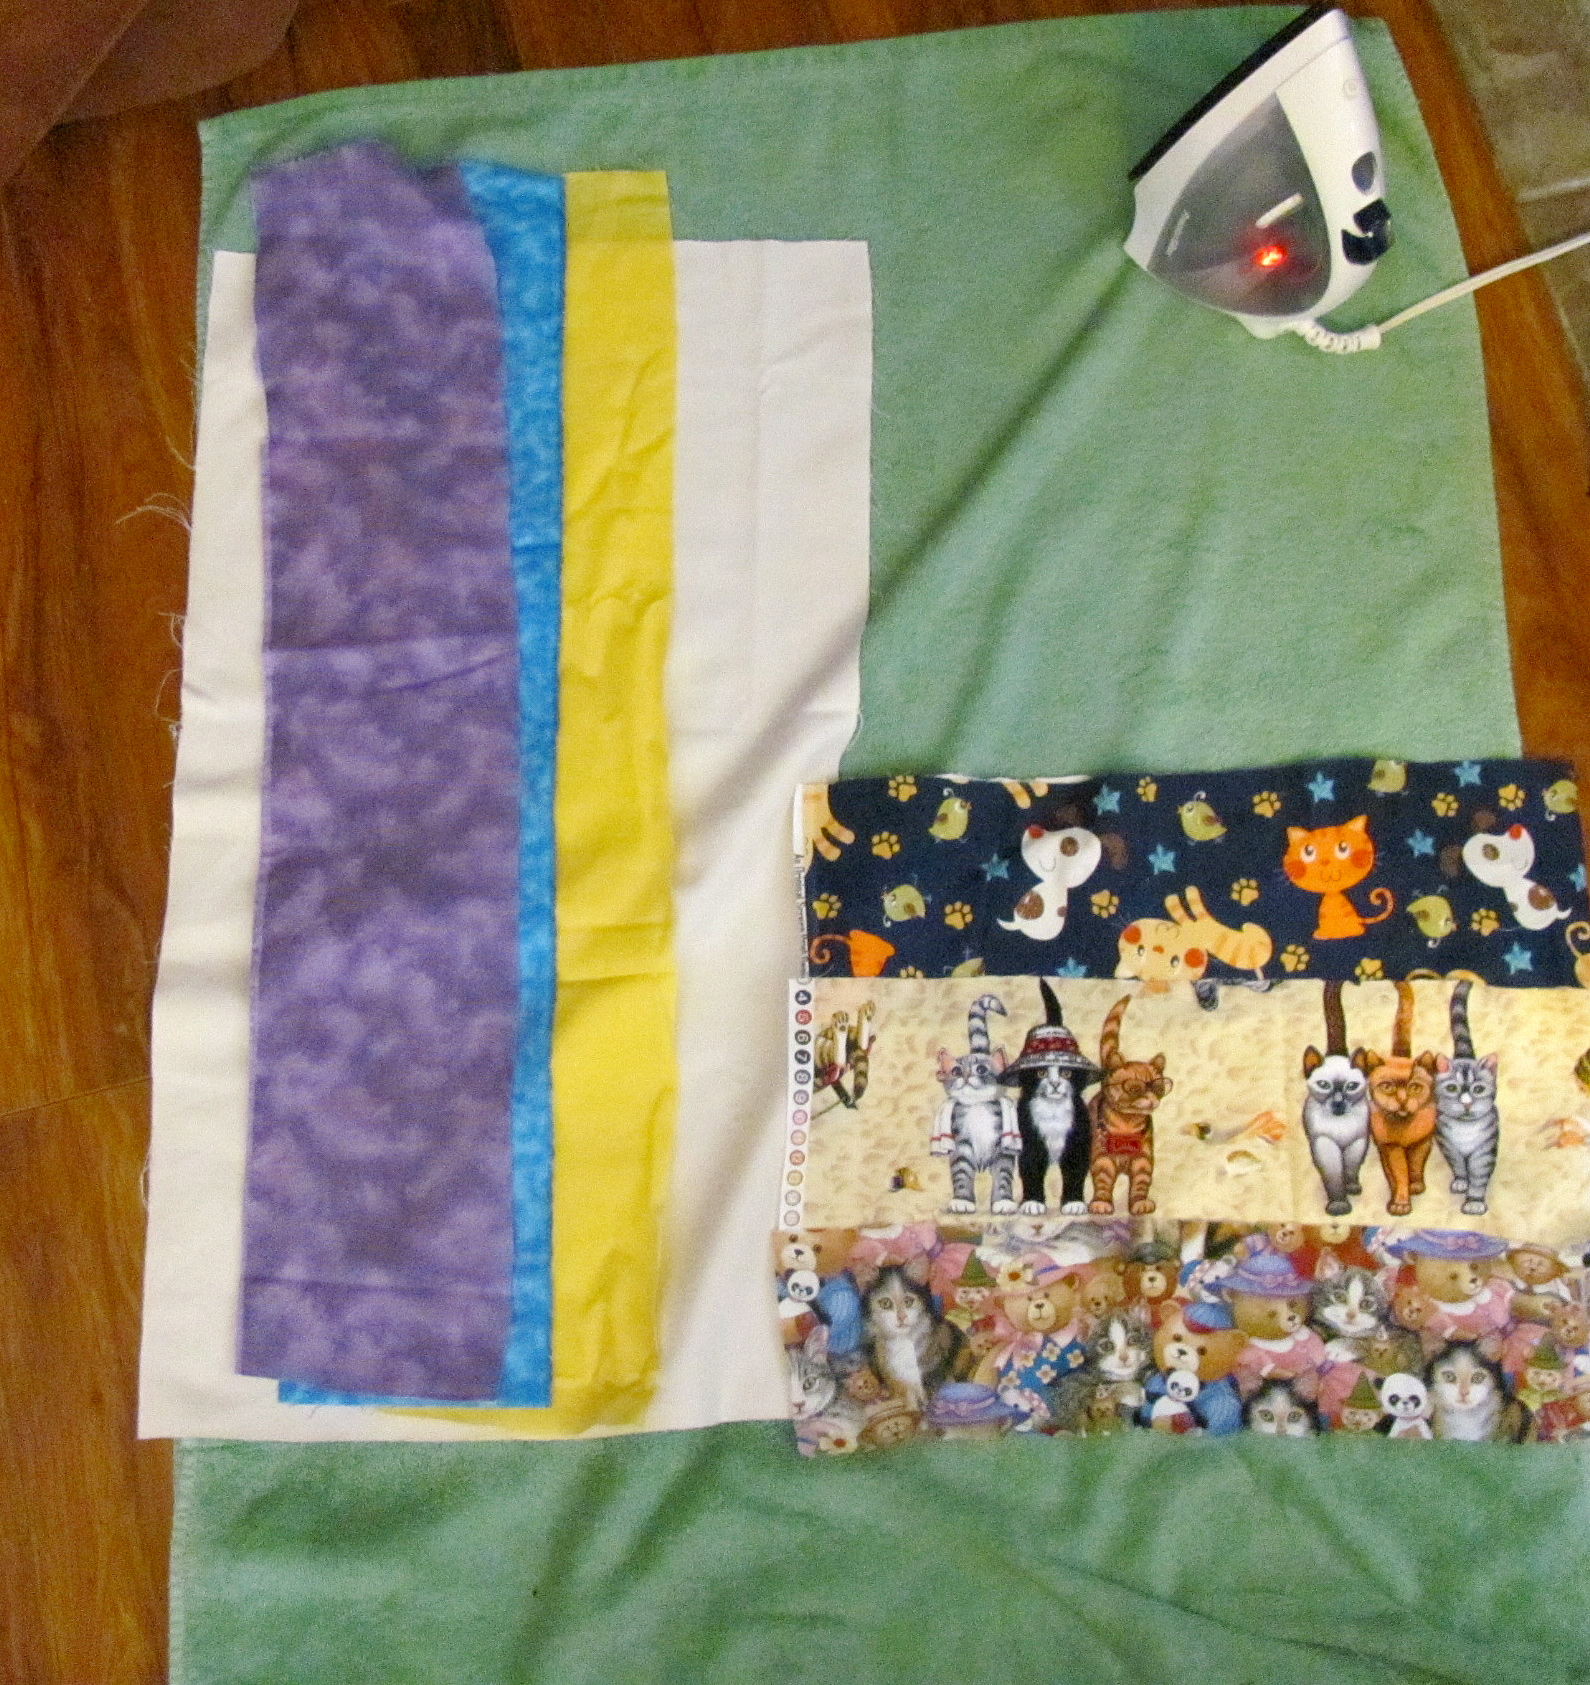
Materials.
Materials:
1 – 26 1/2″ L x 14 1/2″ W Terry Cloth long part of L- for back side
1 – 13″ L x 17″ W Terry Cloth short part of L- for back side
3 – 27″ L x 5″ W Colorful fabric strips
3 – 5″ L x 17″ W Colorful fabric strips
- Measure the area where the dish mat will be. My dish mat will be L-shaped so I had to take measurements for each side. Final measurements – For lengthwise section, 26 1/2″ L x 14 1/2″ W. For L piece, 13″ L x 17″ W. I always use measuring tape instead of a ruler when measuring spaces. Measuring tape is flexible and much longer than most rulers. I add an 1/2″ to 1″ in. depending on the project to account for the material that will be used for seams. Otherwise the end project will be shorter than I want.
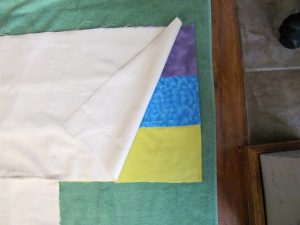
- Cut the terry cloth for the back side. Cut fabric strips.
- Sew two pieces of terry cloth together, right side together 1/4″ with regular straight stitch.
- **Tip: Make sure you have the smaller L portion of the terry cloth on the correct side. This can be tricky. When you match right side together with terry cloth and fabric sides, make sure they are both on the correct side. I had to rip stitches and sew the terry cloth on the other side. I use a seam ripper with a safety ball so I cut only what I want and don’t end up ripping other areas of the fabric.
- **Tip: Don’t let mistakes discourage you. I make mistakes all the time, as is obvious with my terry cloth L error. Rip stitches, go back a step, start from scratch. Sewing is an adventure, and sometimes those mistakes turn into great ideas!
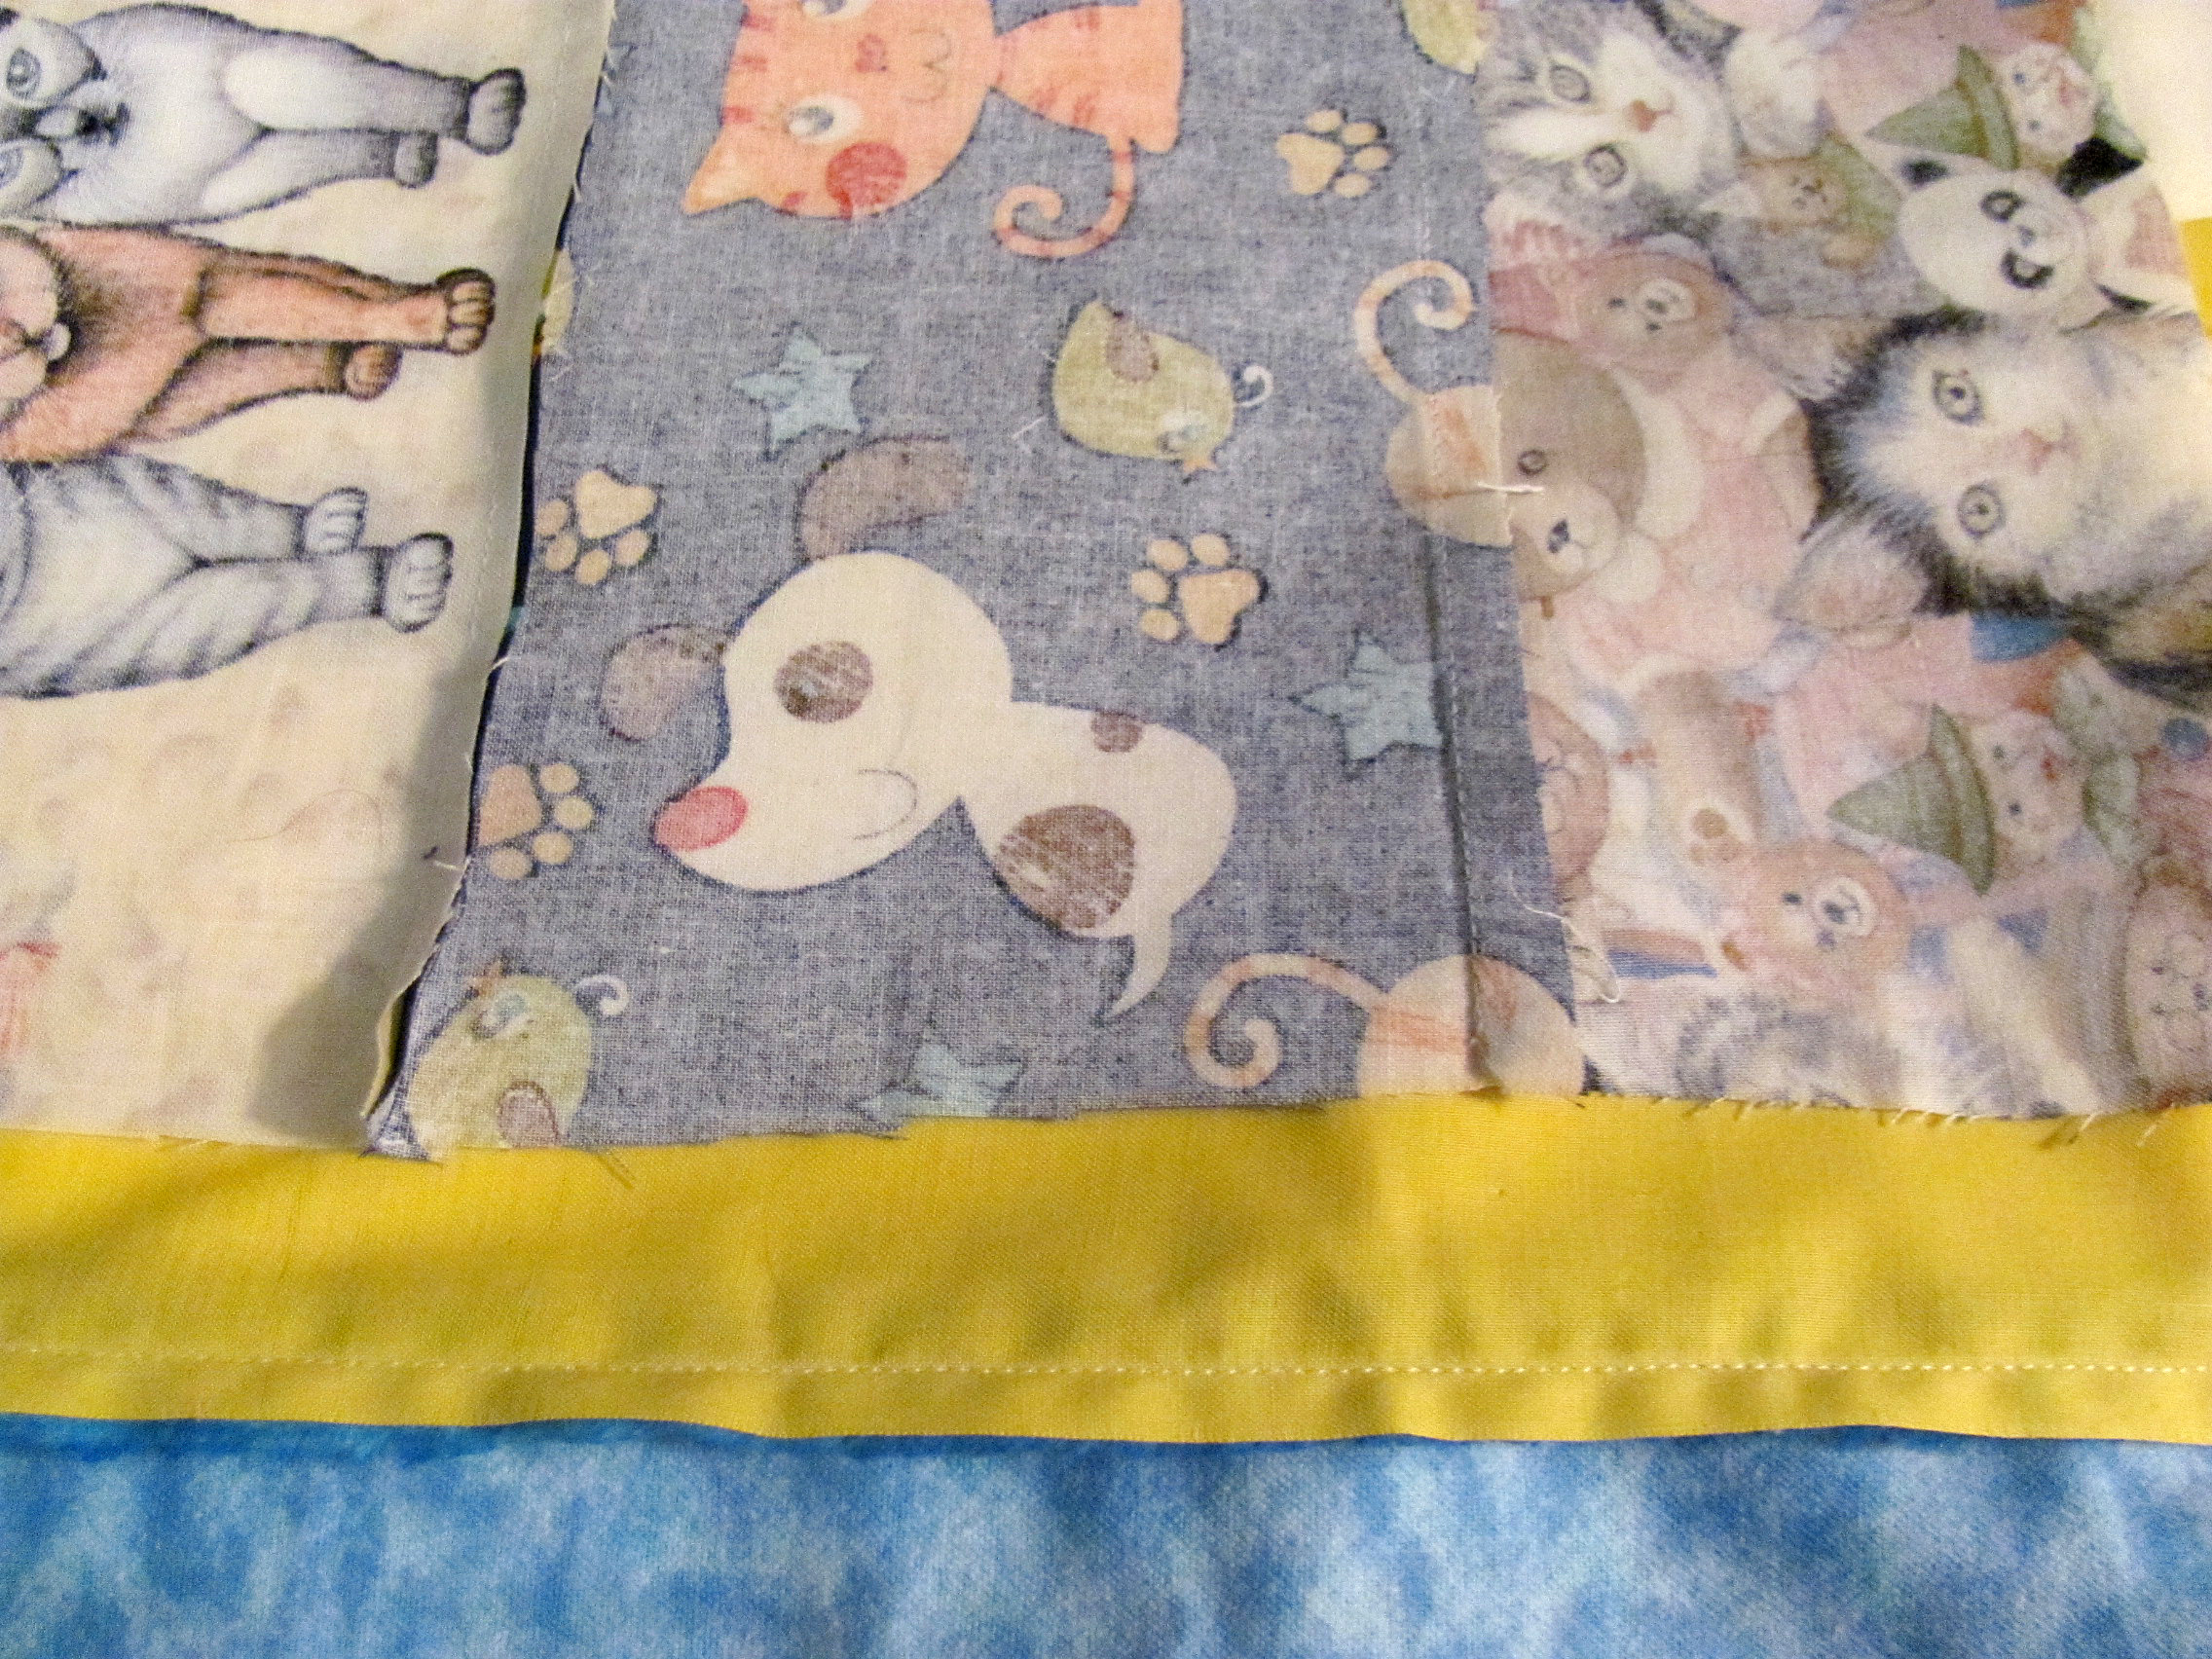
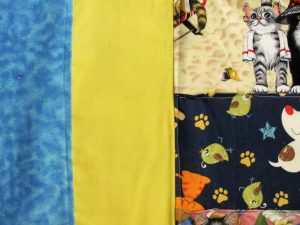
Example of strip stitching.
- Sew the vertical strips together, right sides together. Sew the horizontal strips together, right sides together. Then sew the vertical strips and horizontal strips together, on the right side.
- Sew the terry cloth back and the striped front together right sides together. Leave one end open to pull the fabric through.
Outside pieces facing together.
- Cut off the corners before pulling the fabric through.
- Pull the fabric through. Iron.
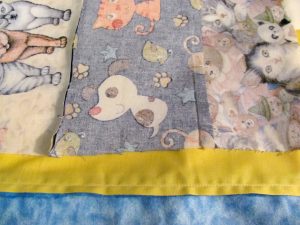
- Top stitch all the seams for the strips. This adds a professional look as well as making sure the seams don’t cause problems later. Iron.
- Top stitch all around the outside. Make sure to sew the side that was left open to pull the fabric through. Iron.
Top stitching seams.
- **Tip: A creative use of thread colors can really make a project pop. Top stitching any of the seams in different colors or in a color that would really stand out against the fabric can be that “extra touch” that makes everyone say “Wow, you made that? Could you make one for me?”
- Place on your kitchen counter and enjoy washing dishes!